3
Any form of reproduction of the entire contents of this document or parts thereof beyond the private use is strictly prohibited.
Subject to alterations and errors. All texts, illustrations and symbols are the property of nimax GmbH.
The battery/batteries provided can be recharged via
the USB port.
3. Commissioning
First, remove the battery compartment cover. Insert the
battery/batteries with the minus pole facing down, as shown,
ensuring that it fits properly in place (Fig. 3).
Put the cover back on so the batteries won't fall out.
Switch the device on by pressing and holding down the “On” button for three seconds. Remove the lens cap.
Look through the eyepiece. The LCD display screen should be lit. To switch the device off again, press the “On”
button again for three seconds until the display screen goes off.
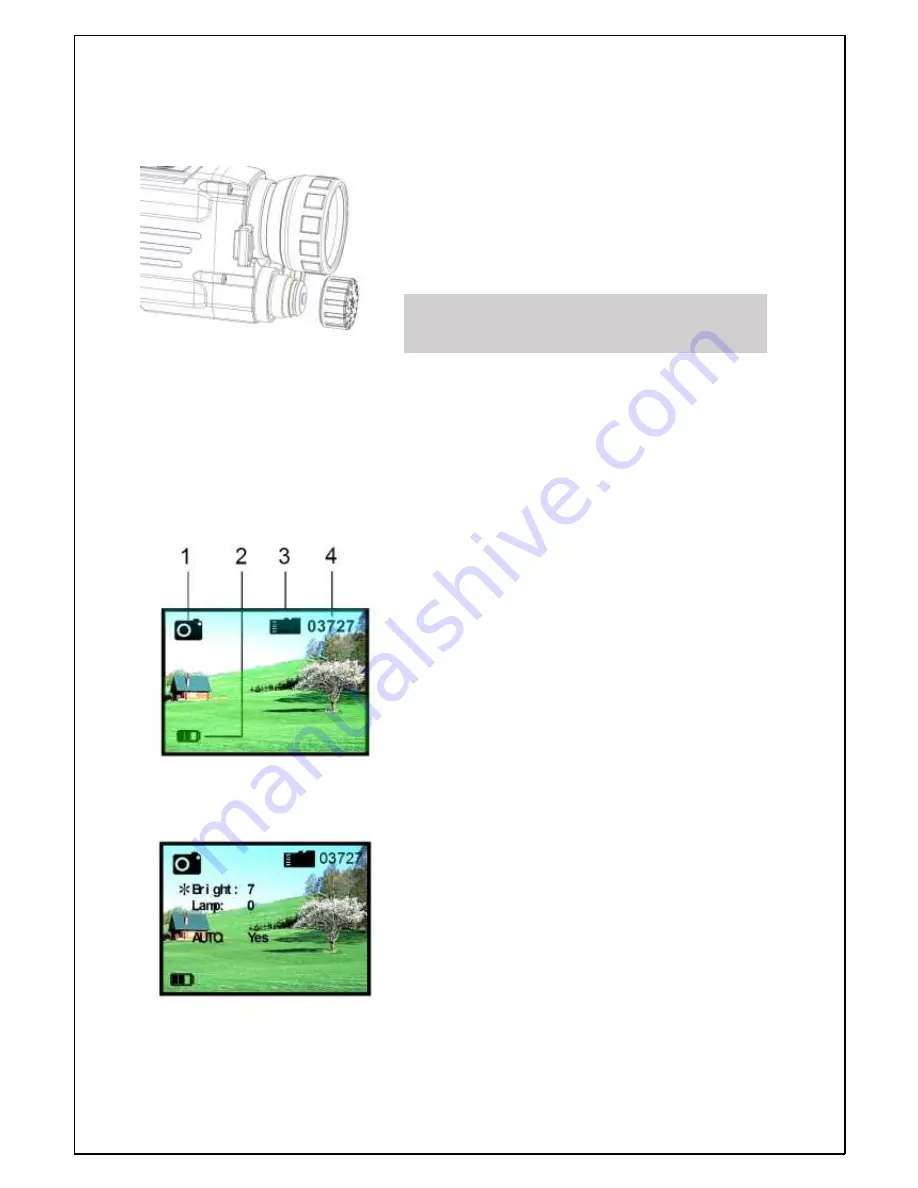
If the device is switched on, some symbols will be visible on the display screen (as shown in Fig. 4). Attention:
Every time the connection to the device is broken and re-established, the record mode switches to photo
mode. Focus the symbols by rotating the eyepiece (no. 10). Focus the image by rotating the focus ring (no. 2).
Main screen functions
1. Active operating status (photo/observation mode)
2. Battery charge status
3. Memory card inserted
4. Image memory space remaining
Brightness setting
The screen brightness can be adjusted. Press the selection button
(#8 – Fig. 1) for two seconds. A menu will be displayed. On the
monitor an * will be shown before “Bright”. Use the left and right
buttons to adjust the brightness (in the example, it is set to “7”).
There are nine brightness levels (1-9). The left button increases
brightness, and the right button reduces it. To exit, press the
selection button again
.
Fig. 5
Fig. 4
Fig. 3


