Teardown, Cleaning, and Reassembly of the Miscellaneous Parts of the Olympus BH-2 Microscope Frames
Revision 1
Page 39 of 45
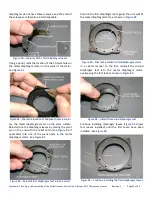
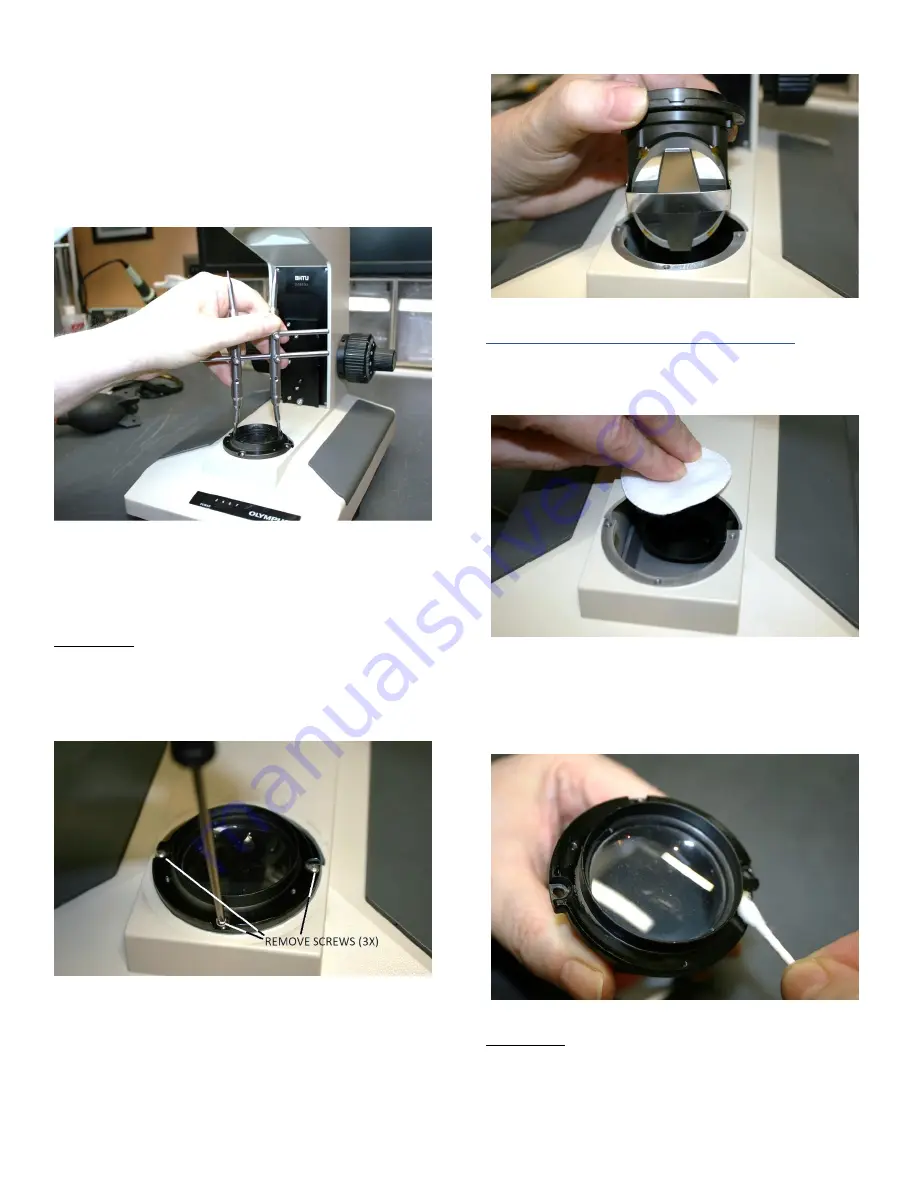
Use a suitable lens spanner tool (item 8 of
to snug the threaded retaining ring a bit to secure the
glass field-exit lens into place in the frame (see
). Only tighten the retaining ring enough so that the
glass lens does not rattle in the recess of the frame. Do
not overtighten the retaining ring or you may chip the
fragile glass lens.
Figure 167
–
Snug the threaded retaining ring
Note: Removal of the frame of the Light Exit Assembly
from the base casting is generally not necessary, unless
the primary-surface mirror needs to be cleaned.
IF APPLICABLE
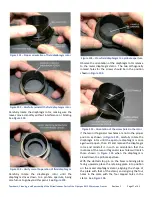
: If the primary surface mirror on the Light
Exit Assembly needs to be cleaned, use a suitable JIS
screwdriver to remove the three m2.6x6 screws
securing the frame of the Light Exit Assembly to the
base casting of the stand (see
Figure 168
–
Remove screws securing frame to the base
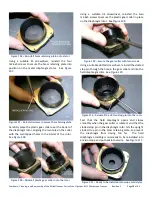
Carefully lift and remove the frame of the Light Exit
Assembly from the base casting, making sure to not
damage the fragile reflective coating on the primary
surface mirror in the process (see
Figure 169
–
Carefully lift frame clear of the base casting
Clean the Components of Light Exit Assembly
Using a soft cleaning pad and a suitable solvent
(acetone), clean away any contamination from the area
around the cutout in the base casting (see
Figure 170
–
Clean the area around the base cutout
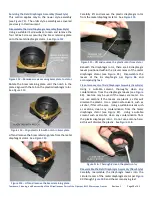
Using cotton swabs and a suitable solvent (e.g.,
acetone),
thoroughly
remove
all
grease
and
contaminants from the metal frame of the Light Exit
Assembly (see
Figure 171
–
Thoroughly clean the light-exit frame
IF APPLICABLE
: Use a lens duster bulb to remove as much
loose dust and debris as possible from the primary
surface mirror of the Light Exit Assembly (see

