


46
M
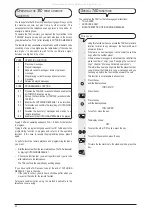
AINTENANCE
OPERATIONS
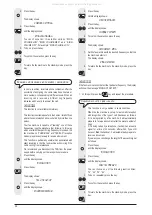
Note
If you have replaced the print head because
the ink ran out
, when
the print head compartment cover and the operator console are closed,
the fax machine will automatically recognize that the print head has
been replaced and the
display will show
the message NEW PRINT
HEAD?1 = YES, 0 = NO. Set the value
1
.
At this point, the fax machine
automatically cleans the print head
and tests the nozzles
, printing out the result of the diagnostic test.
From this point on proceed as described in
Delivery contents,
connecting up and first-time operation
.
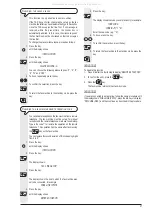
If you replaced the print head because of a
deterioration in printing
quality
, proceed as follows:
1. Press the key
until the display shows:
HEAD MAINTENANCE
2. Press the key:
The display shows:
NEW HEAD: ON
3. Press the key:
The display shows:
CLEANING: ON
The fax machine cleans the print head and tests the nozzles,
printing out the result of the diagnostic test.
From this point on proceed as described in
Replacing print
head
in chapter
Delivery contents, connecting up and
first-time operation
.
R
E
-
ENABLING
THE
HEAD
AND
CHECKING
THE
NOZZLES
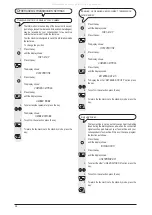
If, when using the fax machine normally, you notice a
deterioration in print quality
, you can quickly re-enable
the print head and test the nozzles by following a procedure
that ends with printing out of the diagnostic test result.
1. Press the key
until the display shows:
HEAD MAINTENANCE
2. Press the key:
The display shows:
NEW HEAD: ON
3. To program the other NEW HEAD: OFF option, press the
key:
/
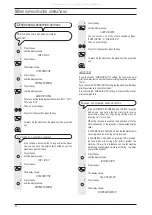
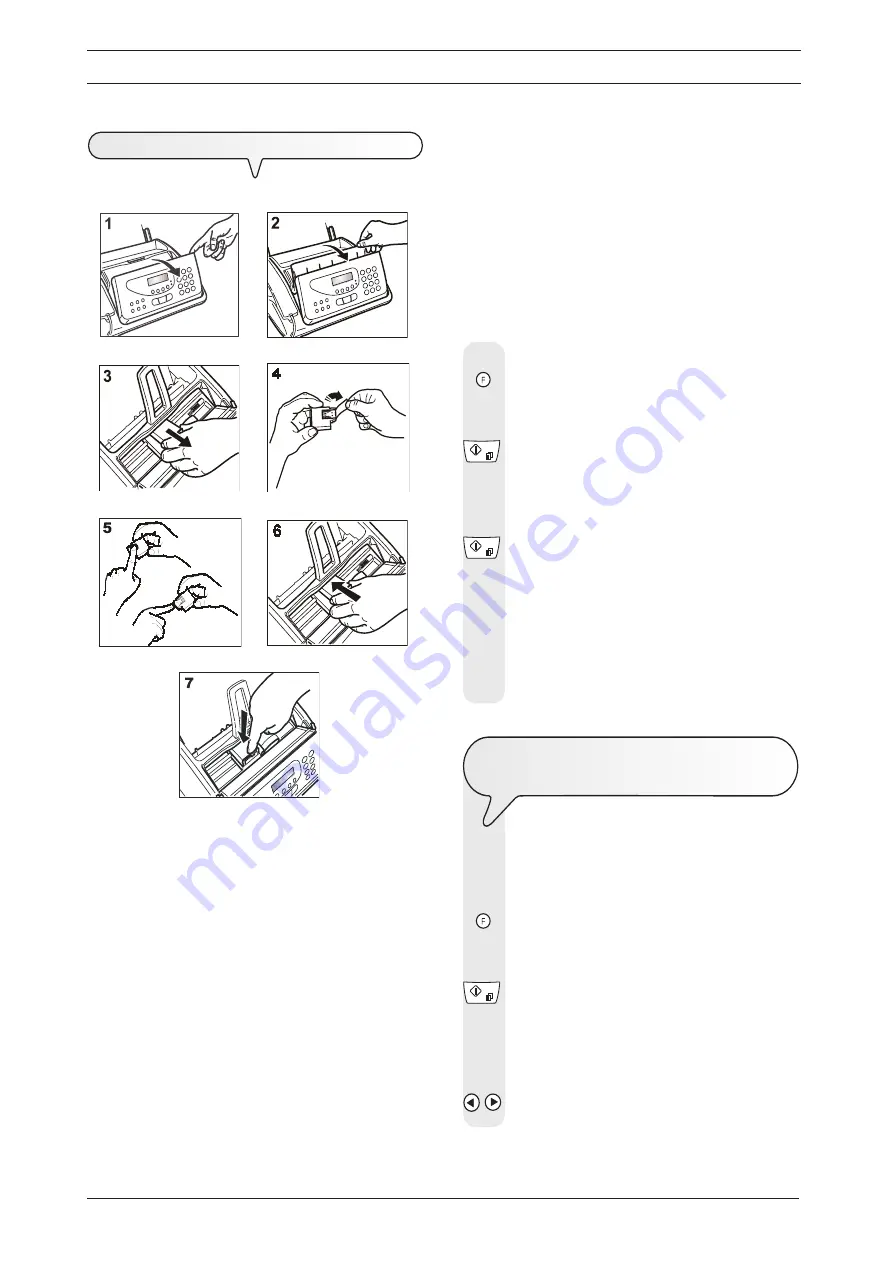
R
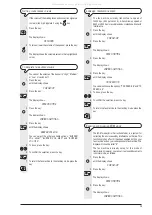
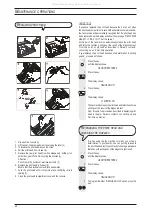
EPLACING
HEAD
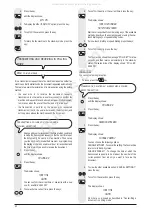
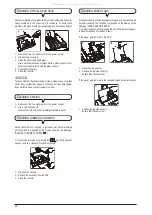
1. Flip open the console (1).
2. Lift the print head compartment cover using the lever (2).
3. To release the print head, loosen the strap.
4. Pull the print head from its seat (3).
5. Remove the new print head from its package and, holding it on
both sides, peel off the film covering the nozzles (4).
Attention!
Do not touch the nozzles or electrical contacts (5)
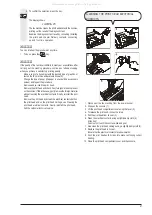
6. Replace the print head in its seat (6).
Ensure that the electrical contacts face downwards.
7. Push the print head until it clicks into place, confirming correct
seating (7).
8. Close the print head compartment cover and the console.
NO!
All manuals and user guides at all-guides.com
Содержание Fax-Lab 275
Страница 62: ...All manuals and user guides at all guides com...
Страница 63: ...All manuals and user guides at all guides com...
Страница 64: ...255907F 01 All manuals and user guides at all guides com...


