2
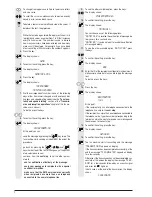
To change from upper case letters to lower case letters
and vice versa.
/
To scroll the cursor on alphanumeric characters already
keyed in or to leave a blank space.
To delete a character on the left hand side of the cursor. It
deletes all the text if kept pressed.
While the text is being entered, the display will show, in its
top right-hand corner, a number (from 1 to 4) that increases
every 160 characters. This number is used to indicate
how many characters have been entered and how many
more can still be entered. For example: if you have typed
a text consisting of 220 characters, the number 2 appears.
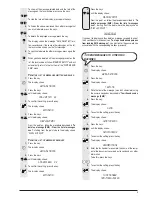
4.
Press the key:
The display shows:
SEND
5.
To confirm the setting, press the key:
The display shows:
SEND TYPE :SMS
6.
Press the key:
The display shows:
TYPE NUMBER
NUM/TOUCH/SPEED
7.
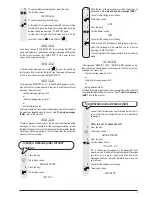
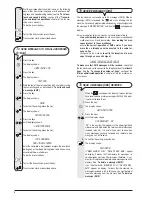
Dial the correspondent's number in one of the following
ways: either from numeric keypad or with one-touch dial-
ling keys and speed dialling codes (see the "
To set one-
touch and speed dialling
" section of the "
Transmis-
sion and reception operations
" chapter of the fax ma-
chine user's manual).
To do this, press the keys:
-
8.
To confirm the setting, press the key:
The display shows:
OTHER PARAM.:NO
At this point you can:
-
send the message by pressing the
key twice. The
fax machine starts sending as indicated at the end of the
procedure;
-
go back by pressing the
,
/
and
keys in order to edit the text or change any of the param-
eters selected up to now;
-
continue, from the
next step
, to set the other param-
eters to:
-
ask for notification of delivery of the message.
-
send your messages to recipients with a special
confidential mailbox.
-
make sure that the SMS service works correctly
when recipients have more than one telephone
connected to the same telephone line.
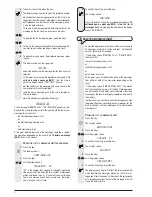
9.
To see the other available option, press the keys:
/
The display shows:
OTHER PARAM.:YES
10.
To confirm the setting, press the key:
The display shows:
NOTIFY: YES
You can choose any of the following options:
"NOTIFY:YES": to receive the notification of message de-
livery every time you send one.
"NOTIFY:NO": if you do not want to receive the notification
of message delivery.
11.
To see the other available option, "NOTIFY: NO", press
the keys:
/
12.
To confirm the setting, press the key:
The display shows:
BOX
13.
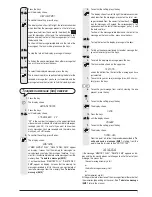
Enter the ID of the recipient's confidential mailbox (max. 4
alphanumeric characters) as you did to type the message
text.
To do this, press the keys:
-
14.
Press the key:
The display shows:
RECIP.TERM.NO.
(1-9) 1
At this point:
-
if the recipient only has one telephone connected to the
telephone line, skip to the
next step
;
-
if the recipient has more than one telephone connected to
the telephone line, type the number corresponding to the
terminal on which he wants to receive your message and
then move on to the next step.
15.
To confirm the setting, press the key:
The display shows:
SEND:YES
16.
To confirm the setting, press the key:
The fax machine starts transmitting and the message
"TRANSMITTING" appears on display.
If the transmission has been completed successfully, at the
end the message "TX COMPLETED" appears on display
for a few seconds.
Otherwise, if the transmission has not been completed suc-
cessfully, at the end on the display the message "TX ER-
ROR" for a few seconds followed by an acoustic signal
and error led "
" lights on.
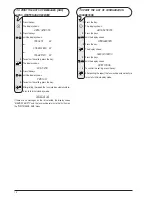
In both cases, at the end of the transmission, the display
shows:
SAVE SMS:NO
Содержание Fax-Lab 100
Страница 1: ...Use of the SMS service...
Страница 13: ......
Страница 14: ......
Страница 15: ......
Страница 16: ...255961C...


