7
•
+ XXX
to activate the bold face attribute. The display shows the
symbol ||| in correspondence to the separator.
•
+ XXX
e
+ XXX
to activate both attributes. The display
shows the symbol ||| in correspondence to the separator.
2.
Type the text.
3.
To deactivate the selected attribute, press the corresponding keys again.
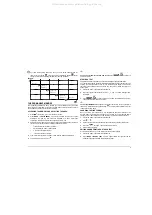
In the W-W, L-L, RTJ operating statuses and in the memory, the bold face and
underline attributes will be indicated on the display as follows:
I
The
symbol indicates the selected attribute as in C-C mode.
I
Running through the characters on the display (using the
and
keys) the
symbol is deactivated/activated as the characters pass the work point (|||), thus
indicating the exact attributes of each character.
CHANGING THE CHARACTER ATTRIBUTE ON THE DISPLAY
The attribute assigned to the characters (normal, underline and/or bold face) can be
changed on the display by carrying out the procedure described below. The same
procedure can also be used for changing a base or exponent.
1.
Press
until the first character to be changed leaves the work area.
2.
Press the relevant key sequence for activating or deactivating the desired attribute
(to deactivate a base or exponent command, do not press any keys; skip to the
next step).
3.
Press
+ CHANGE ATTRIBUTE
for each character to be changed.
TYPING IN CAPITALS WITH THE FULL STOP, COMMA
AND NUMBERS ACTIVE
This feature enables you to type in capitals without losing the full stop, comma and
numbers irrespective of their position on the keys.
1.
Press
+
. The green indicator will light up. To deactivate the feature,
press the same keys again. The green indicator will go off.
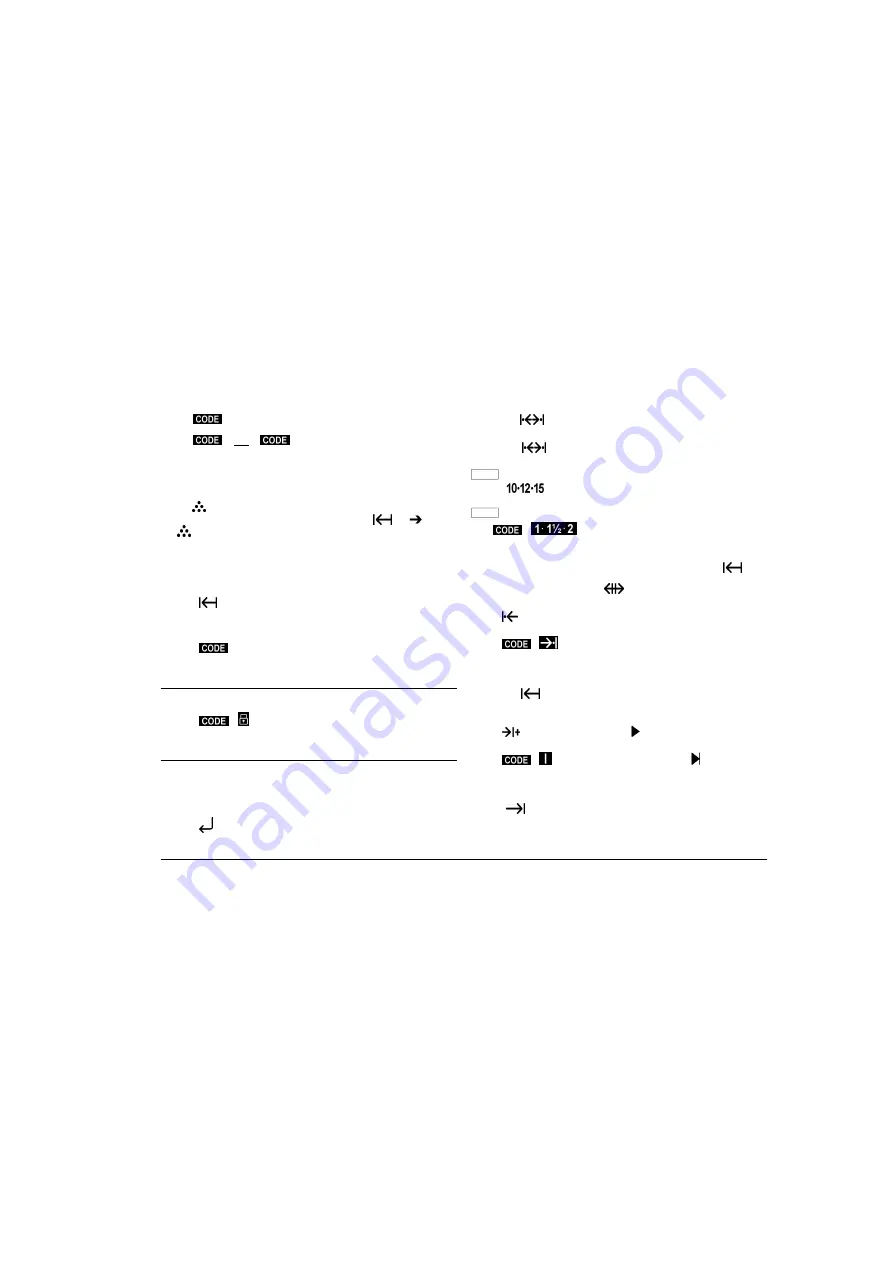
THE LINE FORMAT
The line format is defined by the left and right margins, any tab stops present, the print
pitch and line feed values. Each time you switch on the typewriter, the line format
presented is the one defined in the previous work session (the first time the machine is
switched on, the line format presented is the one set by the manufacturers).
ACCESSING THE LINE FORMAT PARAMETERS
1.
Press
, if necessary, to move to the start of the line.
2.
Press the
key. The display shows the message
LINE FORMAT
.
3.
Make the desired changes (see the procedures described below).
4.
Press the
key to terminate the procedure. The message disappears from
the display.
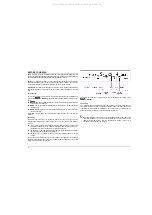
FIG. 6
SELECTING THE PRINT PITCH
Press the
key until the desired value appears on the display (10, 12 or 15).
The pitch selected must correspond to the pitch of the daisy wheel used.
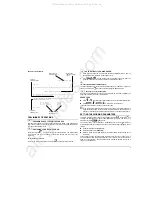
FIG. 6
SELECTING THE LINE FEED
Press
+
until the desired line feed value appears on the display
(1, 1 ½ or 2).
SETTING THE MARGINS
1.
Move to the point where the new margin is to be set by pressing the
key or
SPACE BAR
(to override a margin that has already been set, with the printer unit
positioned at the margin, press the
key and move to the desired point).
2.
Press:
•
to set the left margin
or
•
+
to set the right margin
SETTING TAB STOPS
You can set tab stops with or without vertical lines for arranging words or numbers into
columns.
1.
Press the
key or
SPACE BAR
to move to the point where the tab stop is to
be set.
2.
Press:
•
to set an ordinary tab stop. The
symbol will appear on the display.
or
•
+
to set a tab stop with a vertical line. The
symbol will appear
on the display.
Repeat steps 1 and 2 for each tab stop to be set.
To check the position of a tab stop
Press the
key. The printer unit will move on the tab stop. The symbol for the tab
stop set will appear on the display.
All manuals and user guides at all-guides.com


