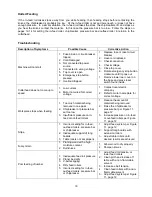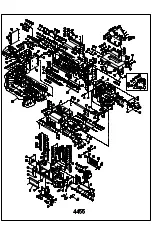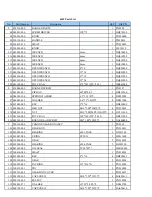
7
Machine Preparation and Setup (cont’d)
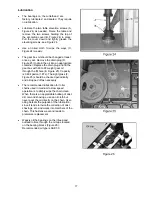
Thread leveling bolts (A, Figure 2) into holes in
the four corners of the planer base. The planer
must be positioned on a smooth, level surface.
Install the leveling pads (B, Figure 2) under the
four corners of the planer.
Clean all rust protected surfaces with a
commercial solvent. Do not use acetone,
gasoline, lacquer thinner or any type of
flammable solvent, or a cleaner that may
damage paint. Cover cleaned surfaces with
WD-40 or a 20W machine oil.
Place a level on the table of planer and adjust
leveling bolts until the machine is resting level.
Tighten the hex nuts (C, Figure 2) against the
base of the planer to keep the leveling bolts from
turning.
Electrical Connections
WARNING!
Electrical connections and wiring must be
done by a qualified electrician. The machine
must be properly grounded. Failure to
comply may cause serious injury!
This planer is available in both 1-Phase and 3-
Phase versions.
Electrical Connections for a 3-Phase Unit
This planer is 3-Phase, 220V/440V
pre-wired
220V
. If you need to switch the planer from
220V to 440V have a qualified electrician make
the changes.
Make sure the voltage of your power supply
matches the specifications on the motor plate of
the machine.
1.
Disconnect machine from power source!
2. Remove screws that secure the cover to
connection box.
3. Insert the power cable through strain relief,
and attach the wires to terminals.
4. Re-install connection box cover. With 3-
Phase power verify in-feed roller is rotating
in the correct direction. Lower table
completely. Connect planer to the power
source and push the “ON” button to start the
planer. Crouch down to view in-feed roller
from the front of machine. The top of in-feed
roller should be rotating down towards you
in such a manner that it would pull a piece of
wood into the planer. If it does not,
disconnect machine from power source and
reverse any two incoming power leads.
5. When wiring is completed, tape all power
box joints to keep out dust.
Electrical Connections for a 1-Phase Unit
This planer is 1-Phase,
220V only
.
Make sure the voltage of your power supply
matches the specifications on the motor plate of
the machine.
1.
Disconnect machine from power source!
2. Remove screws that secure the cover to
connection box.
3. Insert the power cable through strain relief,
and attach the wires to the terminals.
4. Re-install connection box cover.
5. When wiring is completed, tape all power
box joints to keep out dust.
Содержание 4455
Страница 19: ......


