ENGLISH
EN - 21
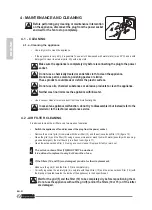
4 - MAINTENANCE AND CLEANING
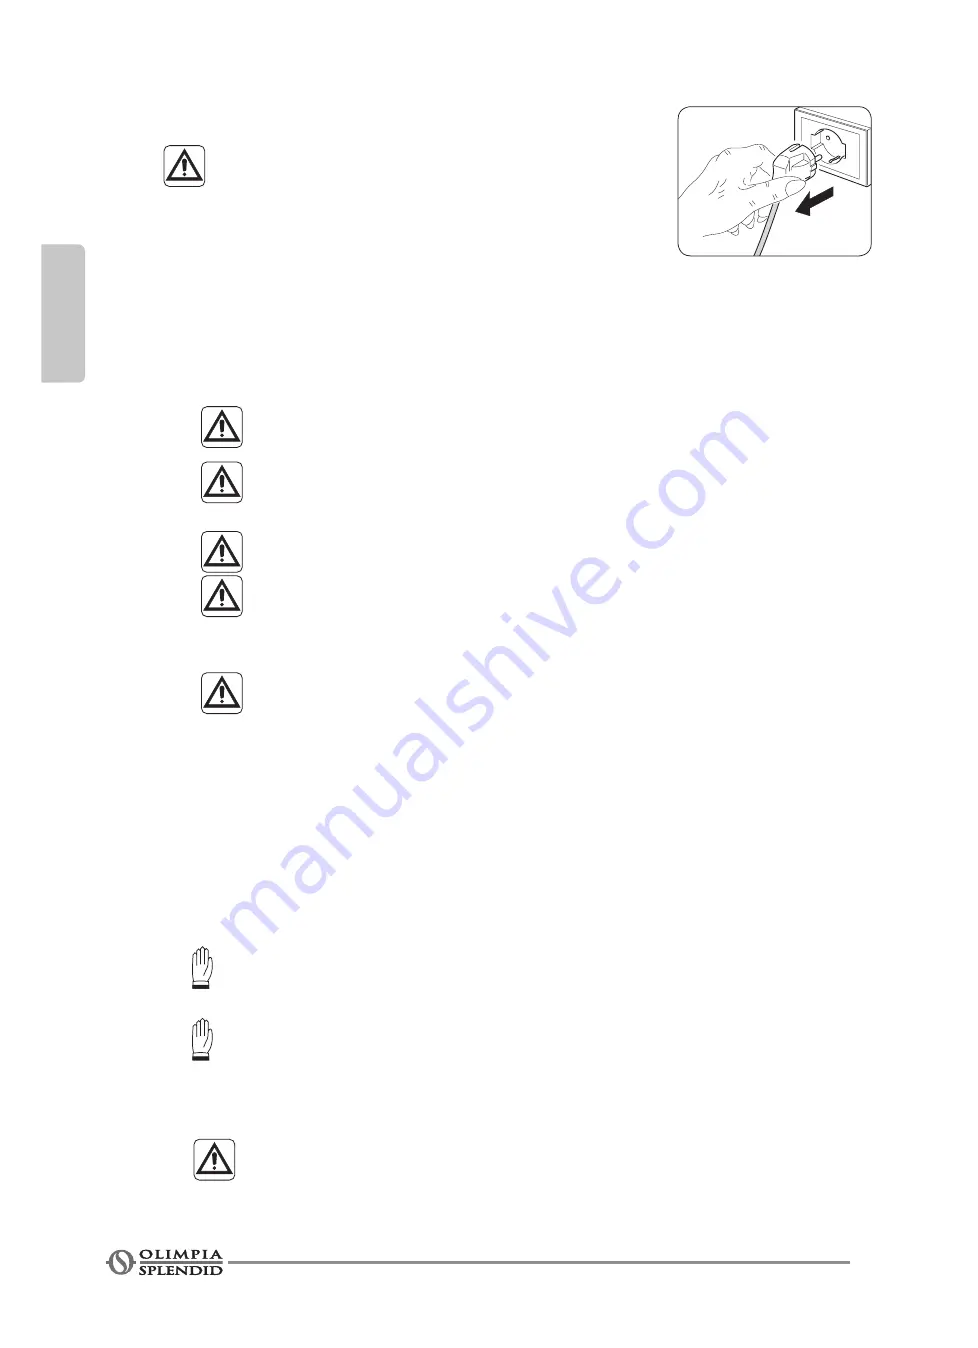
Before performing any cleaning or maintenance intervention
on the appliance, disconnect the plug from the power socket
and wait for the fan to stop completely.
4.1 - CLEANING
4.1.a - Cleaning the appliance
• Use a dry cloth to clean the appliance.
• If the appliance is very dirty, it is possible to use a cloth dampened with warm water (max 50°C) and a mild
detergent to clean its external parts. Dry with a dry cloth.
Make sure the appliance is completely dry before reconnecting the plug to the power
socket.
Do not use a chemically treated or antistatic cloth to clean the appliance.
Do not use petrol, solvents, polishing pastes or similar.
These products could break or deform the plastic surface.
Do not use oils, chemical substances or abrasive products to clean the appliance.
Neither wash nor immerse the appliance with/in water.
• Use a vacuum cleaner to remove dust from the air inlet/outlet grids.
In case of an appliance malfunction, do not try to disassemble it but instead refer to the
retailer or to the technical assistance service.
4.2 - AIR FILTER CLEANING
It is advised to clean the air filter every two weeks of operation.
•
Switch the appliance off and disconnect the plug from the power socket.
•
Remove the air inlet grid (5) complete with the air filter (10) and the active carbons filter (15) (figure 10).
•
Clean the grid (5) and the filter (10) using a vacuum cleaner or wash them with water (possibly with a non-ag
-
gressive detergent), then let them dry in a fresh room (figure 11).
•
Clean the active carbons filter (15) using a vacuum cleaner. Replace it if dirty or worn out.
The active carbons filter (15) MUST NOT be washed.
It is advised to replace it every 6÷12 months of use.
If the filters (10 and 15) are damaged, provide for their replacement.
•
Make sure the grid (5) and the filter (10) are completely dry.
•
Correctly reposition the air inlet grid (5) complete with the air filter (10) and the active carbons filter (15) (with
the black part pointed towards the inside of the appliance) in their specific seat.
Wait for the grid (5) and the filter (10) to be completely dry before repositioning them.
Do not use the appliance without the grid (5) and/or the filters (10 or 15) or if the latter
are damaged.
Содержание AQUARIA 18
Страница 2: ......
Страница 6: ...min 30cm min 20cm min 20cm min 70cm 1 5 3 2 4 min 2m min 2m 6 11...
Страница 7: ...Click 9 10 7 7 7 7b 8 T 14 5 13 11 10 10 5 10 5 15...
Страница 125: ...AQUARIA SLIM GR 2 0 0 1 0 2 0 2 1 Service SERVICE GR 1...
Страница 126: ...GR 3...
Страница 127: ...AQUARIA SLIM GR 4 0 3 1 OL PIA SPLENDID 2 3 4 5 6 7 8 9...
Страница 128: ...GR 5 10 11 OLIMPIA SPLENDID 12 13 14 15 16 17 18 19 11 2 20 21 22...
Страница 129: ...AQUARIA SLIM GR 6 A 23 24 25 26 27 28 29 3 30 3 31 5 32 33 20 30 1 34 4 35 36 37 38 39...
Страница 130: ...GR 7 40 41 41a 42 43 44 45 2 dvd player 6 46 47 48 49 50 51 52 5 C 35 C 53...
Страница 131: ...AQUARIA SLIM GR 8 54 55 56 AT 3 15A 0 4 X OLIMPIA SPLENDID 0 5...
Страница 132: ...GR 9 0 6 R290 1 R290 A3 2 3 4m2 4 R290 5 6 7 8 R290 9 10 11 12 13 14 15 16...
Страница 133: ...AQUARIA SLIM GR 10 17 18 19 20 21 22 a b c d e CO2 f...
Страница 134: ...GR 11 g h I...
Страница 135: ...AQUARIA SLIM GR 12 23 a b 24 25 26 27...
Страница 136: ...GR 13 25 OFN 28 OFN OFN OFN OFN 29 OFN...
Страница 137: ...AQUARIA SLIM GR 14 30 a b c d e f g h 80 i j k 31...
Страница 138: ...GR 15 32...
Страница 140: ...GR 17 1 3 5 20 30 1 7 9 7 1 4 ON OFF 1 Led led Led led 20 7 7 Timer TIMER 1 24 led TIMER led 00 TIMER...
Страница 142: ...GR 19 1 5 BLACKOUT blackout 2 2 1 3 1 a SS 2 2 a b c 5 d 20 30 cm 1 e f g h i...
Страница 144: ...GR 21 4 4 1 4 1 a 50 C 4 2 5 10 15 10 5 10 11 15 15 6 12 10 15 5 10 5 10 15 5 10 5 10 15...
Страница 146: ...GR 23 7 led 1 CL 5 C 41 F CH 35 C 95 F LO 20 HI 95 led POWER...
Страница 147: ......
Страница 148: ...261823B...

