


An action camera with dual purpose. When combined with a car charger, your Olfi will
start to record as soon as your engine is switched on, and will automatically stop
recording 2 minutes after you’ve switched the engine off.
Press the down scrolling key on the side of the camera to quickly access the shortcut menu for this
Mode and change some of the most popular settings.
Two other important settings to consider when using Dashcam Mode are
License No set
(a stamp of your car license plate
details on your footage) and
Time/Date
(setting the time and date on your Camera).
CAUTION:
Operating your camera while driving is dangerous. Use Power on Record mode to get your camera to automatically
start recording when you turn on your ignition. For an explanation of what each adjustable setting is, plus what to change and
when, please see
Setup Menu (Pages 14-22).
If you use your camera as a dashcam, we strongly recommend having a specific battery for Dashcam mode.
Consistently powering and recording will make your battery deteriorate quicker. Why not simply mark one
battery to identify which is your dedicated dashcam battery, and save your other batteries for normal use to
keep you recording for longer?
TIP
Dash Cam
– The option to turn your dashcam mode
On or Off.
Resolution
(1080/60fps – default)
Loop Recording
(Off – default). **We recommend you
set this for dashcam. We recommend setting this to a
minimum 3 minutes if you’re using dashcam mode for
evidential purposes only. It’ll write over your oldest
footage 3 minutes at a time when it reaches the end of
the memory card.
Time stamp
(Off – Default) **We recommend you set this for
dashcam.
Video File Format
(MP4 – Default)
Bit Rate
(Medium – Default)
Low Res File
(Off – Default)
Power On Record
(Off – Default) **We recommend you set this
for dashcam.
Sharpness
(Medium – Default)
If you purchase the Olfi one.five remote control accessory, you’ll need to pair your remote
controller with your camera. To do this, Select On in your Olfi Remote control menu, wait
for the Remote Control Pairing option to appear, and press the Video and Camera buttons
on your remote simultaneously to pair your two devices.
- Power Off Camera
- Wake Up Camera from Sleep Mode
- Video/Photo
- WiFi On/Off
- Burst Mode
Functions:
- Waterproof:
Yes (all black face and logos - 5
metres) or No (White Logos on black background
splash proof only)
- Interchangeable Battery:
No (all black face and
logos (waterproof) or Yes (White Logos on black
background (splashproof))
- Controls:
1 camera at a time only.
- Colour:
Black
- Frequency:
2.4G RF frequency
- Size:
3.50 x 1.00 x 26.50 cm / 1.38 x 0.39 x
10.43 inches (L x W x H)
Specifications
To turn off this mode, go into FPV and select the LCD option.
TIP
Starts recording when motion is sensed in front of the camera. This setting is handy for
security purposes.
Press the down scrolling key on the side of the camera to quickly access the shortcut menu
for this Mode and change some of the most popular settings.
- Resolution
(1080/60 default)
- Loop Recording
- When you get to the end of your
memory card capacity – it will begin to write over your
oldest footage (Off – default).
- Dual Capture
-Take a still at set intervals. Choose from:
Off (default), 3, 5, 10, 30 seconds or 1 minute.
- Rotate
(Off – default)
- FOV
(Off (wide) – default)
- HDR
(Off – default)
- Gyro Sensor
(Off – default)
- Audio on/off
(On – default)
- Audio sensitivity
(7 – default)
- Time stamp on/off
(Off – default)
- Video File format
(MP4 – default)
- Bit Rate
(Medium – default)
- Low Res File
(Off – default)
- Power on Record
(Off – default)
- Sharpness
(Medium– default)
- White Balance
(Auto – default)
- Colour
(Standard – default)
- EV
(+0.0 – default)
- Metering
(Average – default for firmware v2.2 and earlier, Centre
– default for firmware released from 2018)
- Distortion Correction
(Off – default)
For an explanation of what each adjustable setting is, plus what to change and when, please see
Setup Menu (Pages 14-22).
You can combine Burst Mode with Motion Detection Mode by accessing the quick menu when in Burst
Mode and enabling Motion Detection. Set up your camera, press the shutter button and as soon as motion
is detected, the camera will take a series of burst shots to capture the movement in a sequence. A good
option for a pre-planned action shot, or setting up a prank!
TIP
Rotate
(Off – default)
FOV
(Off (wide) – default)
HDR
(Off – default)
Gyro Sensor
(Off – default) **We recommend you set this
for dashcam.
Audio
(Off – default)
Audio Sensitivity
(7 – default)
White Balance
(Auto – Default)
Colour
(Standard – Default)
EV
(+0.0 – Default)
Metering
(Average – default for firmware v2.2 and earlier,
Centre – default for firmware released from 2018) **We
recommend you set this for dashcam.
Distortion Correction
(Off – Default)
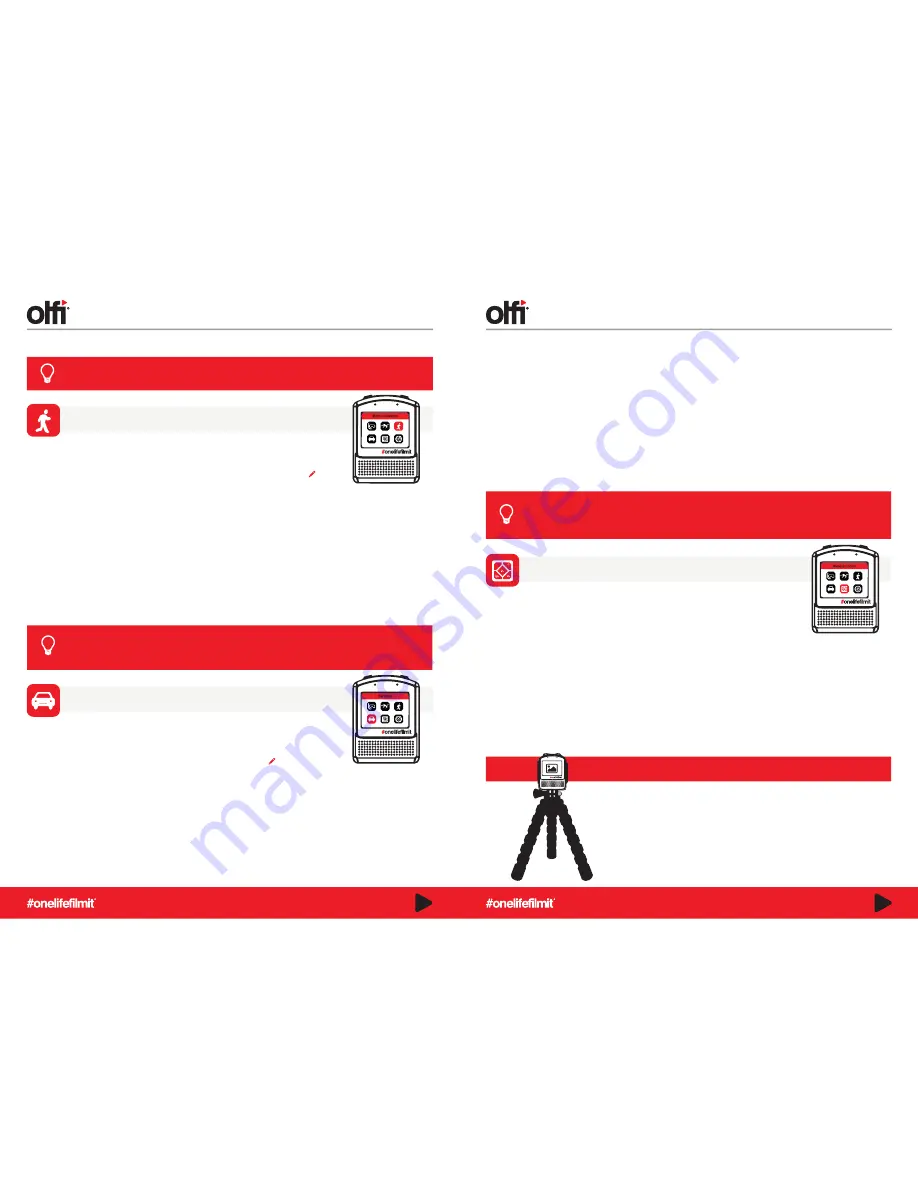
Say Cheeeeeese!
The Olfi can product some truly fantastic photography. We’re not claiming it’s
DSLR quality as you can’t increase the shutter speed past auto (1/60) but
you can slow it down to create some Instagram or Pinterest worthy snaps
that followers will be sure to like or pin. For all long exposure shots, we
seriously recommend mounting the camera on something stable and static to
get the best results – usually a tripod, or you will almost certainly get some
blur. You will also need to lower your ISO setting to compensate for the
brighter image produced by longer exposure, as it lets more light in, and one
last thing, we also find that having distortion correction set to off will generally
help you get the best from you long exposure shot.
FEATURE MODES
FEATURE MODES
Motion Detection
Dashcam (Car) Mode
Remote Control (Not Included)
What can I alter in the Motion Detection quick menu?
What can I alter in the Dashcam quick menu?
12
13


