40
Operating modes
calibration.
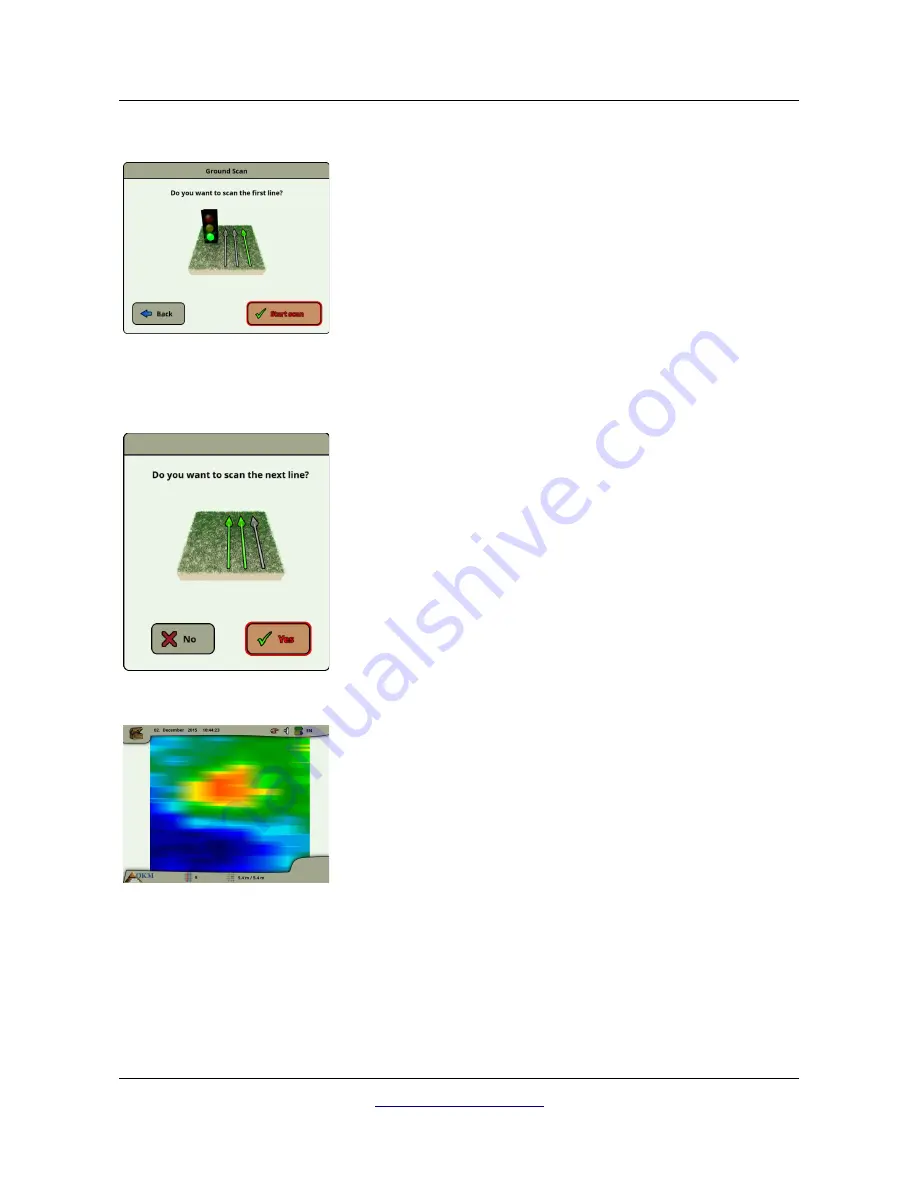
After adjusting all your scan settings, you will be asked if you want to
scan the first line. Select the "Back" button if you want to readjust
your settings or select the "Yes" button to start scanning the first line
right away.
Alternatively you can also use the start/stop button of the telescopic
rod assembly to start the measurement, which is of more comfort,
because now it is important to start walking immediately. The eXp
6000 is now recording data. As soon as your first scan line is finished
a new message will appear.
Keep in mind that in automatic scan mode you have to stop the first
scan by pushing the start/stop button again on the end of the line.
Before you are going to scan the next scan line, you have to go to the
starting point of the upcoming line, which depends on your active scan
mode (parallel or zig-zag). See details in section 7.2.1 “Scan Mode” on
page 73.
Now you have to select the button "Yes" or push the start/stop button
of the telescopic rod assembly to start scanning another line of your
field.
Repeat this procedure until your complete area is scanned. Step by
step a graphical representation will appear on the screen of the eXp
6000. If you have scanned all your lines and you want to finish your
current scan select the “No” button.
The graphic where a target is present should primarily be a green
color for the background. The blue area represents cavernous objects
in the ground. The red/orange object (in this example) is a
ferromagnetic object. Metallic objects are normally represented in red
for non-ferrous items, red and blue for ferrous items and blue for
cavities, water reserves and earth interferences.
Areas where ground mineralization is present is often shown with the
full variety of colors. It is important that when doing a scan, that the
objects in the ground do not move.
Remember: “Real Targets Don't Move!”
OKM GmbH
www.okmmetaldetectors.com
Содержание eXp 6000
Страница 1: ...FS Future Series eXp 6000 User s Manual ...
Страница 7: ...1 Introduction CHAPTER 1 Introduction ...
Страница 12: ......
Страница 13: ...2 Technical Specifications CHAPTER 2 Technical Specifications ...
Страница 16: ......
Страница 17: ...3 Scope of Delivery CHAPTER 3 Scope of Delivery ...
Страница 26: ......
Страница 82: ......


