background image

9

IMPORTANT! 

READ THIS OWNER’S MANUAL CAREFULLY, BEFORE USING THE MACHINE!

Introduction

You are now the proud owner of an Okki Nokki Record Cleaning Machine or RCM.

It will give you many years of good service if you read and follow this instruction manual.

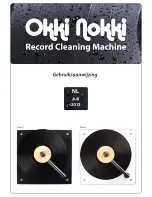
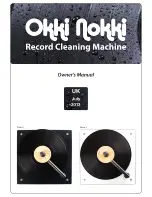
Photo 1: the Okki Nokki record cleaner in black                                   

Photo 2: the Okki Nokki record cleaner in white


The record cleaner is suitable for 115 Volts or 230 Volts AC. For safety reasons it is advisable to 

always plug the machine into an earthed wall socket. Do not operate the machine in damp conditi-

ons. It is easy to use and has built-in safety devices to avoid damage to the machine from misuse.

Unpacking

After opening the cardboard box and removing the four protective corners, take out the supplied 

accessories – 2 padded bags and an IEC UK mains lead, after which you should lift the machine 

with both hands, out of the box. 

On no account, try to lift the machine by the turntable!

Keep all the packaging for any subsequent shipping.

Accessories

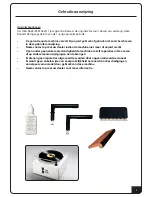
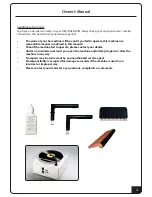
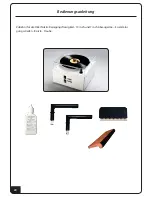
Accessories supplied with the machine: standard LP suction arm, cleaning brush, cleaning fluid, 

record clamp and an earthed IEC mains cable. NB. The small bottle of cleaning fluid is a concentrate 

and requires mixing with a liter of purified water – not battery or steam iron top-up, not tap water 

but purified water which is available from most chemists. When mixed, the fluid should be kept in a 

cool, dark place. The small bottle which contained the concentrate can be used to apply the fluid to 

the record.

Installation

Place the record cleaner on a clear, clean dry surface. Make sure that the cleaner is in a stable posi-

tion on a sturdy table or stand. Position the cleaner in such a way as to ensure that it is situated at 

a comfortable working height. You will have to keep in mind that there may be the possibility of 

a leakage of fluid onto the table or other base. It might help to place a towel or similar absorbent 

material under the cleaner, in order to protect the surface underneath. Please provide ample venti-

lation around the machine at all times. 

Warning

!

Aluminum suction arm

Place the suction arm in the aperture provided for it, at the right hand, front side the machine. 

Place the arm parallel with the side, towards the rear of the machine (photo 3). Note that there are 

2 small pins or lugs protruding from either side of the tube that sits in the aperture. You will also 

note, two corresponding cut-outs in the top of the aperture.

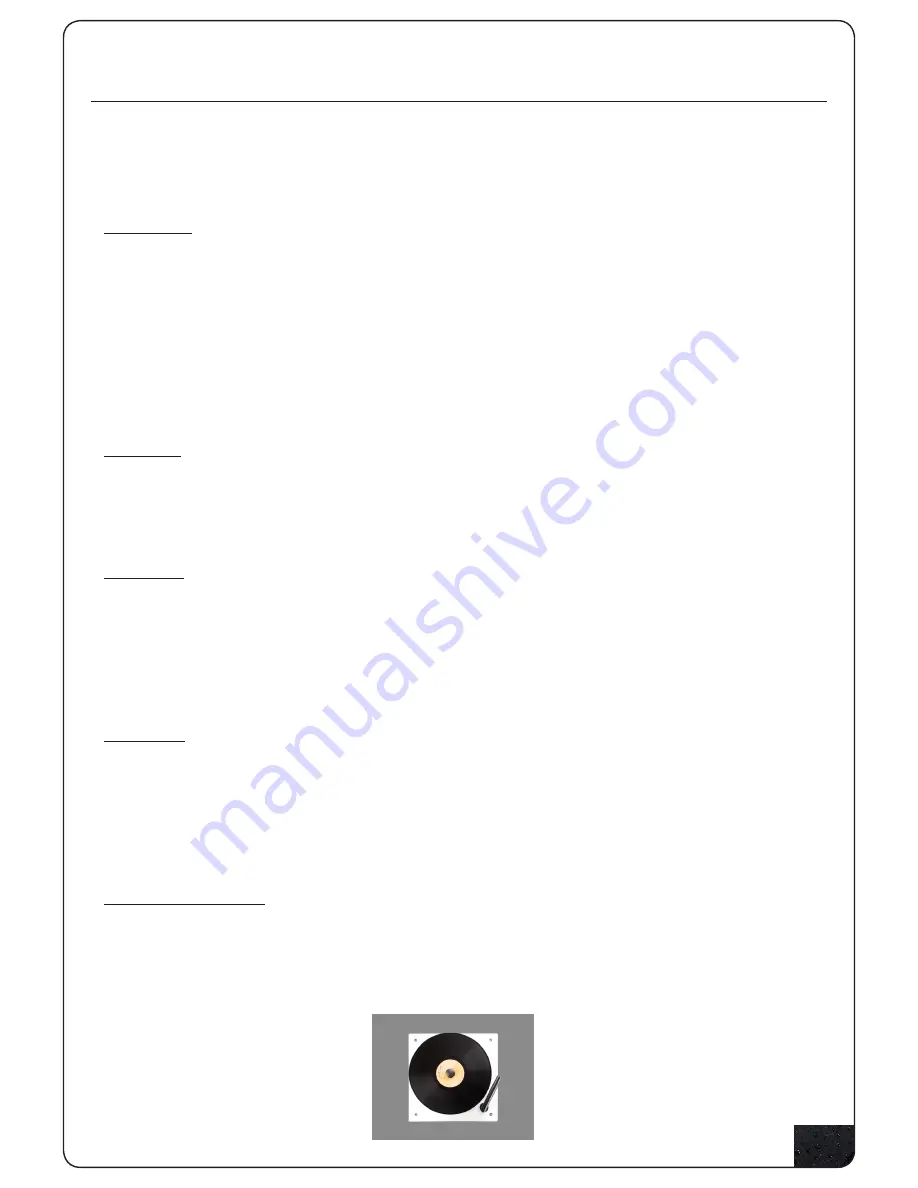
Photo 3: position of the suction arm

Owner’s Manual

Содержание Record Cleaning Machine

Страница 1: ......

Страница 2: ......

Страница 3: ...soires Bijgeleverd zijn een standaard afzuigarm een applicatieborstel een flesje reinigingsvloeistof een platenklem en een geaard netsnoer NB het flesje reinigingsvloeistof is een concentraat en dient...

Страница 4: ...ergelijk geval komt de garantie per direct te vervallen Reinigingstest Wij bevelen een testronde aan op een oude onbelangrijke elpee om er zeker van te zijn dat de machine goed is ingesteld en juist w...

Страница 5: ...g de zuigarm rich ting achterzijde van het apparaat en zet de motor van het plateau uit Onthoud goed zet eerst de zuigmotor uit en dan de motor van het plateau Verwijder de klem draai de elpee om en h...

Страница 6: ...de strips na circa 200 kanten en vaker indien noodzakelijk Zeer oude en vervuilde elpees dienen meerdere malen een schoonmaakbeurt te krijgen Vervang altijd de binnenhoes van een elpee bij de eerste...

Страница 7: ...Neem contact op met uw dealer indien de machine niet meer of onjuist werkt Open onder geen enkele omstandigheid de machine om zelf reparaties uit te voeren of op andere manier wijzigingen aan te bren...

Страница 8: ......

Страница 9: ...bottle of cleaning fluid is a concentrate and requires mixing with a liter of purified water not battery or steam iron top up not tap water but purified water which is available from most chemists Wh...

Страница 10: ...practice run on an old unwanted LP in order to ensure that the machine is set up and working correctly and to acquaint yourself with the correct cleaning procedure Cleaning operation Place the record...

Страница 11: ...and now repeat the process on side 2 Emptying the cleaning liquid reservoir After having cleaned 20 30 LPs the waste liquid has to be drained from the reservoir Failure to drain the reservoir on a reg...

Страница 12: ...dirt wear and damage Make sure there is no build up of debris and after each cleaning session brush off with your finger or a soft child s toothbrush is ideal Change strips after approx 200 sides more...

Страница 13: ...nsible manner as advised in this manual Should the machine fail to operate please contact your dealer Under no circumstances must you open the machine and attempt repairs or alter the machine in any w...

Страница 14: ......

Страница 15: ...ne Fl schchen Reinigungskonzentrat wird mit 1 Liter destilliertem Wasser verd nnt Die gemischte Fl ssigkeit sollte an einem dunklen und k hlen Platz aufbewahrt werden Das kleine Fl schchen in dem das...

Страница 16: ...mit der schwarzen Kappe sicher verschlossen ist WARNUNG Benutzen Sie niemals die Maschine ohne die sicher verschlossene schwarze Kappe Reinigungstest Wir empfehlen Ihnen einen Testdurchlauf an einer...

Страница 17: ...Schallplatten besch digen Schalten Sie den Saugmotor aus und heben Sie den Arm gleichzeitig an Drehen Sie nun den Ab saugarm wieder zum Rand der Plattenwaschmaschine zur ck Bei stark verschmutzten Sch...

Страница 18: ...dort nur wenig oder gar keine Fl ssigkeit vorhanden ist Dies kann folgende Ursache haben Sie verwenden eine Mischung auf Alkoholbasis die dazu neigt durch die W rme die von der Maschine entsteht zu v...

Страница 19: ...nd 12 Absaugarme Reinigungsmittel Samtstreifen B rste Haube Wartung Der Drehteller sollte regelm ig mit einem herk mmlichen Hausstaubsauger abgesaugt werden Reinigen sie das Geh use mit einem feuchten...

Страница 20: ...20 Zubeh r f r die Okki Nokki Reinigungsfl ssigkeit 10 inch und 7 inch Absaugarme Ersatzreini gungsstreifen B rste Haube Bedienungsanleitung...

Страница 21: ......

Страница 22: ...nettoyage liquide de nettoyage fixation ronde du disque c ble avec prise de terre Merci de bien noter que le petit fla con de liquide de nettoyage est un concentr et n cessite un m lange avec un litr...

Страница 23: ...e le tube plastique de drainage l arri re de la machine est en position ferm e avec le bouchon noir en place Avertissement ne jamais utilisez la machine sans le bouchon noir en place En aucun cas vous...

Страница 24: ...r tout absorber En proc dant davantage de tours vous pourriez endommager votre disque teignez le bouton d aspiration et le bras se soul ve automatiquement gr ce au res sort int gr dans le bras Tournez...

Страница 25: ...ev e la machine se coupe automatiquement Dans ce cas teignez compl tement la machine et attendez au moins 30 minutes avant de la r utiliser Recommandations et conseils pratiques Maintenez votre machin...

Страница 26: ...perdez la garantie sur cette machine si vous ne suivez pas la proc dure d utilisation de cette machine de mani re responsable Si la machine ne fonctionnait pas contacter s v p votre distributeur En au...

Страница 27: ......

Страница 28: ......

Страница 29: ......

Страница 30: ......

Страница 31: ......

Страница 32: ......

Страница 33: ......

Страница 34: ......

Отзывы: