DDR-04 / DDR-08 / DDR-16 User’s Manual
R201401-V29
32
6.1.6
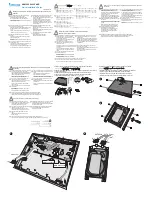
Manual alarm
User can check the relevant parameters of manual alarm to active emergency warning
6.1.7
Disk manager
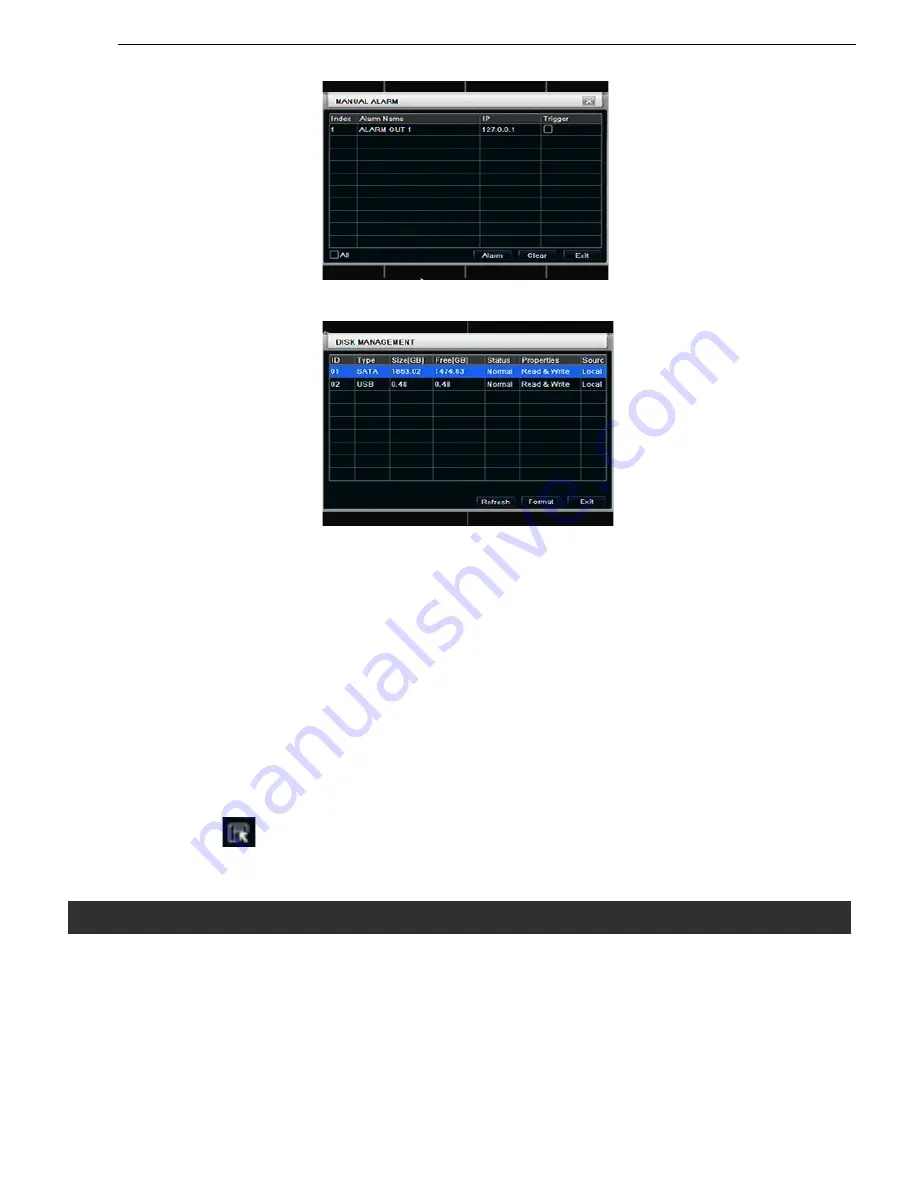
Step1: enter into disk manager interface; refer to Fig 6-7:
Fig 6-7 disk manager
Note: please format the hard disk before record. If not being formatted, it will show the status of the disk-free
space, and total space show OM at the bottom of screen.
Step2: click Refresh button to refresh the disk information of the list box; set the property of the disk then click Apply
button to save the setting
Step3: checked a hard disk, click Format button to star format.
Note: all recorded files in the hard disk will be lost after formatted.
6.1.8
Upgrade
At present, it only supports USB update. Get the firmware from your vendor when there is a new firmware version,
and make sure it is corresponding with the DVR. User can check the USB information in Disk manager.
6.1.9
Logoff
Click Log off icon, a log off dialogue box will popup, click OK button, the device will log off. If user wants to log in
again, click icon to enter into user name and password to relogin.
6.1.10
Shut Down
Note: DVR going to power off
7.1 Accessing DVR
If making remote view, the DVR must connect with LAN or internet. Then enable network server in the unit. Please refer
to 4.6 Network Configuration.
This unit supports IE browser, without any client software installed. It supports Win 7, XP and Vista.
7.1.1 On LAN
Step1: Input IP address, Subnet, Gateway. If using DHCP, please enable DHCP in both the DVR and router. Enter
Menu—Information—Network, and user can check the network configuration of DVR.
Step2: Enter Video to set network video parameters like resolution, frame rate etc.
Step3: Open IE browser on a computer on the same LAN. Input the IP address of the DVR in IE address blank and
enter.
7. Remote Surveillance