


2
USB Addendum
Connecting the USB Cable
Due to the number of possible variants of operating systems
it is not possible to describe every combination.
Terminology may vary between Windows operating systems
and some knowledge is assumed. If you are unsure how to
proceed, you should consult your computer documentation
or system manager for details. This example uses Windows
2000 Professional.
1. Ensure the printer and computer are easily accessible and
turn both units off. This is not strictly necessary but may
prevent any problems being caused by the accidental
dislodging of power or other cables.
2. With the printer facing front, the USB port is situated on
the left hand side at the rear of the printer. The small round
connector on the top of the printer is for use by the cut
sheet feeder connector (CSF).
3. Plug the B-Male connector into the USB port on the back
of the printer.
4. Plug the A-Male connector into the computer’s USB port
or into a suitable USB hub.
5. Switch on both the computer and printer.
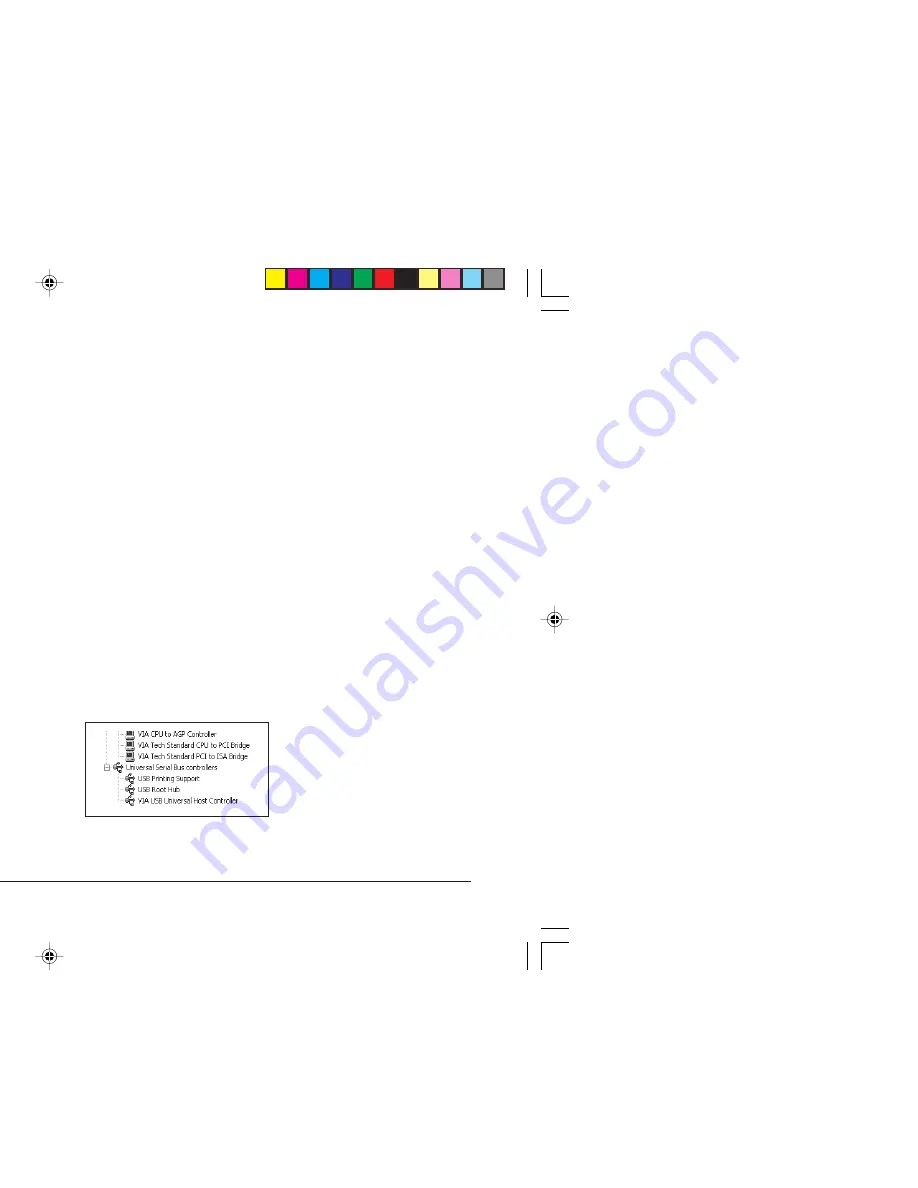
6. The printer will be identified immediately by the New
Hardware Wizard and install itself in the Printer folder.
An additional item, USB Printing Support will also appear
in the Device Manager each time the printer is switched
on and connected.
USB Port
Device Manager: part
listing showing active
USB connection
USB addendum2.P65
09/04/02, 10:50
2
Содержание ML3390
Страница 1: ...English 22 03 96 16 04...
Страница 15: ...1 English 4 Unpack the new ribbon cartridge 3 Remove and discard the used ribbon cartridge 22 03 96 16 04...
Страница 17: ...3 English 6 Turn the printer on 7 Press FF LOAD access FF LOAD M N ITEM Micro Feed Up 22 03 96 16 05...
Страница 45: ...29 English 22 03 96 16 05...


