9
•
English
Walk-Up Operation
Copy / Scan / Fax (cont.)
Scan to USB Memory
Note
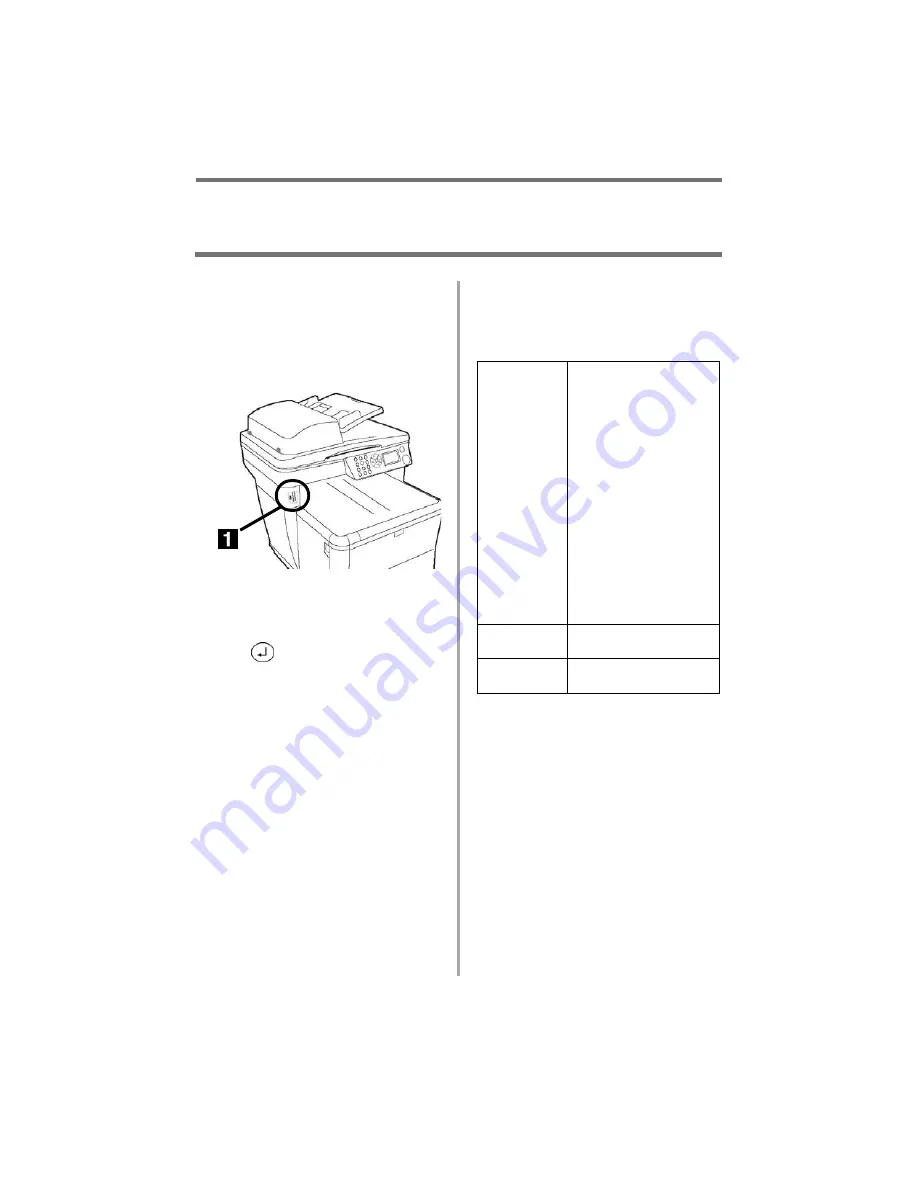
This option is only available if
USB Memory is plugged into the
USB port (1) on the front of the
machine.
1. Load the document (see p. 6).
2. If prompted [Enter PIN], key in
your PIN and press the Enter
key (
).
3. Press the Down arrow key to
highlight [Scan
]
.
4. Press the Enter key.
5. Press the Down arrow key to
highlight [USB Memory].
6. Press the Enter key.
7. Make your settings* on the
display using the Up, Down, Left
and Right Arrow keys and the
Enter key.
8. Press the Start Color or Start
Mono key.
*USB Memory Settings
See the on-line User’s Guide on the CD
supplied with your system or check with
your system administrator for more
information.
File Name
Enter the file name for
the scanned image.
If no file name is entered
and you have not
specified your own
Default File Name, the
file name used is
"Image."
Note: When scanning
multiple documents from
the ADF, the image file is
divided by page and
saved. The file name is
"file name-###," (###
= number between 000
and 999 automatically
allocated to each page).
Density : 0
Set the print density
higher or lower.
Letter
Set the print media size
(A4, Letter, Legal).


