


Configuring Copy Settings
- 76 -
4
Press the until the start screen is
displayed.
Note
z
When [
Paper Feed
] is set to [
Auto
], some values cannot
be selected. The selectable values differ according to the
selected scan size.
z
With some ratios, parts of the document's image may be
missing or margins may appear on the copied outputs.
Memo
z
When [
Paper Feed
] is set to [
Auto
], the paper tray is
automatically selected according to the selected zoom
ratio. If you want to use a specific paper tray, reconfigure
the [
Paper Feed
] setting.
z
A paper tray that holds paper other than A4, B5, A5, A6,
letter, legal 13/13.5/14, or executive is not selected even if
[
Paper Feed
] is set to [
Auto
]. To select the desired paper
tray, reconfigure the [
Paper Feed
] setting.
Setting the Zoom Ratio Using the
ten-key pad
1
Press the to enter the [
Change
Settings
] menu.
2
Press the to select [
Zoom
] and then
press .
3
Press the to select [
Zoom
(25~400%)
] and then press .
4
Enter the zoom ratio from 25 to 400%
using the ten-key pad and then press .
- You can set the ratio in 1% increments.
- If you have entered an incorrect value, press the
<
CLEAR
> key and then enter the correct value.
5
Press the until the start screen is
displayed.
Enabling Continuous Scan Mode
(Continuous Scan)
If you want to copy multiple sets of documents
as a single copy job, enable the continuous scan
mode. It is useful when using [
Sort
], [
N-in-1
],
or [
Duplex Copy
] functions.
Memo
z
Continuous Scan Mode is also available for faxes, internet
faxes, as well as for scan functions. You can configure
faxes from [
Applied Settings
], and internet faxes and
scans from [
Reading Settings
].
Reference
z
For details on the [
DuplexCopy
] functions, refer to
"Making Duplex Copies (Duplex Copy)"
.
z
For details on the [
Sort
] and [
N-in-1
] functions, refer to
the User's Manual Advanced.
1
Press the to enter the [
Change
Settings
] menu.
2
Press the to select [
Continue Scan
]
and then press .
3
Press the to select [
ON
] and then
press .
4
Press the until the start screen is
displayed.
Copying With Continuous Scan
Mode
With the continuous scan mode, you can copy
your documents from the ADF or document
glass, or both of them.
1
Place the first document with text face
up in the ADF or face down on the
document glass.
2
Configure the copy settings if necessary.
Change other copy settings as required.
3
Enter the number of copies with the ten-
key pad.
4
Press
to start scanning the first
document.
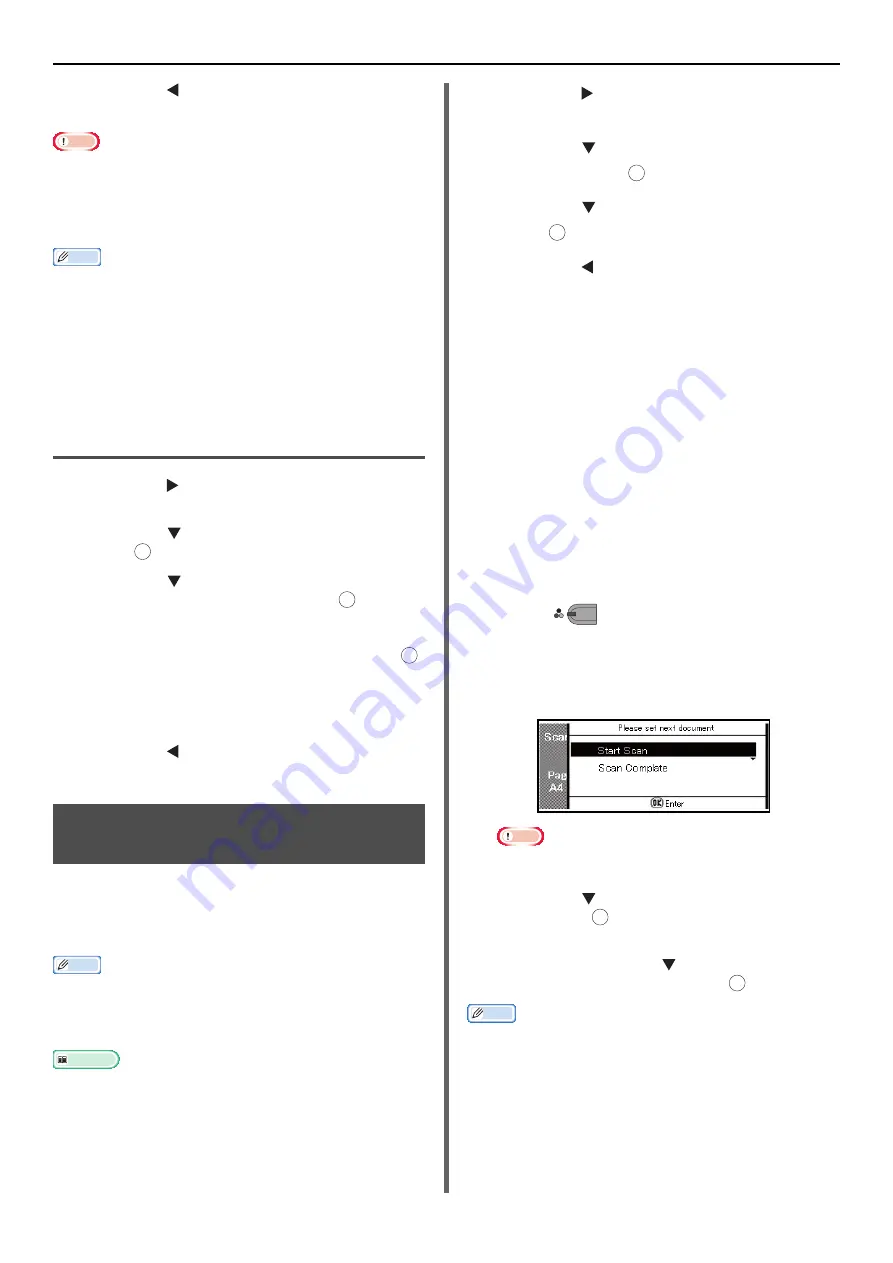
5
When the [
Please set next document
]
screen is displayed, place the next document
in the ADF or on the document glass.
Note
z
When changing the place to load the next document, be
sure to remove the document from the place you used first.
6
Press the to select [
Start Scan
] and
then press .
7
When all sets of the documents are
scanned, press the to select [
Scan
Complate
] and then press .
Memo
z
When making N-in-1 and/or duplex copies using the
document glass, the [
Please set next document
] screen
is displayed after scanning the documents even if
[
Continue Scan
] is set to [
OFF
].
z
For fax, internet fax and scan functions, please follow
procedures 5-7 after the first page of the document has
started to be read.
OK
OK
OK
OK
OK
M
ONO
OK
OK


