


- 166 -
9. Troubleshooting
Print Problems
• Common to Windows and Mac OS X
• For Windows
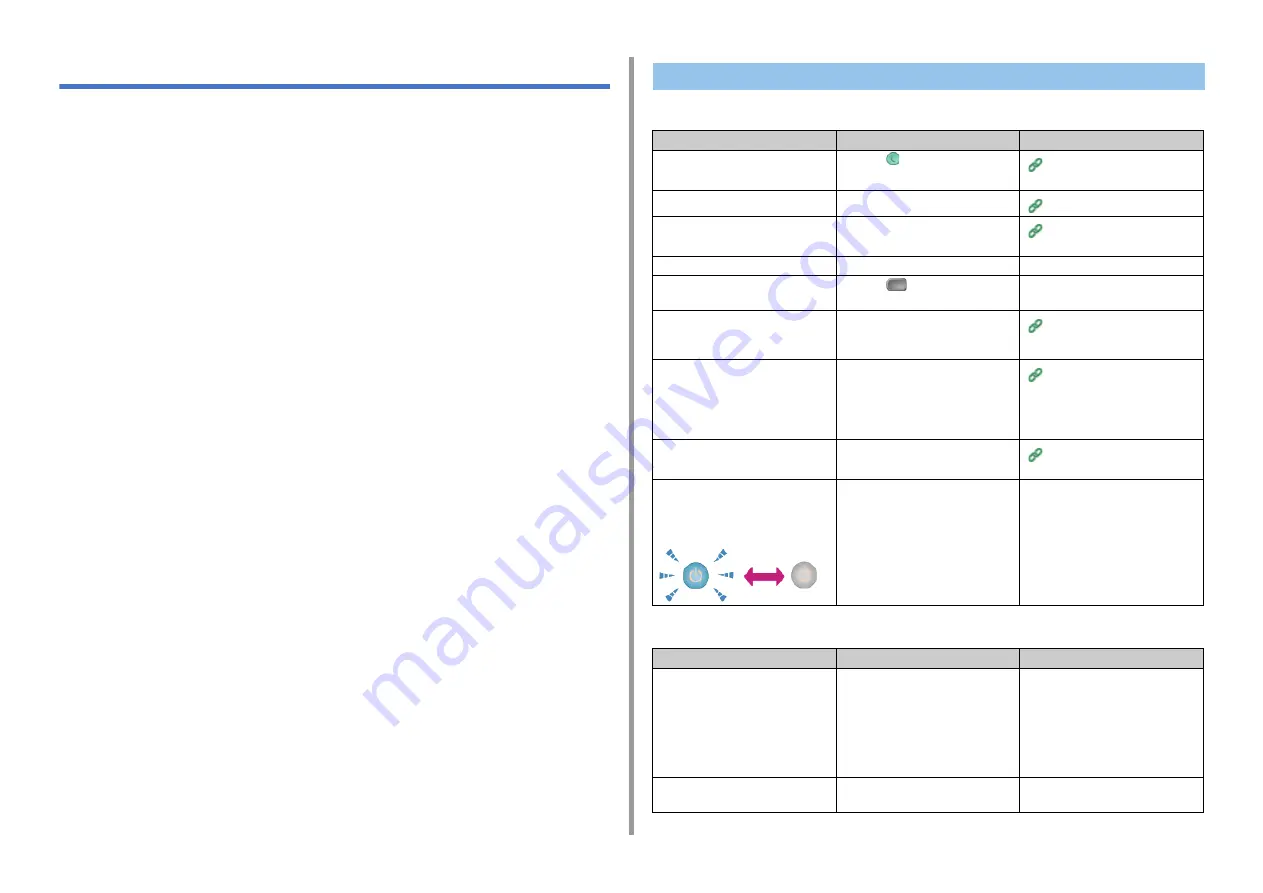
Unable to Print
Cause
Solution
Reference
The machine is in Sleep mode or
Deep Sleep mode.
Press the
(POWER SAVE) button
to enter standby status.
Saving Power Consumption with
the Power Save Function
The machine is turned off.
Turn the machine on.
A LAN cable or USB cable is
unplugged.
Check that the cable is plugged into
the machine and computer properly.
Connecting This Machine to a
Computer
There may be a problem with a cable. Replace the cable with a new cable.
-
The machine is offline.
Press the
(PRINT) button, and
then select [Online].
-
An error message is displayed on the
touch panel.
Check the error messages displayed
on the touch panel or press [?] on the
touch panel.
The interface setting is disabled.
Whether there is a consistency with
the machine's settings and the
network connection environment,
check the settings of the interface that
you are using on the operator panel.
Connecting This Machine to a
Computer
There is a problem with the print
function.
Check if the menu map can be
printed.
Checking the Information of the
Machine (Advanced Manual)
The power switch LED lamp quickly
flashes at approximately 0.3-second
intervals.
A malfunction may occur in the
machine. Unplug the power cord
immediately, and then contact your
dealer.
-
Cause
Solution
Reference
The machine is not set as the default
printer.
Set the machine as the default printer.
Right-click the [OKI MC573] icon on
the [Devices and Printers] folder, and
then select [Set as Default Printer] (if
multiple drivers are installed, select
[OKI MC573*]).
* Select the required driver type.
-
The output port of the printer driver is
incorrect.
Select the output port for connecting
the LAN cable or USB cable.
-
Содержание ES5473
Страница 1: ...MC573 ES5473 MFP User s Manual...
Страница 16: ...16 2 Setting Up Side view when the additional tray unit is installed...
Страница 21: ...21 2 Setting Up 13 Hold the handle B to close the scanner unit...
Страница 34: ...34 2 Setting Up 1 Plug the power cord into the power connector 2 Plug the power cord into the outlet...
Страница 41: ...41 2 Setting Up 7 Replace the paper cassette into the machine Push the paper cassette until it stops...
Страница 46: ...46 2 Setting Up 9 Make sure that the software is successfully installed and then click Complete 10 Click Next...
Страница 75: ...4 Copy Copying Cancelling Copying Specifying the Number of Copies Descriptions of Screens for Copy...
Страница 99: ...99 6 Print 5 Change the settings in each tab to suit your needs 6 Click OK 7 Click Print on the Print screen...
Страница 111: ...111 6 Print Supply Levels Panel Item Description 1 Consumables Displays the remaining amount of consumables...
Страница 113: ...7 Fax Basic Operations of Fax Functions Setting for Receptions Names and Functions of Screen Items for Fax...
Страница 116: ...116 7 Fax A fax that is being sent is displayed on the top of the list 5 Press Yes on a confirmation screen...
Страница 194: ...46472402EE Rev1...