


Menu functions > 24
M
ENUS
P
RINT
JOBS
MENU
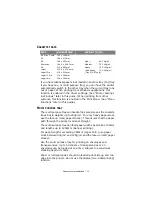
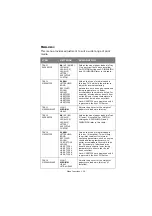
This menu only appears when the hard disk drive is installed. It
is used for printing documents stored on the internal hard disk.
These will be stored using either the secure printing feature or
the proof and print feature. Please refer to these features in the
Printing Guide for instructions on how to use them.
You will be prompted for your password or personal identification
number (PIN). The
+
/
–
keys are used to enter each digit and the
ENTER
key to advance from one digit to the next.
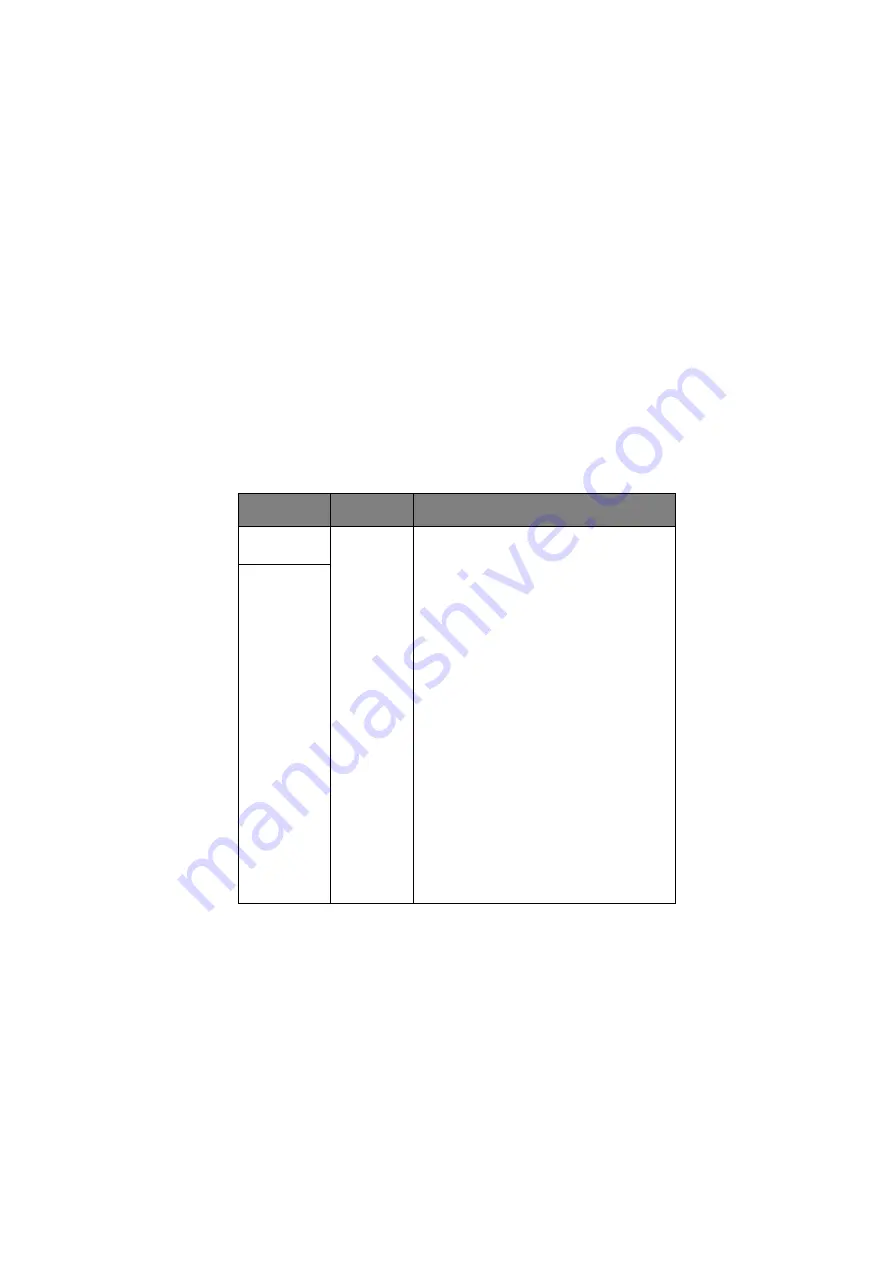
ITEM
ACTION
EXPLANATION
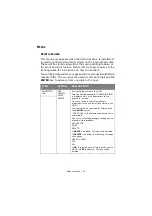
ENCRYPTED
JOB
NOT
FOUND/
DELETE
Encrypted Job stored in the HDD.
After inputting a password, “SEARCHING JOB”
is displayed until a job appropriate to the
password is found.
(the time taken to search increases in
proportion to the number of jobs stored in the
HDD.)
The search can be cancelled by holding down
the
CANCEL
button.
“NOT FOUND” will be displayed where a file is
unavailable.
One of the following messages will appear if a
printable file is available.
SECURE JOB
PRINT
DELETE
If
is selected, ALL jobs will be printed.
If
DELETE
is selected, the following message
will appear.
ARE YOU SURE?
YES
NO
If
NO
is selected you will return to the source
MENU. If
YES
is selected, ALL jobs will be
deleted.
Содержание ES2232a4
Страница 1: ...User s Guide ES2232a4 ES2632a4...