2.SENDING A FAX
Specifying Recipients 19
2 SENDING A FAX
7
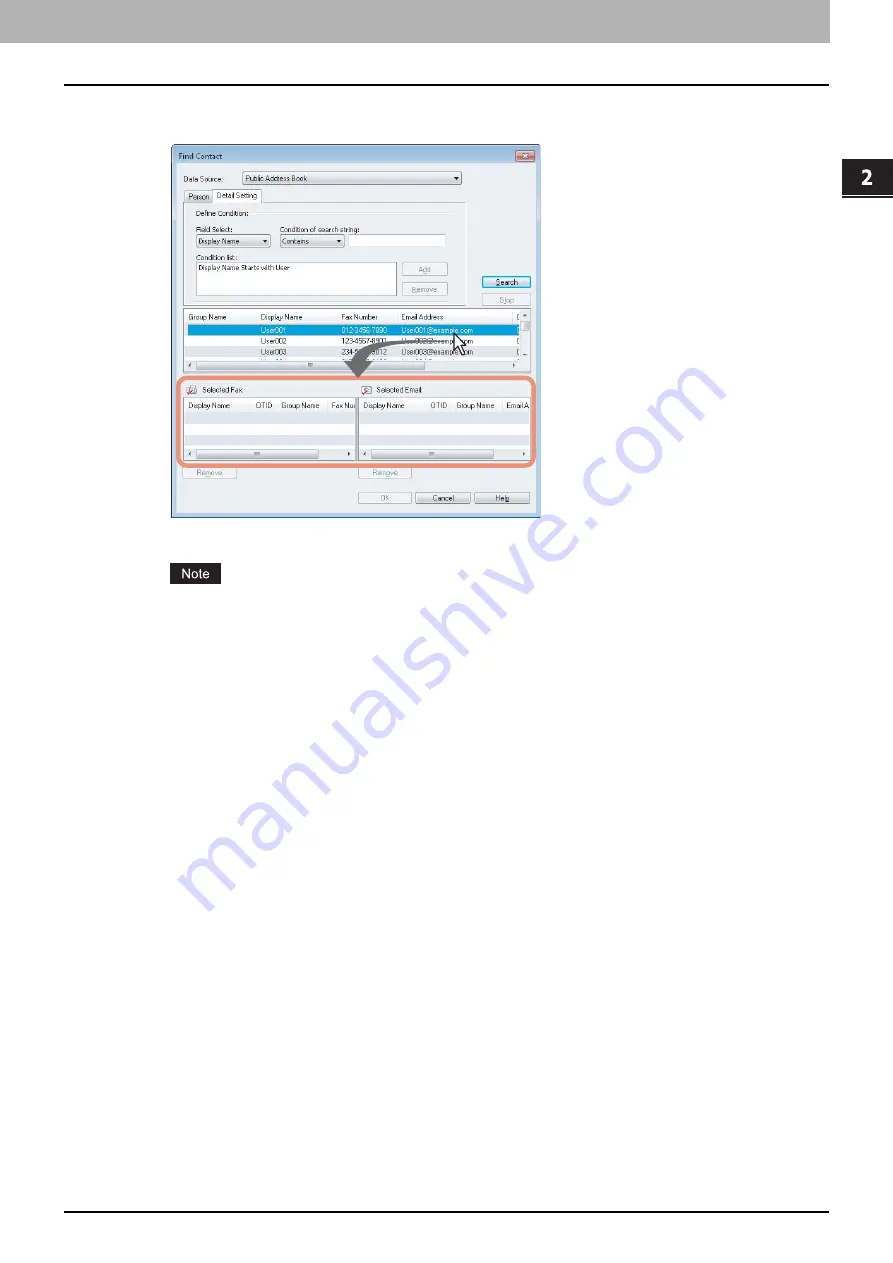
Drag and drop the contacts to “Selected Fax” or “Selected Email” from the list of the
search results.
The selected recipients are listed in “Selected Fax” or “Selected Email”.
A contact, for which only a fax number is registered, cannot be displayed in the “Selected Email” and a contact,
for which only an Email address is registered, cannot be displayed in the “Selected Fax”.
You can select a recipient by the following operations:
Selecting a contact by double-clicking on it
Double-click on a contact in the list of the search results. To change the setting of the recipient to be selected upon
double-clicking, select [Default Configuration], [Type Selection] in the [View] menu and then one of [Fax], [Email]
and [Both].
Selecting a contact from a shortcut menu
Right-click on the contact in the list of the search results, select [Select] from the shortcut menu and then either
[Fax Number] or [Email].
Removing a recipient
Select a recipient in the “Selected Fax” or “Selected Email” and click the corresponding [Remove] (Left: fax
number, Right: Email address).
Содержание CX4545 MFP
Страница 6: ...4 CONTENTS...
Страница 7: ...1 OVERVIEW This chapter provides an overview of the Network Fax features Features and Functions 6...
Страница 46: ...44 INDEX...
Страница 47: ...ES9460 MFP ES9470 MFP CX3535 MFP CX4545 MFP ES9160 MFP ES9170 MFP...
Страница 48: ...www okiprintingsolutions com Oki Data Corporation 4 11 22 Shibaura Minato ku Tokyo 108 8551 Japan 45105902EE...


