4
F
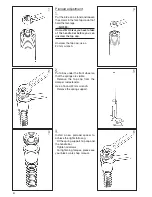
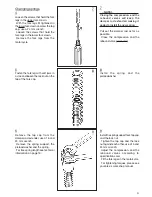
Spring preload is adjusted with spacers,
see “Preload adjustment“ on page 8.
Maximum allowed spring preload is
13 mm.
If you need to preload the springs more
than 13 mm, we recommend you to
change to a “stiffer“ spring.
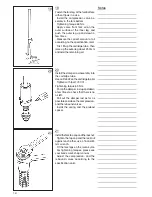
Checking rear static sag
A
Put your bike on a stand. Arrange the
stand so that the rear wheel is off the
ground and the rear suspension fully
extended.
B
Measure the distance between the
rear wheel axle and a point near the
rear end of the seat, for example a
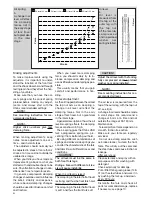
seat bolt, fig 4 distance A.
Make a note of the measurement.
C
Remove the stand. With the wheels
on the ground measure the distance
again, fig 4 distance B.
The difference of the two measure-
ments is the static sag.
NOTE!
Refer to mounting instruction for
more specific set-up data.
D
The static sag should be 45
±
10 mm.
E
If the static sag is
less
than 35 mm,
you need to reduce spring preload.
If the static sag is
more
than 55 mm,
you need to increase spring preload.
F
Adjust the spring preload according to
your rear shock mounting instruction.
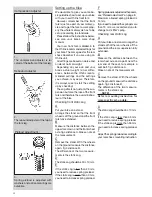
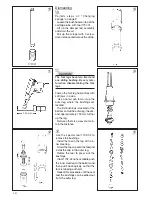
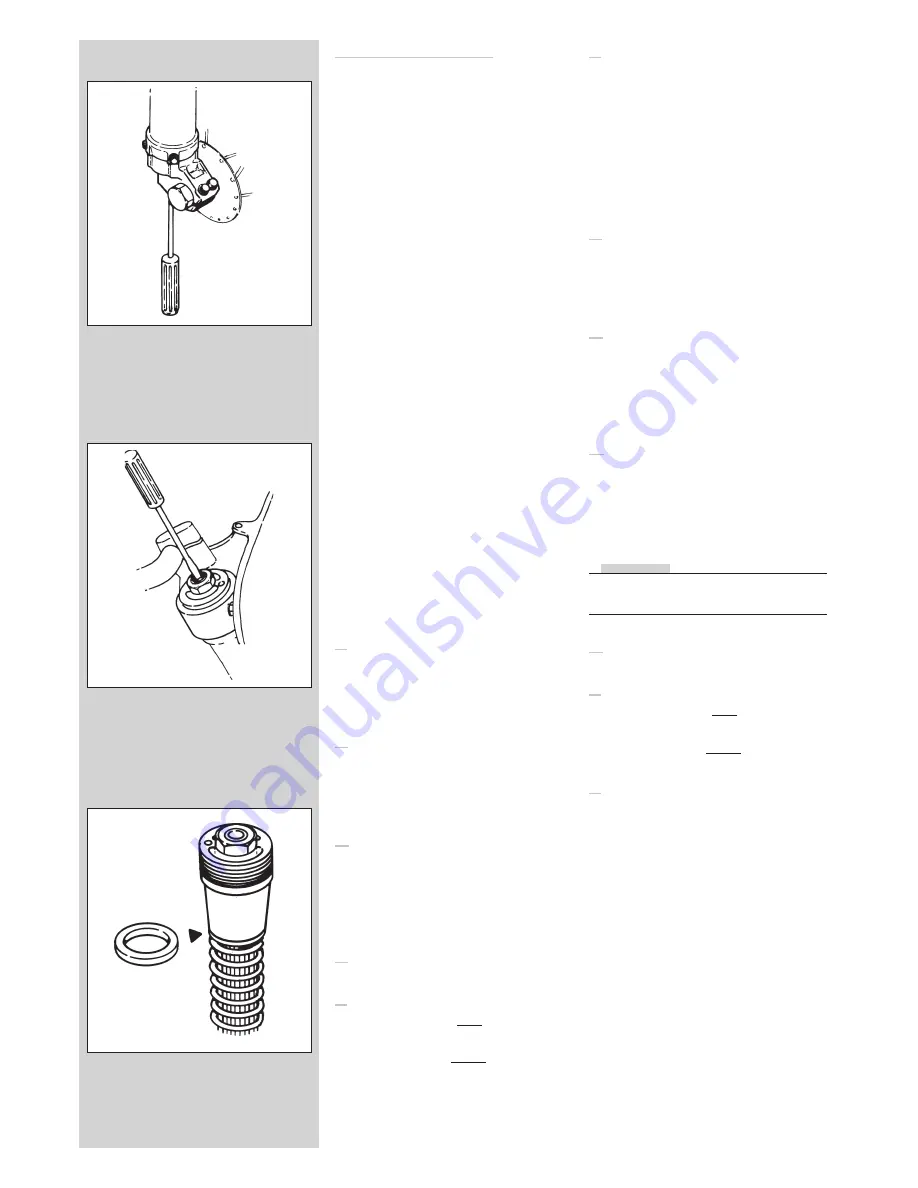
1
.
The compression adjuster is lo-
cated at the bottom of the fork leg.
Compression adjuster
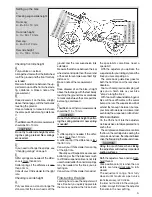
3.
Spring preload is adjusted with
washers and optional springs are
available.
Preload adjustment
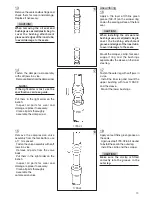
2.
The rebound adjuster at the top of
the fork leg.
Rebound adjuster
Setting up the bike
We would like to give you some ba-
sic guidelines how to set up your bike
with your new Öhlins front fork.
However, remember that the front
fork is just one part of your motorcy-
cle and to get the fork to work prop-
erly the whole motorcycle has to be
set up according to standards.
Please follow the instructions below,
see also your bike’s work shop
manual.
Your new front fork is dialled-in to
the Öhlins recommended settings for
your bike. The same goes for the rear
shock absorber if you are using an
Öhlins unit.
All settings are based on a bike and
a rider of normal weight.
Depending on your own and your
bike’s actual weight minor differ-
ences, between the Öhlins recom-
mended settings and the settings
you achieve, may occur. Therefore,
it is always wise to start the setting
up by checking!
The sag effects not just only the sus-
pension but also the rake of the front
fork and therefore the overall behav-
iour of the bike.
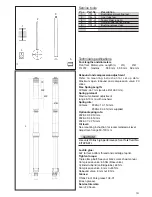
Checking front static sag
A
Put your bike on a stand.
Arrange the stand so that the front
wheel is off the ground and the front
fork fully extended.
B
Measure the distance between the
upper fork crown and the front wheel
axle, fig 4 distance A. Make a note of
the measurement.
C
Remove the stand. With the wheels
on the ground measure the distance
again, fig 4 distance B.
The difference of the two measure-
ments is the static sag.
D
The static sag should be 30
±
10 mm.
E
If the static sag is
less
than 20 mm,
you need to reduce spring preload.
If the static sag is
more
than 40 mm,
you need to increase spring preload.

