background image

Ranger™ 2000


Series                                                       EN-3


2.5.1 Battery Power:


The scale can be used on AC power immediately. The scale will automatically 
switch to battery operation if there is a power failure or the power cord is 
removed. The scale can be operated during charging, and the battery is 
protected against overcharging.


For maximum operating time, the battery should be charged at room 
temperature. 

Allow the battery to charge for 12 hours before using the scale on battery 
power. 
 
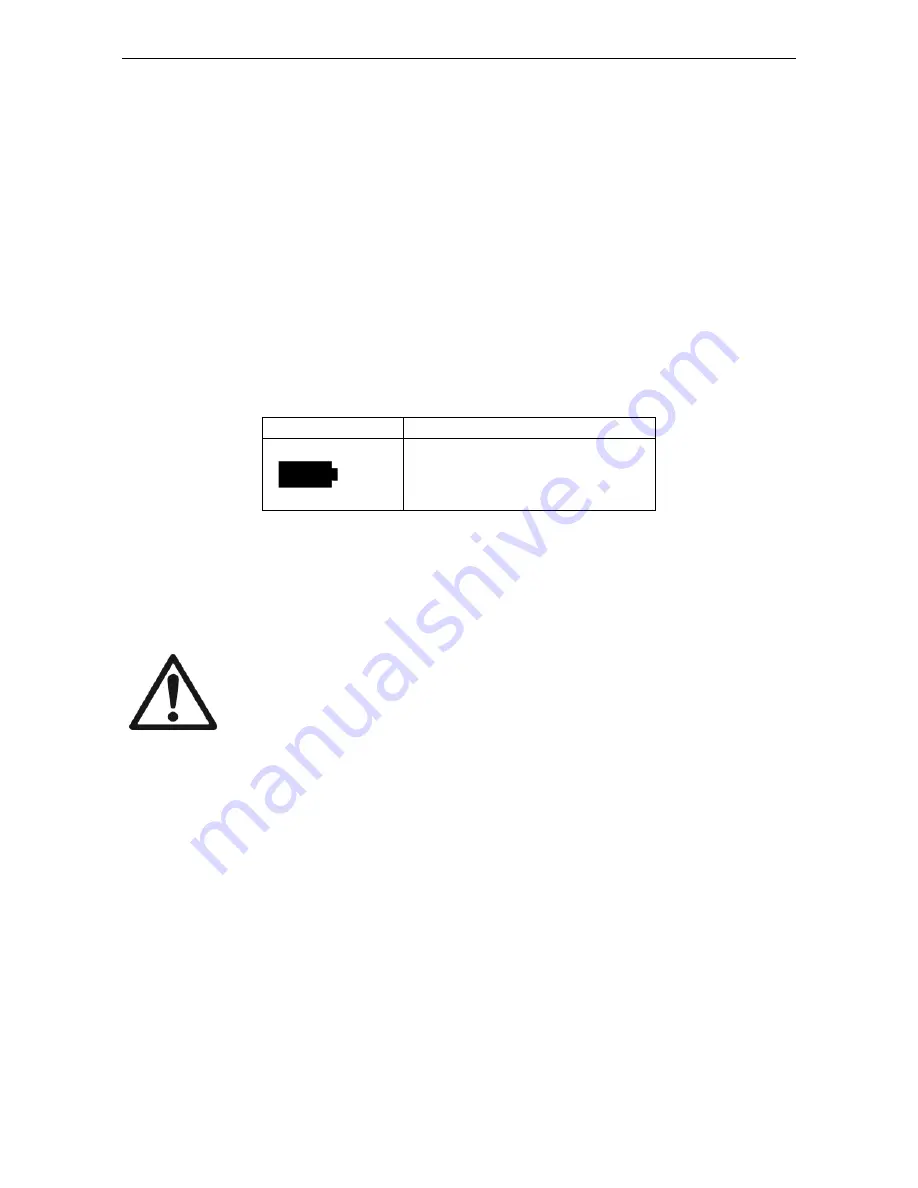
During battery operation, the battery symbol (see item 9 in table 3-2) indicates 
the battery charging status. When charging, the symbol will blink slowly and 
when fully charged the symbol will be turned off. 
 

TABLE 2-2 

Symbol 

Charge level 


Battery in use: Symbol 
displayed 


Notes:  

When battery symbol blinks fast, approximately 30 minutes working time is left. 
When [

lo.bat

] is blinking, the scale will shut off. 

Charging the scale must be performed in a dry environment. 
 

CAUTION:


Battery is to be replaced only by an authorized 

Ohaus service dealer. Risk of explosion can occur if the 
rechargeable battery is replaced with the wrong type or if it 
is not properly connected. Dispose of the lead acid battery 
according to local laws and regulations.


Содержание Ranger R21PE1502

Страница 1: ...Ranger 2000 Series Instruction Manual...

Страница 2: ......

Страница 3: ...oved accessories and peripherals Operate the scale only under ambient conditions specified in these instructions Disconnect the scale from the power supply when cleaning Do not operate the scale in ha...

Страница 4: ...in a small round window on the front of the scale To level the scale adjust the feet so the bubble is centered in the circle Be sure the equipment is level each time its location is changed Figure 2 2...

Страница 5: ...symbol see item 9 in table 3 2 indicates the battery charging status When charging the symbol will blink slowly and when fully charged the symbol will be turned off TABLE 2 2 Symbol Charge level Batt...

Страница 6: ...oggles through active weighing units Short Press in Menu Toggles through available settings Function Mode Back Short Press Selects function setting Long Press Selects active mode Short Press in Menu R...

Страница 7: ...ol 2 Center of Zero symbol 9 Battery charge symbol 3 Negative symbol 10 Pound Ounce Pound Ounce symbols 4 Stable weight symbol 11 Kilogram gram symbols 5 Preset Tare Tare symbols 12 Pieces symbol 6 Po...

Страница 8: ...Yellow Loads Lower limit Figure 3 4 Below view of Ranger 2000 3 2 Turning Scale On Off To turn the scale on press and hold the On Zero Off button for 1 second The scale performs a display test moment...

Страница 9: ...rence weight The display shows 100 6 Replace the reference material with the sample material The display shows the percentage of the sample compared to reference weight 7 To clear the stored reference...

Страница 10: ...and highlight the next digit Repeat until all the digits are correct Press Yes to accept the low limit value Set Hi will be displayed 4 Repeat the same procedure to accept or edit the high value 5 If...

Страница 11: ...ngs please see section 4 2 for details 3 6 3 Check Count Set Checkweigh to Count in the Mode menu Use this mode to compare the quantity of items to a target quantity range 1 Press and hold Mode until...

Страница 12: ...imit Place the item to be weighed on the scale and press TARE Remove a portion of the item until it is within the ACCEPT range Zero Check Zero check is used when comparing subsequent samples to an ini...

Страница 13: ...y pressing the Function key rEAdY Ready will then be displayed Note If Set0 has been selected the countdown timer is not displayed The first weight larger than 5d will be displayed and held Automatic...

Страница 14: ...removed With ACCUMULATE set to AUTO place the item on the scale The displayed value is accumulated automatically The icon will keep flashing until the weight is removed 3 8 2 Viewing and Clearing Sta...

Страница 15: ...Put the weight 0 04 kg on the pan and press M key The icon indicator will keep flashing until the weight is removed Step ii Remove the weight from the pan Put another weight 0 03 kg and press M key S...

Страница 16: ...w opening Install the hook accessory into the access hole at the bottom of the scale as shown Do not over tighten tighten finger tight Mount the scale onto an appropriate assembly that allows free wor...

Страница 17: ...End U n i t P r i n t C O M L O C k E n d Menu Items Reset kg g lb oz lb oz End Reset Stable A Print Contnt Layout Data Tr End Reset Baud Parity Stop Handsh Alt Cm End L Cal L Setup L Read L Mode L Un...

Страница 18: ...mits the current setting is displayed with all digits flashing Press the No button to begin editing The first digit is displayed flashing Press the No button to increment the digit or press the Yes bu...

Страница 19: ...an Press Yes to accept the weight or No to select an alternate weight C will be displayed while the reading is stored The display will show done if the calibration was successful The scale returns to...

Страница 20: ...are is disabled ON the first stable gross weight is tared ON ACC stable gross loads within the accept limits are tared in Check weighing mode Beeper Signal Bp sIG Set how the beeper responds in Check...

Страница 21: ...to factory defaults NO not reset YES reset Stable Range Stable Set the amount the reading can vary while the stability symbol remains on 0 5d 0 5 scale division 1d 1 scale division 2d 2 scale divisio...

Страница 22: ...been exceeded Light LIGHt Set the light intensity LO low light intensity MED medium light intensity HI high light intensity Sleep SLEEP Set the display shut off time OFF disabled display will stay on...

Страница 23: ...ON enabled Check CHECk Set the sub mode OFF disabled WEIGH weight mode PERCNT percent mode COUNT count mode Dynamic DYNAmM Set the status OFF disabled MAN averaging and resetting are initiated manual...

Страница 24: ...2000 Series 4 7 Unit Menu This menu activates units so they will be accessible with the Units button The units in the menu must be turned on to be active Note Available units vary by model and local...

Страница 25: ...each time the display is within the Checkweigh accept range and stability criteria are met CONT printing occurs continuously When ON STAB is selected set the condition for printing where LOAD printing...

Страница 26: ...e status OFF disabled ON the Tare weight is printed Header Set the status OFF disabled ON the Header is printed Note See section 7 3 1 for instructions how to enter Header line Footer Set the status O...

Страница 27: ...tart Menu in Windows XP and click Settings open Control Panel 2 Double click Accessibility Options in Control Panel 3 Select the General tab 4 Check Use Serial Keys and click the Settings button 5 Sel...

Страница 28: ...aritY Set the data bits and parity 7 EVEN 7 data bits even parity 7 ODD 7 data bits odd parity 7 NONE 7 data bits no parity 8 NONE 8 data bits no parity Stop bit stOP Set the number of stop bits 1 1 s...

Страница 29: ...e Print Tare and Zero commands Print Set the alternate command character for Print A to Z Tare Set the alternate command character for Tare A to Z Zero Set the alternate command character for Zero A t...

Страница 30: ...tup menu is not locked ON Setup menu is locked Lock Read l rEAD Set the status OFF Readout menu is not locked ON Readout menu is locked Lock Mode l mMod Set the status OFF Mode menu is not locked ON M...

Страница 31: ...OFF COM menu is not locked ON COM menu is locked End Lock End Advance to the next menu or return to the top of the current menu 4 11 End Menu Press Yes to exit the menu and return to the current appli...

Страница 32: ...1 42 19 43 26 17 16 16 15 15 14 14 13 13 12 12 43 26 44 32 17 17 16 16 15 15 14 14 13 13 12 44 32 45 38 18 17 17 16 16 15 15 14 14 13 13 45 38 46 45 18 18 17 17 16 16 15 15 14 14 13 46 45 47 51 19 18...

Страница 33: ...le Zero Range setting is locked at 2 Stable Range setting is locked at 1d Auto Zero Tracking setting is locked at 0 5d Units are locked at their current settings Stable Only is locked On Auto Print Co...

Страница 34: ...charge the battery Err 8 1 Power On Error Weight reading exceeds Power On Zero limit Err 8 2 Power On Error Weight reading below Power On Zero limit Err 8 3 Over Range Error Weight reading exceeds Ov...

Страница 35: ...chnical support in the United States call toll free 1 800 526 0659 between 8 00 AM and 5 00 PM EST An OHAUS product service specialist will be available to provide assistance Outside the USA please vi...

Страница 36: ...05 lb 240oz x 0 01oz 15kg x 0 0005kg 15000g x 0 5g 30 lb x 0 001 lb 480oz x 0 02oz 30kg x 0 001kg 30000g x 1g 60 lb x 0 002 lb 960oz x 0 04oz 30 kg x 0 0001kg 30000g x 0 1g 60 lb x 0 0002 lb 960oz x 0...

Страница 37: ...Ranger 2000 Series EN 35 7 2 Drawings Figure 7 1 Dimensions 311 mm 12 2 in 327 mm 12 9 in 117 mm 4 6 in...

Страница 38: ...o print OFF Z Same as pressing Zero Key T Same as pressing Tare Key xT Download Tare value in grams positive values only Sending 0T clears tare if allowed PU Print current unit g kg lb oz lb oz t c cu...

Страница 39: ...on line If Printx Content Info is ON MODE WEIGH Mode line If Printx Content Application Mode is ON Into is ON Weigh Mode with Accumulation Printout Description Comment 12 34 kg Result line If Printx C...

Страница 40: ...entered 11 11 kg N Net value line If Printx Content Net is ON and a tare value is entered 1 23 kg T Tare value line If Printx Content Tare is ON and a tare value is entered MODE COUNT Mode line If Pr...

Страница 41: ...ght aligned Space Application Status Right aligned Term Length 11 1 5 1 1 1 2 1 6 2 Non Check Weighing application Field Weight Right aligned Space Unit Right aligned Space Stability Space T N G PT Ri...

Страница 42: ...been damaged by accident or misuse exposed to radioactive or corrosive materials has foreign material penetrating to the inside of the product or as a result of service or modification by other than...

Страница 43: ......

Страница 44: ...Avec des bureaux dans le monde entier Weltweite Gesh ftsstellen Con uffici in tutto il mondo www ohaus com 30037458 P N 30037458D 2017 OHAUS Corporation all rights reserved todos los derechos reservad...

Отзывы: