EN-16
EXPLORER
BALANCES
3.6
Functions and Their Icons
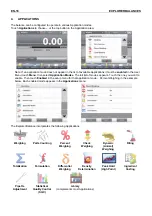
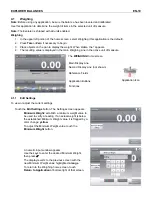
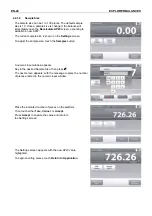
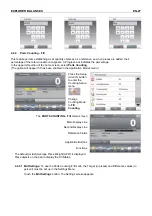
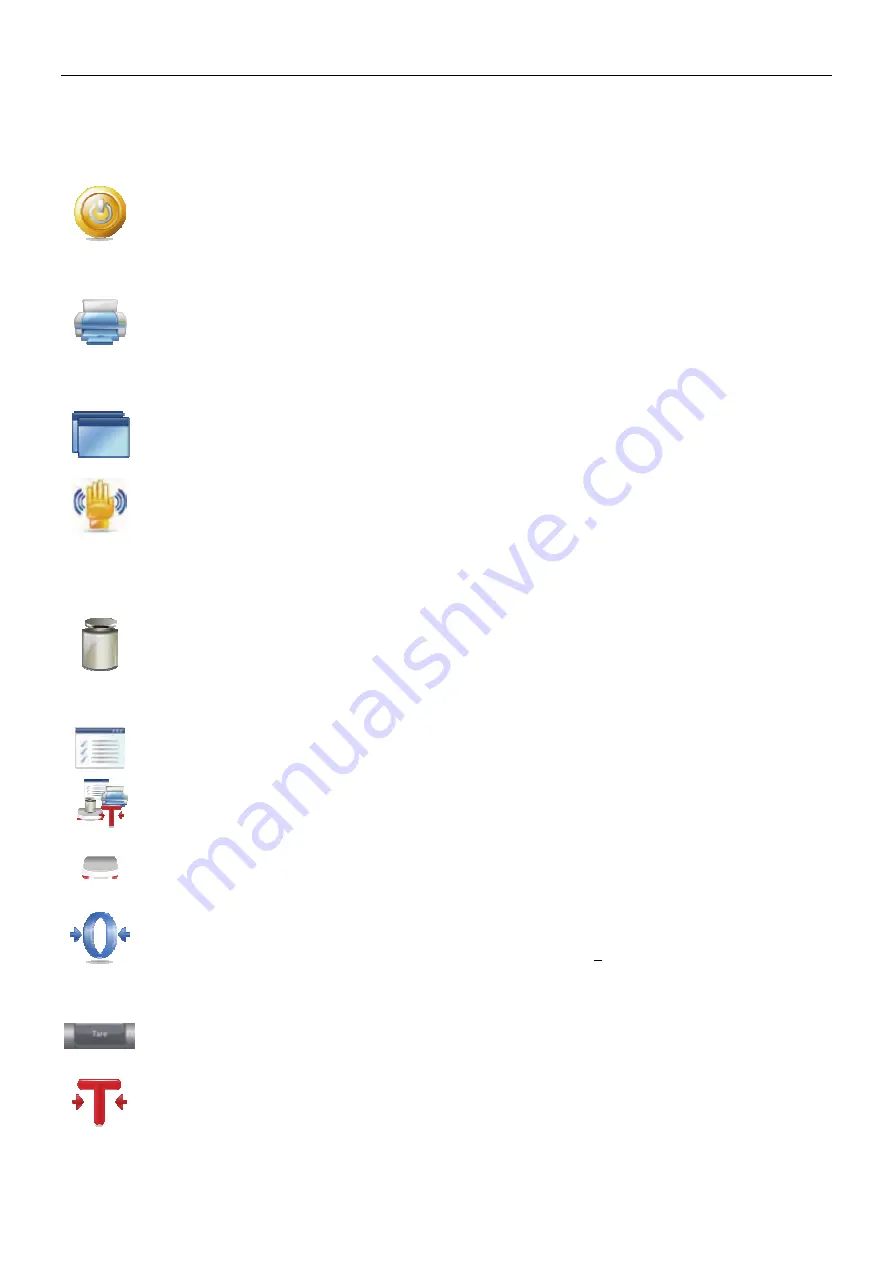
Seven Icons are initially available to operate the Balance and access the Menu. These Icons can be customized
based on user preference. For setup information, see
User Settings
.
3.6.1 Standby
Touch Standby to shut down the display.
Note:
After initial start-up (Section 2), in Standby your balance needs no warm-up time and is
immediately available for weighing by touching the Start-up icon.
3.6.2 Printing
Data
Touch
to send the displayed value to a printer or computer via the active COM port.
Note
: Ensure proper setup of connections, printing and interface parameters.
Note:
Data may also be printed using the Touchless Sensors by configuring these for Printing.
Data may also be printed using the P command from a computer connected to the COM port.
3.6.3 Applications
The balance can be configured to operate in various Application modes.
Touch Applications to choose – or the top button in the Application area.
3.6.4 TouchLess
Sensor
Status
Explorer balances have four
TouchLess
sensors that can be assigned a unique function when
activated (e.g., zero, print, tare, etc).
To assign a task for each TouchLess sensor, press
Sensors
.
Note:
To activate a sensor, move an object over it (from a distance of 1-2 inches or 3 cm). The sensor
shows a green light and beeps when activated. If the sensor cannot be activated (sensor is disabled
during certain instances, like when the Menu is displayed) the sensor shows a red light.
3.6.5 AutoCal
™
When AutoCal is ON, the balance performs a self calibration. AutoCal will automatically calibrate the
Balance (using the internal mass) each time a change in temperature significant enough to affect
accuracy, or after every 11 hours.
Touch
AutoCal™
to initiate. (Default status is ON.)
3.6.6 Menu
Touch
Menu
to enter the balance’s menu list.
3.6.7 More…
Touch More to access Level Assist, Zero, Tare, Units, Pretare, Cal Test, Calculator, and Stopwatch.
3.6.8 Level
Assist
For assistance with Leveling the Balance; the Level Assist screen shows which direction to turn the
thumbwheels to center the level bubble.
3.6.9 Zero
Operation
Remove the load from the pan and touch
Zero
to set the display to zero. When weighing pan is
empty, the
>0<
indicator turns on when the measurement is ¼ division (d) of the zero setting.
Note:
The balance also features Auto Zero Tracking (AZT) that automatically maintains a Center of
Zero within the tolerances set in the AZT menu (see Balance Settings).
or
3.6.10 Taring a Container
Taring sets the weight of a container as zero, so only the weight of objects held in the container
(net weight) is displayed.
Manual Tare
– Place the empty container on the pan and touch
Tare
when stable.
Add material to the container. The net weight of the material is displayed.
To clear the Tare value, remove the container from the pan and touch
Tare
.


