


▒▓
www.OctiveTech.com
Operating
Instructions
9
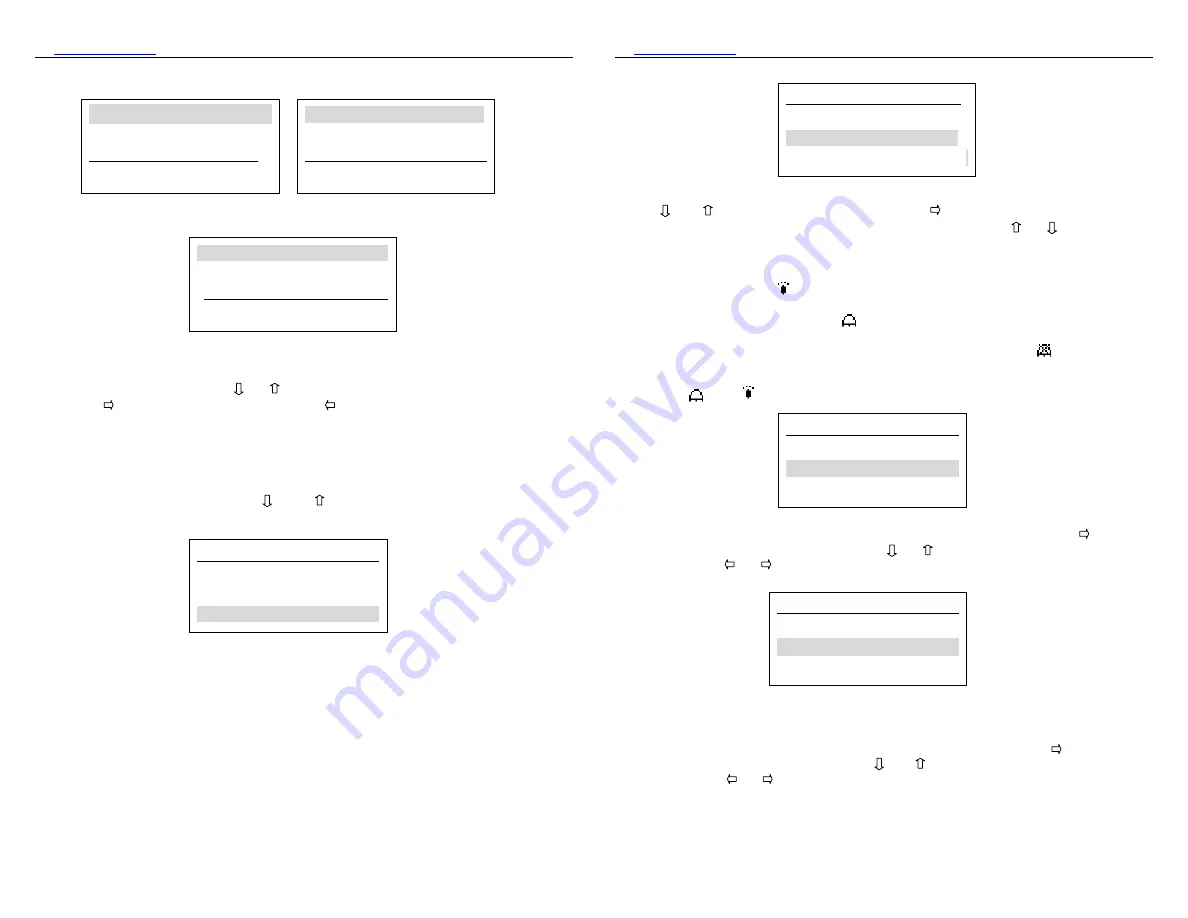
The menu is shown as Fig3.4
Fig 3.4
In the main menu, press or to highlight the item you want to select, then
press enter the submenu or press to cancel the selection, return the
normal interface. You can also press the “ENTER” button to return the normal
interface.
3.3.4 Display Type
Enter the “Display Type” submenu from main menu, there are two selections shown
as the Fig3.5. Press or to highlight the Data or Waveform, press the
“ENTER” button to return the main menu.
Fig 3.5
Attention: the oximeter only displays the approximate waveform.
3.3.5 Alarm Set
:
Enter the “Alarm set” submenu from main menu. The setup of the alarm includes
Display Type
Data
Wave and Data
0 Display Type
1 Alarm Set
2 Data Manage
Cancel Select
3 Time Set
4 Date Set
5 Pulse Audio
Cancel Select
6 Language Set
7 Backlight Set
8 About
Cancel Select
▒▓
www.OctiveTech.com
Operating
Instructions
10
on/off, the setup of alarm limit. Please refer to Fig 3.6
Fig 3.6
Press or to highlight the submenu, press to enter the submenu. Enter the
Alarm Type submenu shown as Fig 3.7, now you can press or to select the
items of submenu. Press the “ENTER” button to return the main menu.
Attention:
There are three selections for the Alarm Type. The first is “Visual Alarm”,
when you select this item, only visual alarm is responded when alarm event happens,
the audio alarm is mute,
displays on the left top corner of the screen; The second
is “visual and audio”, when you select this item, the visual and audio alarm are
activated when new alarm occurs,
displays on the left top corner of the screen.
The last one is “off”, when you select this item, the visual and audio alarm are
inactivated. No alarm is responded when the alarm event happens,
displays on the
left top corner of the screen. Press the “ENTER” button to return the previous menu.
When the value and waveform are displayed on the screen, pressing “ENTER” button
can switch
and .
Fig 3.7
Select “SPO2 Limit Set” item in the menu shown as Fig 3.6 and press to enter
the submenu shown as Fig 3.8. Pressing or to select “Upper Limit” or “Lower
Limit”. Pressing or to set the limits. Press the “ENTER” button to restore the
previous menu.
Fig 3.8
Select “PR Limit Set” item in the menu shown as Fig 3.6 press to enter the
submenu shown as Fig 3.9. Pressing or to select “Upper Limit” or “Lower
Limit”. Pressing or to set the limits. Press the “ENTER” button to return the
Alarm Set
Alarm Type
SPO2 Limit Set
PR Limit Set
Alarm Type
Light Alarm
Sound And Light
Off
SPO2 Limit Set
Upper Limit
:
99
Lower Limit
:
90


