


77
DEMO
ATR
O
2
DEMO
ATR
O
2
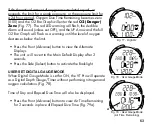
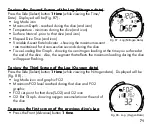
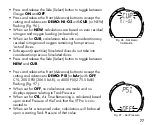
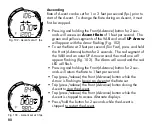
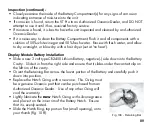
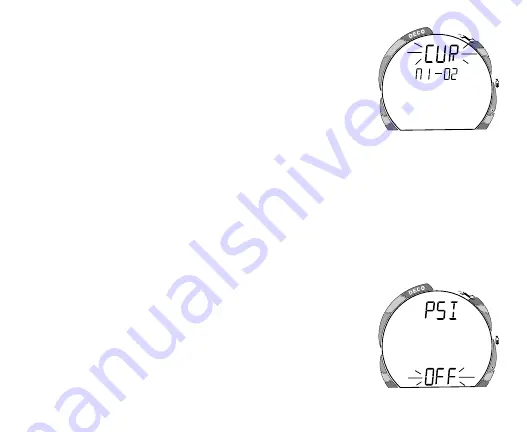
Fig. 96 - Set Demo
Calibration
Fig. 97 - Set Pressure
• Press and release the Side (Select) button to toggle between
Gauge
ON
and
OFF
.
• Press and release the Front (Advance) button to accept the
setting and advance to
DEMO: NI-O2
with
CUR
(or NEW)
flashing (Fig. 96).
• When set for
NEW
, calculations are based on zero residual
nitrogen and oxygen loading (a clean dive).
• When set for
CUR
, calculations take into consideration any
residual nitrogen and oxygen remaining from previous
'actual' dives.
• Subsequent (repetitive) Simulated dives do not take into
consideration previous Simulated dives.
• Press and release the Side (Select) button to toggle between
NEW
and
CUR
.
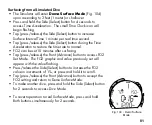
• Press and release the Front (Advance) button to accept the
setting and advance to
DEMO: PSI
(or
bAr
) with
OFF
,
CYL, 3000 PSI (206.5 BAR), or 4000 PSI (275.5 BAR)
flashing (Fig. 97).
• When set for
OFF
, no calculations are made and no
displays appear relating to Tank Pressure.
• When set for
CYL
, Air Time Remaining is calculated based
upon actual Pressure of the Tank that the VT Pro is con-
nected to.
• When set for a numerical value, calculations will be based
upon a starting Tank Pressure of that value.
Содержание VT Pro
Страница 1: ...VT Pro dive computer operating manual OCEANIC...
Страница 82: ...82 R E S P O NSIBLE D I V E R Be a RESPONSIBLE DIVER at all times...
Страница 101: ...101 NOTES...


