6
6
P
iPe
rUns
Refer to the diagram on the next page.
Do not join pipe run until you have enough pipe length to hold the hose.
For
example, if using a 40’ (12,2 m) hose install at least 44’ (13,4 m) of pipe
before connecting to another pipe run.
In order to ensure enough pipe to store the hose, the pipe runs will someti-
mes need to begin running away from the power unit, then make a loop and
head back to the power unit.
any burr or excess glue glob can tear and damage the hose sock
as it
travels through the tubing. To prevent this, be sure to always glue the pipe
and not the fittings. Make sure to remove all burrs from the pipe ends that
were cut. Carefully inspect the pipe to make sure the inside is smooth and
that the pipe is round and undamaged.
Only
fittings designed for the retractable hose system
can be used in the sec-
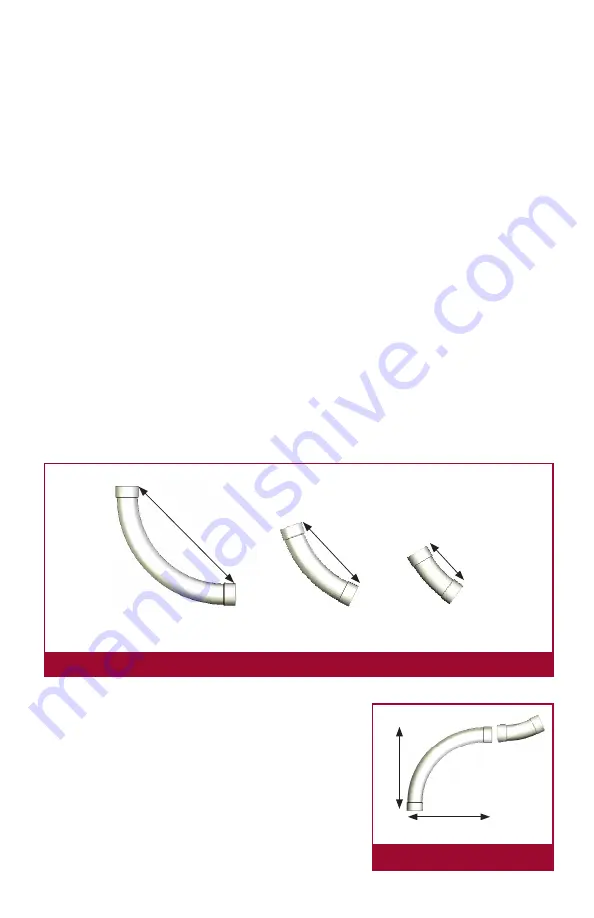
tion of pipe that stores the hose (figure 6).
A 90° to a 22.5° is often needed to get around an obstacle.
Try to space out 90’s as much as possible.
The more 90’s used, the more force is needed
to pull the hose out of the wall. Try not to use
more than 4 90’s for each valve.
figure 6
90º elbow
45º elbow
22,5º elbow
figure 7
7.1" (18 cm)
4.1"(10.3 cm)
12.6" (32 cm)
11" (28 cm)
11" (28 cm)
11
Diagrama típico del circuito de los conductos
No conectar la línea principal antes de tener bastante PVC
para la longitud de la manguera. Por ejemplo, si utiliza una
manguera de 12 metros, es necesario tener como mínimo 13
metros de PVC antes de conectar la línea.
La manguera se
retracta en el PVC.
4.
instalación en dos
plantas hacia arriba
Necesita un aspirador
central más potente.
Para asegurarse de tener bastante PVC para que
se retracte la manguera, el circuito de los conduc-
tos debe empezar más arriba del aspirador central.
Luego hacer un lazado y juntarlo con el aspirador
central.
Interruptor de
luz
Содержание HUSKY Hide-A-Hose
Страница 1: ...HIDE A HOSE R TRAFLEX Syst me de boyau r tractable au mur...
Страница 27: ...Notes...


