Basic Operation
EN
1. Turning on
To turn on the video
‐
glasses, simply press the ON/OFF/ button for 2 seconds. The green LED
will turn on and the device enters into the initialization status. After 2~5 seconds, the green LED flashes
fast 3 times, then flashing slowly, it begins to record automatically.
2. Turning off
To turn off the video
‐
glasses, simply press the ON/OFF/Operation button for 2 seconds. The
recorder will automatically save the recording file and then turn off.
3. Start/stop the video recording
In video mode (green LED flashes slowly) you can stop the recording by shortly pressing the
ON/OFF/Operation button. To continue recording press the record button shortly again.
The green LED flashes during the recording, the green LED keeps on during the stop.
The device will save the recording file.
NOTE:
To limit the file size, the recorder will automatically save the file every 15 minutes and then start
with a new file.
4. Adjusting and show/hide Date and Time
This device can display the current date and time in your videos.
To set this function:
1) Turn the camera off and connect it to the USB port of your computer.
2) Turn on the device and enter a newly added storage drive.
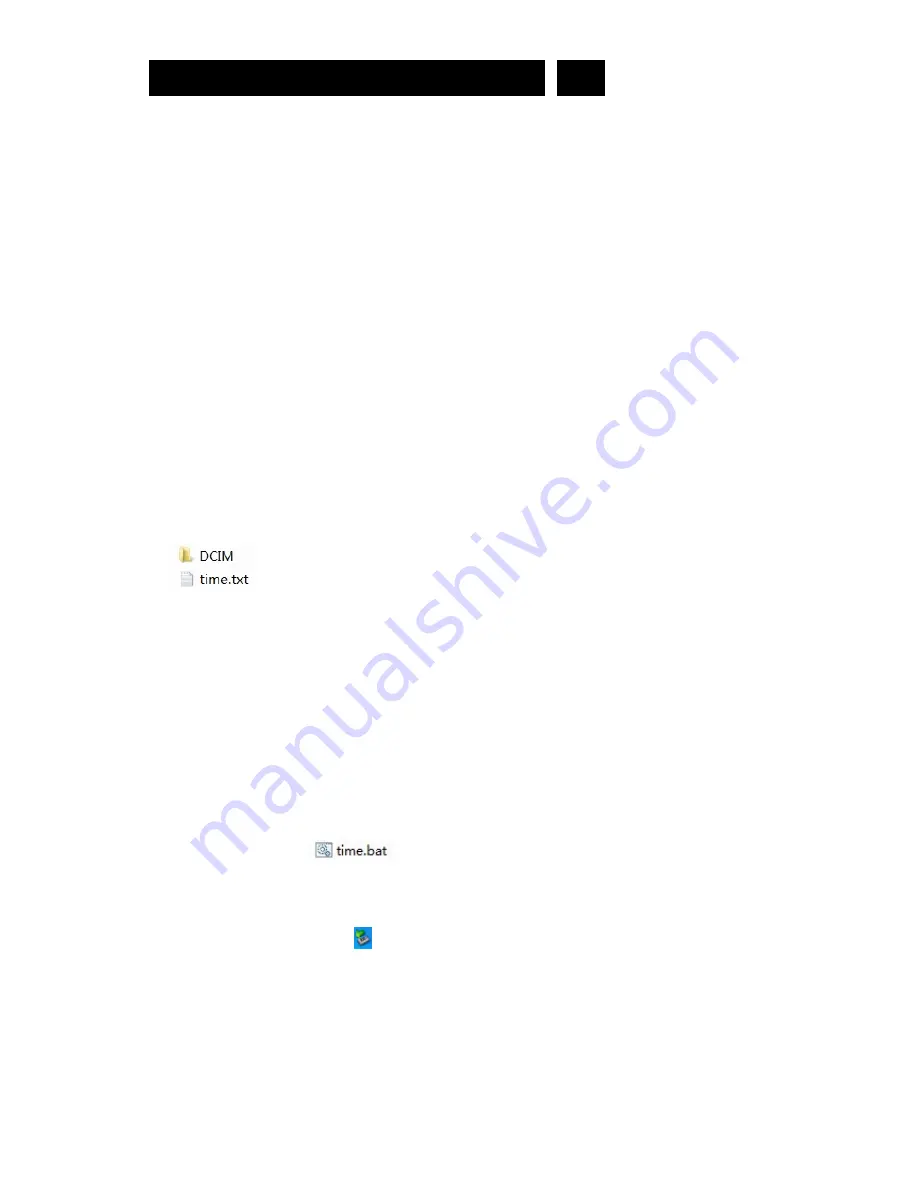
3) Open the root directory of the newly added drive and create a new text file named "time.txt".
4) Now open the file with Windows Notepad or any other text editor and input date and time as
yyyy.mm.dd hh:mm:ss
Please note the blank space between date and time.
5) To show or hide the date/time add "Y"(yes) to show, or "N" (no)/or add nothing to hide behind the
date/time string. Note the blank space between date/time and the Y/N option.
Example: 2010.08.10 16:53:05 Y
2010.08.10 16:53:05 N
or 2010.08.10 16:53:05
6) Save it and then exit the storage disk safely.
7) Time is set and ready for new recording.
5. Quick setup time synchro with your computer current time
1) Under USB storage mode, click the folder "computer current date and time setting" under
directory and enter
*Disk\ DCIM\manual and driver\computer current date and time setting
.
2) Select the file namely"
" , double
‐
click left button of your mouse.
3) Back to the root directory , there is a file namely "time.txt" built up.
4) To show or hide the date/time please see 4. 5)
5) click the movable device icon
at the right lower corner to remove the storage disk safely or click
the "On/Off button for 2 seconds, the green LED will stop blinking and then shut off.
6) Now, when you record new video, the time you want will display on the video and the time is
Synchronized with your computer current time.
6. Auto shut
‐
off
When battery is low or the memory space is exceeded, the green LED will blink very fast for approx 30
Seconds. The recorder stops recording and then shuts off.


