Installing Portability Suite Software
17
no
vd
ocx
(e
n)
13
Ma
y 20
09
To install the Client by downloading it from your Portability Suite Server:
1
Complete the Portability Suite Server installation. See
“Installing the Portability Suite Server”
on page 15
.
2
Make sure your intended Portability Suite Client host meets the minimum system requirements.
See
“System Requirements for Portability Suite Client Hosts” on page 11
.
3
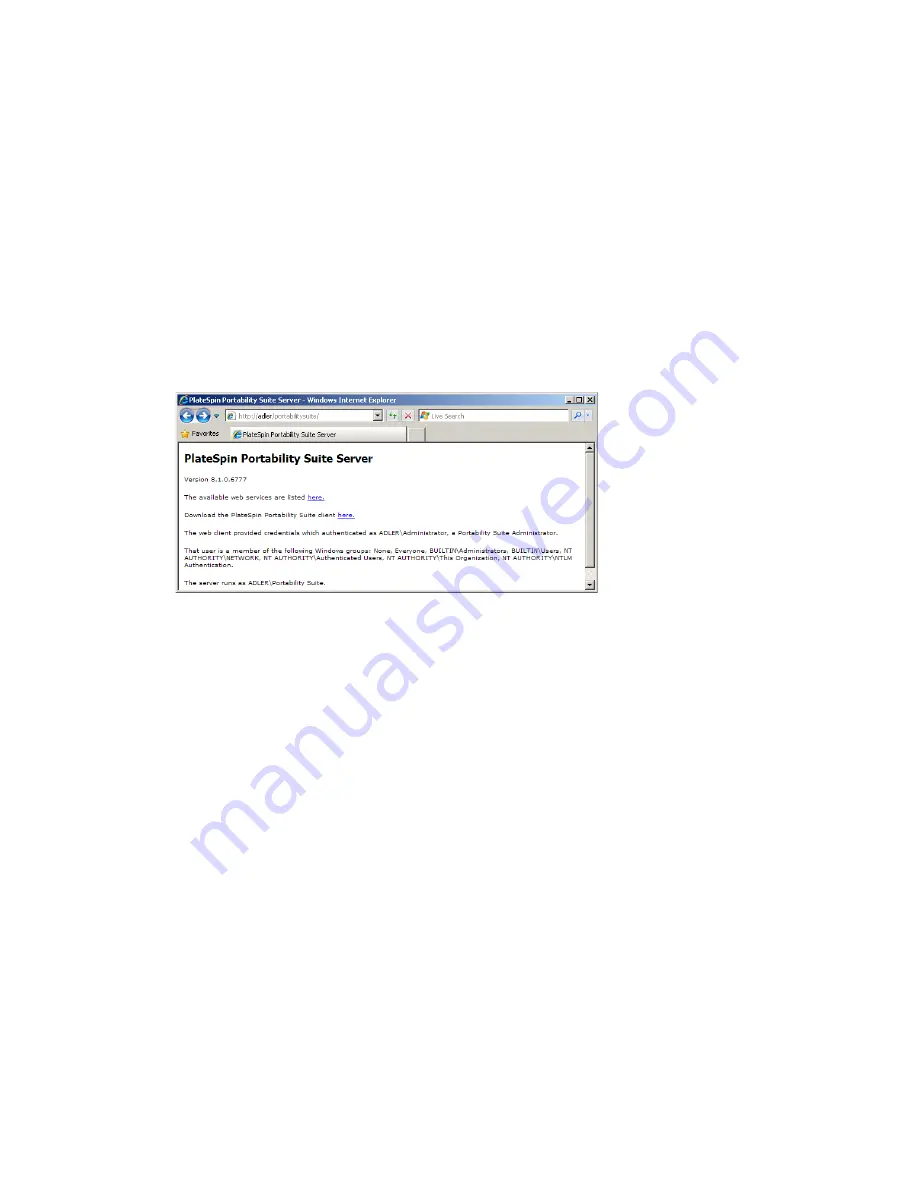
On your intended Portability Suite Client host, open a Web browser and navigate to the
following URL:
http://
server_host
/PortabilitySuite
Replace
server_host
with the actual name or IP address of your Portability Suite Server host. If
the Portability Suite Server is installed on the local computer, replace
server_host
with
localhost
. If SSL is enabled, use the
https
protocol in the URL.
The browser loads the Portability Suite Server’s home page:
4
Click the Portability Suite Client download link, download the Portability Suite Client
software, and install it by following the on-screen instructions.
To start the client, click
Start
>
Programs
>
PlateSpin
>
Portability Suite
. When you install and
launch the Portability Suite Client for the first time, the License Wizard opens and prompts you to
activate your copy of the software. For help with product licensing, see “
Portability Suite Product
Licensing
” in your
Configuration Guide
.
1.5 Checking for Software Updates
When the Portability Suite Client starts, it automatically checks the current version of the product
and displays any available updates in the Update Availability dialog box.
To prevent the system from automatically checking for updates every time:
1
In the Update Availability dialog box, select the
Do not check for update at startup
option.
2
Click
OK
.
To re-enable automatic software update checks:
1
In the Portability Suite Client, click
Tools > Options.
2
In the General tab, select
Restore Defaults
.
3
Click
OK
.


