19
English
Note that if you make changes to a template but do not save those changes, when you try to
load a different template, Impulse will display a message:
Discard?
Use the
Data
knob to
select either
No
or
Yes
, and press
Enter
to confirm. If you select
Yes
, your changes will be lost
Help Mode
Pressing
+
and
–
buttons
7
together enables Help Mode. It is confirmed by
hLP
in the display.
In Help mode, pressing any control generates a scrolling text message in the display, reminding
you of what the control does and how to use it.
Configuring Impulse Controls
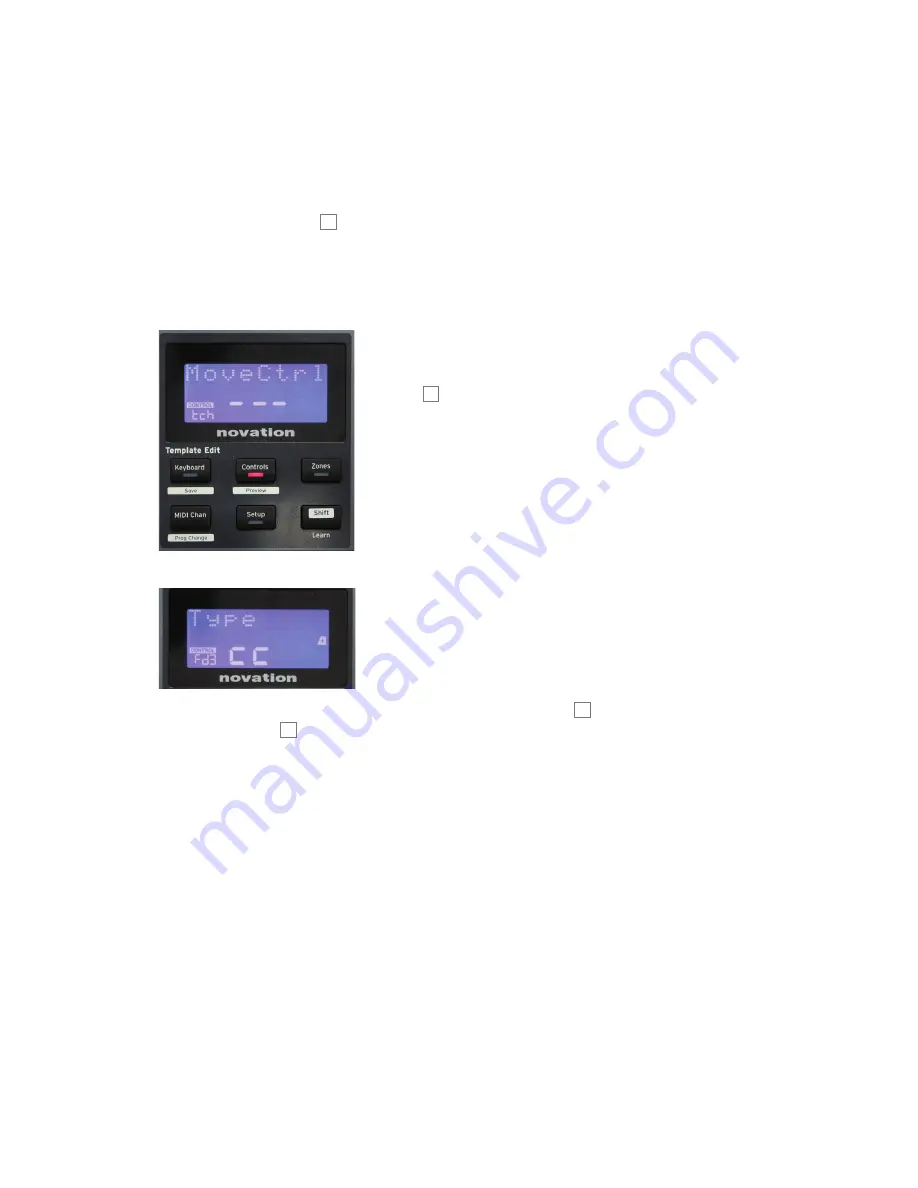
As each template can contain an entire set of configuration
settings, make sure you are in the correct template before
changing any MIDI parameters. Pressing the
Controls
button
8
enters Control Edit mode, with the display as
shown, and the
Controls
button LED lit. Press
Controls
a
second time to exit the mode.
Operating any assignable control – e.g., faders 1-9*, buttons
1-9*, encoders 1-8 or the drum pads – makes the display
show parameter for that control. The selected control
number is displayed, for example
Fd3
(Fader 3) or
Bt5
(Button 5).
MIDI parameters can be selected by pressing the
+
and
–
buttons
7
with parameter values set
with the Data knob
14
.
Note that the MIDI parameters available vary with control type: faders, rotary encoders, the
mod wheel, drum pads and buttons all have different menu pages. Most of the pages’ functions
will be self-evident, but a full list of all the available parameters for each control type, and
their ranges of operation can be found in the section ‘Assignable Controls – Parameters and
Ranges’ on page 39 of this user guide.
Note: do not forget to save your changes to the current template.
* Impulse 49 and 61 only.
Содержание Impulse
Страница 1: ......


