HS-NCM Installation Document —
P/N 54014:B2 04/25/2014
5
5 HS-NCM Configuration
HS-NCM configuration changes are made via the VeriFire Tools Programming Utility, version 5.7 or higher.
VeriFire Tools can be connected to the HS-NCM via two different methods:
• VeriFire Tools connected to any node on a network using the HS-NCM for network communication.
• HS-NCM directly connected to VeriFire Tools.
Perform the following steps to modify the HS-NCM’s configuration parameters using VeriFire Tools. Refer to the
VeriFire Tools CD on-line help file
.
1. Connect the HS-NCM to the FACP via either NUP port or provide power from an external UL/ULC listed power
source.
2. Connect VeriFire Tools to the network or directly connected to the HS-NCM.
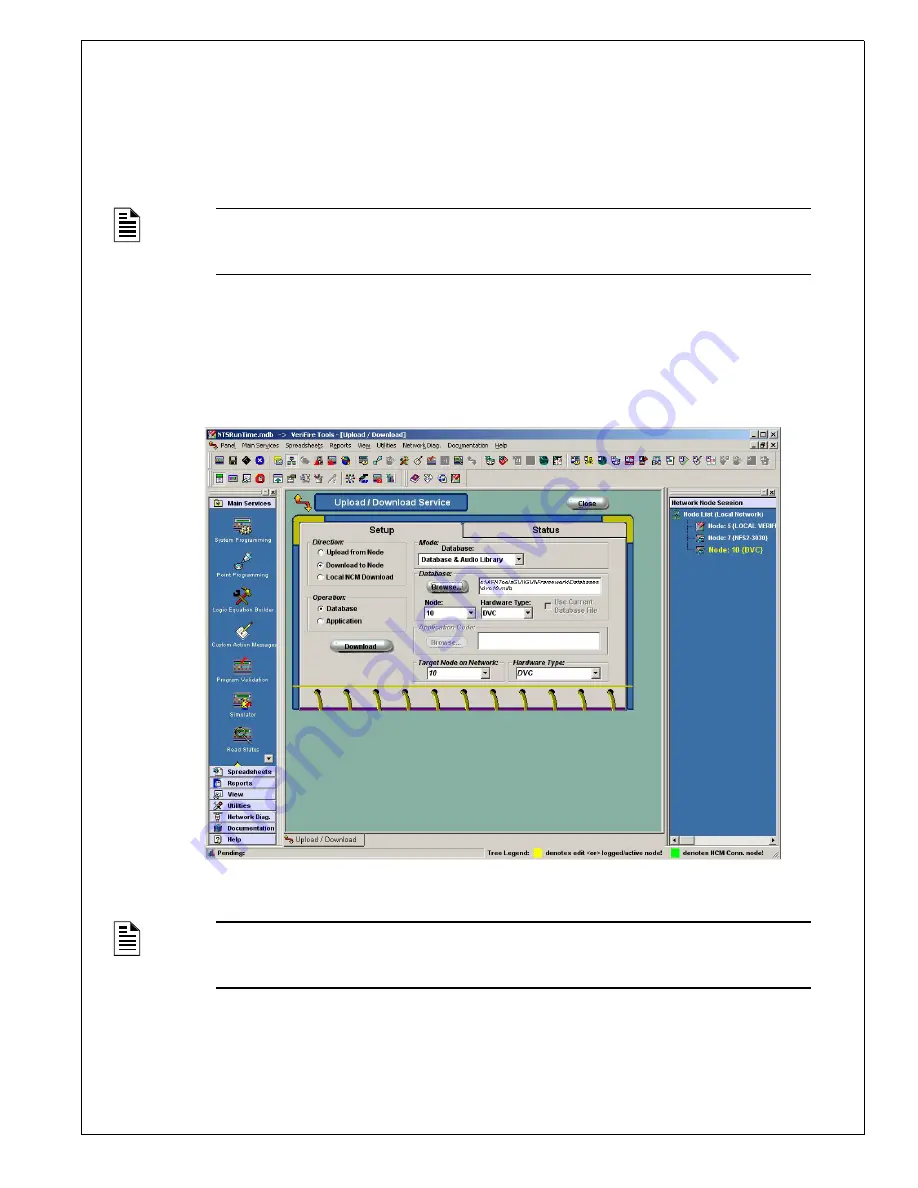
3. In VeriFire Tools, access the Upload/Download Screen:
4. In the “Network Node Session” of the Upload/Download screen, find the node connected to the HS-NCM being
configured.
5. Double click the node to log in to the panel.
6. Using the mouse, right click on the node connected to the HS-NCM being configured. A menu of available options is
displayed.
NOTE: When directly connecting VeriFire Tools to the HS-NCM, if power is not being provided
via the NUP connection at the fire panel, external power is needed. Refer to “External Power for
HS-NCM Applications” on page 12
NOTE:
When the HS-NCM is directly connected to the VeriFire Tools, the node listed in the
“Network Node Session” of the VeriFire Tools Upload/Download screen is shown as “Local
VeriFire”
HS NC
M UPDL.jpg


