background image

4

Preparation 


This  product  includes  a 

GLASS  panel!

  Always  use 

extreme  caution

  when  handling 

glass.

 Failure to do so could result in 

personal injury

 or 

property damage

Remove all parts and hardware from the carton and place them on a clean, soft, dry surface. Parts 
and assembly steps are grouped for free-standing or wall-hanging use. Check the parts list to make 
sure nothing is missing. Dispose of packaging materials properly. Please recycle whenever possible.   

You  will  need  the  following  tools  (not  included):

  Phillips  screwdriver;  stud  finder;  level;  tape 

measure; electric drill; 1/4” wood drill bit, hammer.  


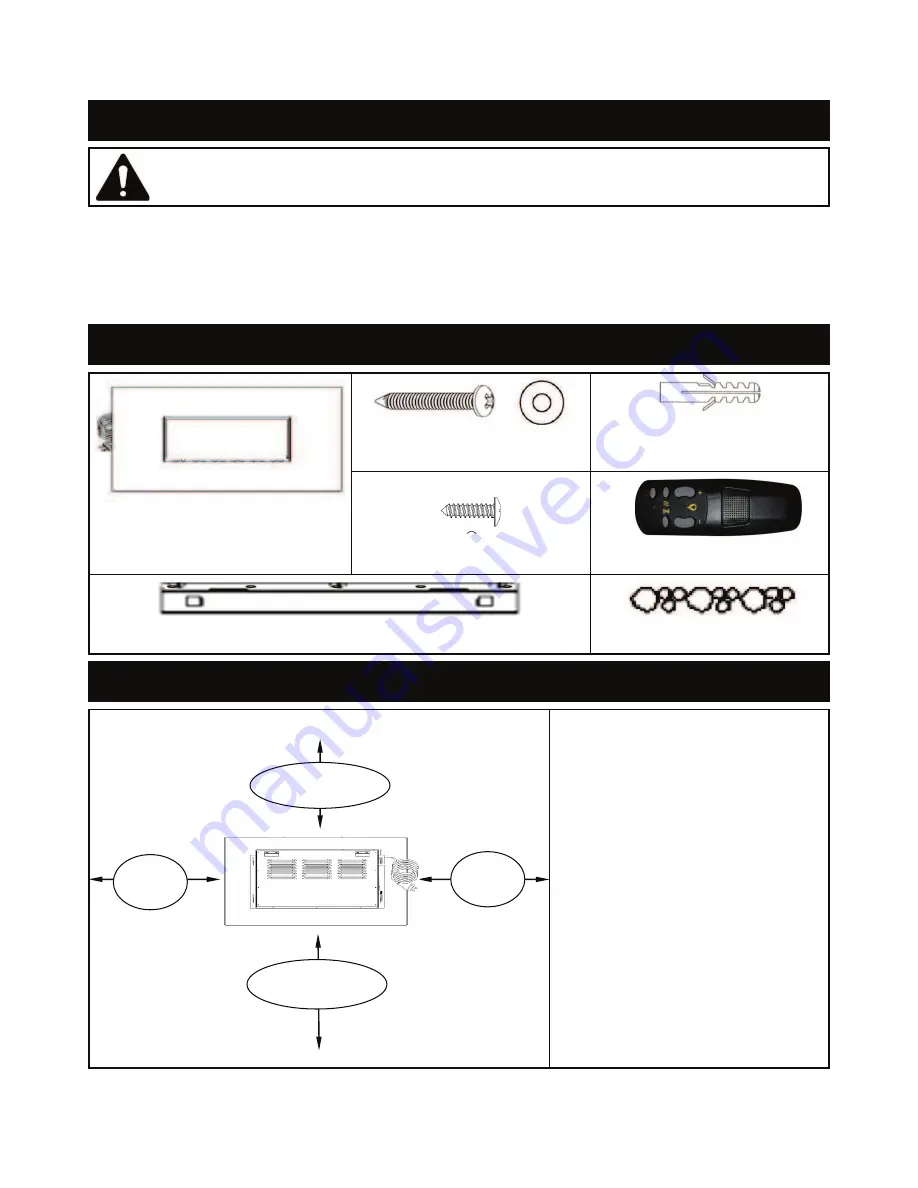
Parts and Hardware 


– Fireplace ( 1 )


– Wood Screws & Washers 


– Drywall anchors ( 3 )


– M4x8 Metal Screws (2) 


RC 

– Remote Control  


                                      E

 - Wall Bracket (1)                                            

F

 - Decorative Glass


Installation and Assembly 


Rear View of Fireplace


Step 1. Find a safe location.  

Minimum clearance on each side: 
19.7” (50 cm). 


Minimum clearance below:           
19.7” (50 cm).  
Minimum clearance above:        
39.4” (100 cm).


Minimum clearance from the


front 

and sides: 3 feet (90 cm). 


Choose a location near an outlet so 
an extension cord is not required.  

DO NOT

 position the unit 

directly 

below

 a power outlet.  

See

 Safety Information 

on

 pages 

2 and 3 

for warnings about

 safe 

placement, safe installation, 

and


proper use 

of this product.


19.7” 

(50 cm) 

Minimum 39.4” 

(100 cm) 

Minimum 19.7” 

(50 cm) 

19.7” 

(50 cm) 

( 3 sets )

Содержание WM-50B-W

Страница 1: ...safety information before plugging in or using this product Failure to do so could result in fire electric shock or serious personal injury CAUTION Keep this owner s manual for future reference If you sell or give this product away make sure this manual accompanies this product Model Numbers WM50B WM 50B W WS G 01 WS G 02 ...

Страница 2: ...prevent a possible fire DO NOT block air intakes or exhaust in any manner Doing so could cause a fire DO NOT use on soft surfaces like a bed where openings may become blocked z A heater has hot and arcing or sparking parts inside DO NOT use it in areas where gasoline paint or flammable liquids are used or stored z Use this heater only as described in this manual Any other use not recommended by th...

Страница 3: ...in fire or electric shock z ONLY use this heater on a 120V AC 15 Amp grounded circuit NEVER overload the circuit If this heater trips the circuit breaker unplug all other appliances on the same circuit before the next use Avoid plugging other appliances into the same circuit as this heater z NEVER plug this heater into an outlet that is old cracked or has any loose wires or connections Plugging th...

Страница 4: ... electric drill 1 4 wood drill bit hammer Parts and Hardware A Fireplace 1 B Wood Screws Washers C Drywall anchors 3 D M4x8 Metal Screws 2 RC Remote Control E Wall Bracket 1 F Decorative Glass Installation and Assembly Rear View of Fireplace Step 1 Find a safe location Minimum clearance on each side 19 7 50 cm Minimum clearance below 19 7 50 cm Minimum clearance above 39 4 100 cm Minimum clearance...

Страница 5: ...should be screwed directly into wall studs Then no drywall anchors are needed C If only two studs are available two screws MUST be screwed directly into studs and the other screws must be screwed into the drywall anchors AVOID INJURY and DAMAGE Three screws should be screwed directly into wall studs If only two studs are available two screws must be screwed directly into the wall studs and additio...

Страница 6: ... or before relocating Failure to do so could result in electric shock fire or personal injury STEP 5 A With the help of a capable adult lift the fireplace A and align the hooks on the back of the fireplace with the slots on the wall bracket Carefully set the hooks into the slots B Secure the fireplace to the wall bracket with two M4x8 metal screws D one on each side Thread the screws through the f...

Страница 7: ...able adult perform this procedure STEP 6A With you or someone holding the glass panel remove the two screws at the top edge of the fireplace with a Phillips screwdriver STEP 6B Together carefully remove the front glass panel and set it aside on a clean soft surface STEP 6C Place the decorative glass F on the fireplace ledge in any desired position STEP 6D Align the tabs of the glass panel with the...

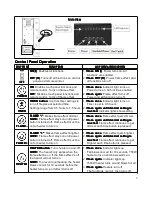
Страница 8: ...Pages 2 and 3 Make sure the outlet is in good condition and that the plug is not loose NEVER exceed the maximum amperage for the circuit DO NOT plug other appliances into the same circuit Methods of Operation This electric fireplace can be operated by the CONTROL PANEL located on the right side panel of the fireplace see figure below or by the battery powered REMOTE CONTROL The operation and funct...

Страница 9: ...V IODPH HIIHFW GLPPHU 127 127 127 127 ODPH HIIHFW VWD V RQ XQWLO SRZHU EXWWRQ LV WXUQHG RII ODPH HIIHFW PXVW EH RQ IRU KHDWHU WR WXUQ RQ 3UHVV 3UHVV 3UHVV 3UHVV RQFH RQFH RQFH RQFH ODPH HIIHFW JHWV GLPPHU 3UHVV 3UHVV 3UHVV 3UHVV DJDLQ DJDLQ DJDLQ DJDLQ XQWLO XQWLO XQWLO XQWLO GHVLUHG GHVLUHG GHVLUHG GHVLUHG VHWWLQJ VHWWLQJ VHWWLQJ VHWWLQJ LV LV LV LV UHDFKHG UHDFKHG UHDFKHG UHDFKHG ODPH HIIHFW FRQ...

Страница 10: ... UHDFKHG UHDFKHG QGLFDWRU OLJKWV VKRZ VHWWLQJ 0 0 0 0 0 0 0 0 EXWWRQ EXWWRQ EXWWRQ EXWWRQ 0DNHV IODPH HIIHFW GLPPHU 127 127 127 127 ODPH HIIHFW VWD V RQ XQWLO SRZHU EXWWRQ LV WXUQHG RII ODPH HIIHFW PXVW EH RQ IRU KHDWHU WR WXUQ RQ 3UHVV 3UHVV 3UHVV 3UHVV RQFH RQFH RQFH RQFH ODPH HIIHFW JHWV GLPPHU 3UHVV 3UHVV 3UHVV 3UHVV DJDLQ DJDLQ DJDLQ DJDLQ XQWLO XQWLO XQWLO XQWLO GHVLUHG GHVLUHG GHVLUHG GHVLU...

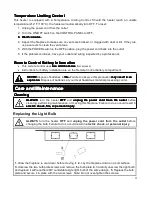
Страница 11: ...XOW UHVXOW UHVXOW UHVXOW LQ LQ LQ LQ DQ DQ DQ DQ H SORVLRQ H SORVLRQ H SORVLRQ H SORVLRQ LVSRVH RI EDWWHULHV DW RXU ORFDO KD DUGRXV PDWHULDO SURFHVVLQJ FHQWHU DUH DUH DUH DUH DQG DQG DQG DQG 0DLQWHQDQFH 0DLQWHQDQFH 0DLQWHQDQFH 0DLQWHQDQFH OHDQLQJ OHDQLQJ OHDQLQJ OHDQLQJ 6 6 6 6 WXUQ WKH KHDWHU 2 2 2 2 DQG XQSOXJ XQSOXJ XQSOXJ XQSOXJ WKH WKH WKH WKH SRZHU SRZHU SRZHU SRZHU FRUG FRUG FRUG FRUG IURP ...

Страница 12: ...t being used for excessive periods of time Damage caused by the insert being used in a commercial application Damage from use as a primary heat source Other misuse or abuse not specifically listed herein This product is not intended to be used as a primary heat source It is for supplemental heating purposes only Vendor Development Group Inc hereafter VDG its directors officers or agents will not b...

Отзывы: