29
Inspect and tighten all parts of the elliptical regularly.
Replace any worn parts immediately.
To clean the elliptical, use a damp cloth and a small
amount of mild soap.
IMPORTANT: To avoid damage
to the console, keep liquids away from the console
and keep the console out of direct sunlight.
CONSOLE TROUBLESHOOTING
If the console does not turn on, make sure that the
power cord is fully plugged in.
If the console does not display your heart rate when
you hold the handgrip heart rate monitor, or if the dis-
played heart rate appears to be too high or too low, see
step 5 on page 19.
If the console does not display your heart rate
when you use the chest heart rate monitor, see
TROUBLESHOOTING on page 12.
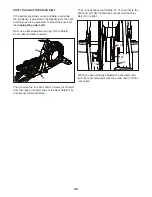
HOW TO GREASE THE ROLLERS
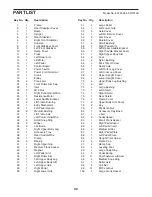
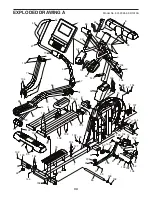
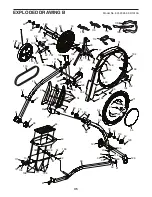
See the EXPLODED DRAWING near the end of this
manual. If the Large Rollers (51) squeak when mov-
ing on the Tracks (11), apply a small amount of the
included PTFE grease to a paper towel, and spread
a thin layer of grease evenly along the Tracks. Then,
wipe off any excess grease.
HOW TO CALIBRATE THE RAMP
If the ramp is not functioning properly, the ramp may
need to be calibrated. To calibrate the ramp, press and
hold the Calorie Workouts button for several seconds
until the test mode appears in the display.
Next, press the Calorie Workouts button again. Then,
press the Power Ramp increase or decrease button
to calibrate the ramp. The ramp will move upward and
downward as it calibrates.
When the ramp stops moving, the ramp is calibrated.
Then, press the Calorie Workouts button repeatedly to
exit the calibration mode.
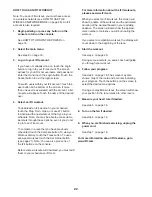
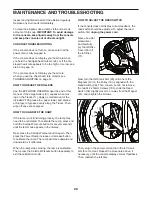
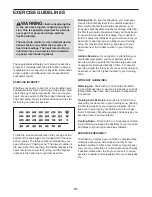
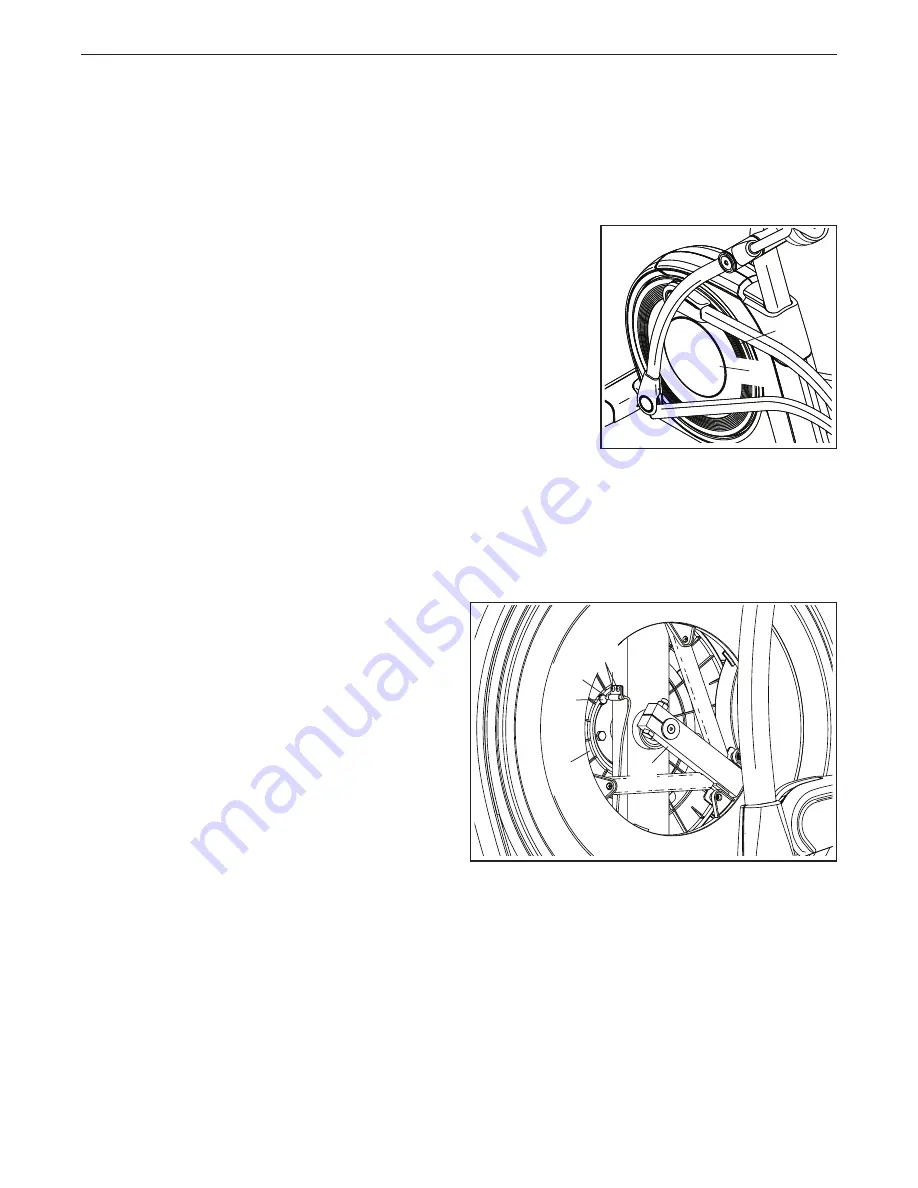
HOW TO ADJUST THE REED SWITCH
If the console does not display correct feedback, the
reed switch should be adjusted. To adjust the reed
switch, first
unplug the power cord.
Next, use a flat
screwdriver
and carefully
pry the left Disc
Cover (55) off
the left Disc
(71).
Next, turn the left Crank Arm (20) until one of the
Magnets (43) on the Pulley (19) is aligned with the
Reed Switch (38). Then, loosen, but do not remove,
the two M4 x 16mm Screws (104), slide the Reed
Switch (38) slightly closer to or away from the Magnet
(43), and retighten the Screws.
Then, plug in the power cord and turn the left crank
arm for a moment. Repeat the procedure above, if
necessary, until the console displays correct feedback.
Then, reattach the left disc.
MAINTENANCE AND TROUBLESHOOTING
55
43
38
19
71
104
20
Содержание 831.23954.0
Страница 4: ...4...
Страница 5: ...5 UTS all STANDARD SERVICE PLANS...

