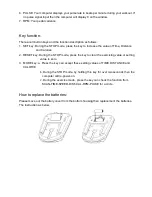
background image


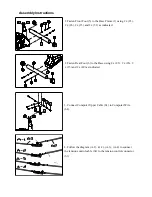
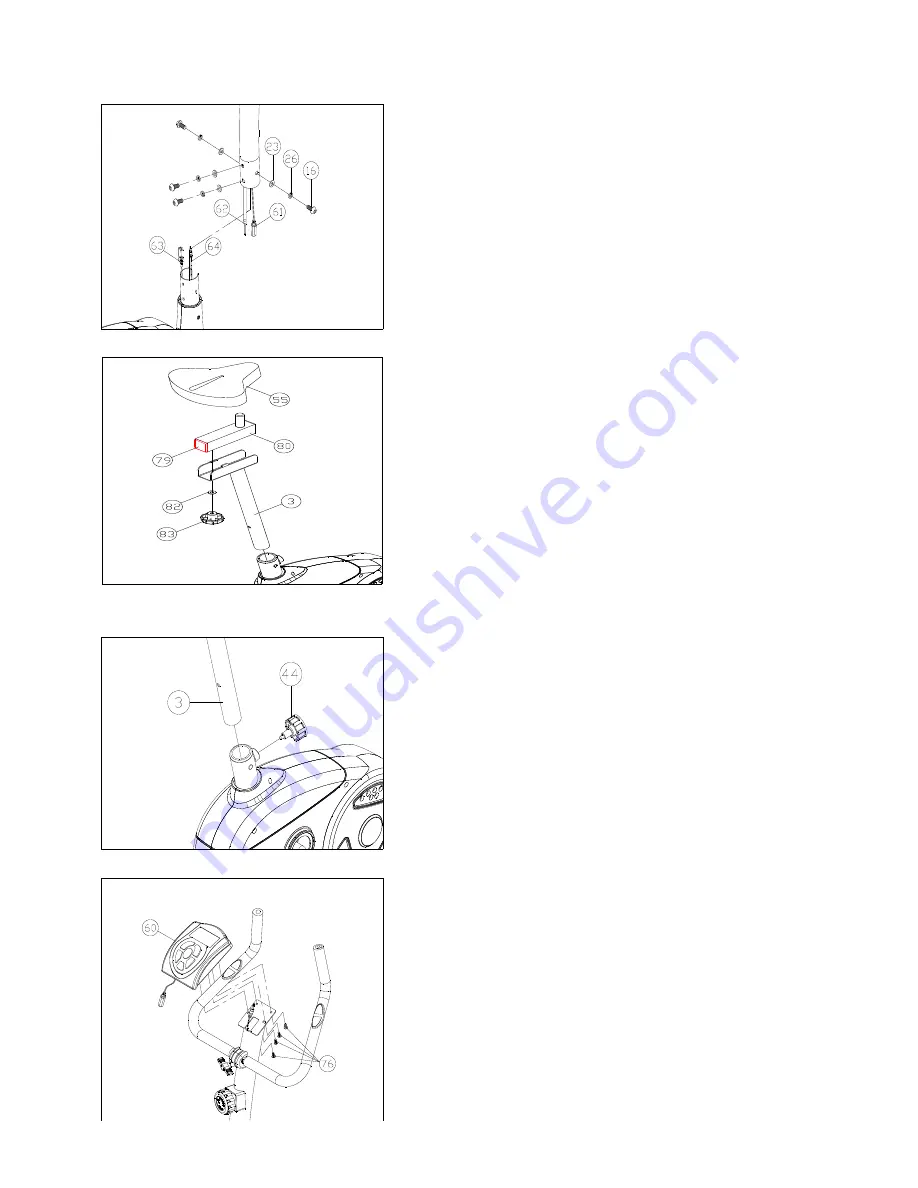
5. Insert the Handlebar Post (2) into the Base (1) and attach it 

with 4 x (23), 4 x (26) and 4 x (16). 


6. Attach the clamp of seat (55) to the seat slide post (80) and 

tighten the seat firmly into your desired position. 


After assembling the seat slide post (80) at the seat post 

with washer (82) seat post knob (83), you can move the 

hole of seat post to adjust your desired position. 


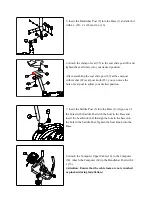
7. Insert the Saddle Post (3) into the Base (1). Align one of 

the holes in the Saddle Post with the hole in the Base and 

insert the Seat Knob (44) through the hole in the base into 

the hole in the Saddle Post. Tighten the Seat Knob into the 

Base. 


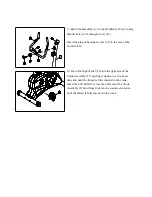
8. Attach the Computer Upper Cable (18) to the Computer 

(60). Attach the Computer (60) to the Handlebar Post with 4 

x (76). 

(Attention: Ensure that the cable loom are not crunched 

or pinched during installation.)


Содержание 220 cycle

Страница 1: ...220 cycle Owner s Manual SRS 968 NF May 28 2008 version 01...

Страница 2: ...l eller problemer som m tte oppst kan l ses ved snakke med en av Nordic Fitness sine serviceansvarlige For tekniske og brukermessige sp rsm l kontakt Nordic Fitness AS Strandveien 33 3050 Mj ndalen Po...

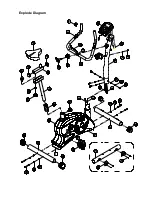
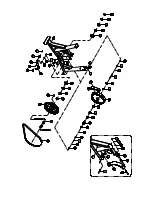
Страница 3: ...Explode Diagram...

Страница 4: ......

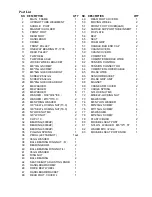
Страница 5: ...67 PULSE GRIP UNIT 2 20 M6 65mm HEX HEAD BOLT 1 68 MAGNET 1 21 M8 WASHER 1 69 CRANK ARM COVER 2 22 M8 WASHER 1 70 CARGE SPRING 1 23 M8 WASHER 8 71 NYLOCK NUT M6 1 24 WASHER 30 34 t0 8 1 72 M6SELF LOC...

Страница 6: ...2 x 15 and 2 x 51 as indicated 2 Fasten Rear Foot 6 to the Base using 2 x 23 2 x 26 2 x 15 and 2 x 49 as indicated 3 Connect Computer Upper Cable 61 to Computer Wire 64 4 Follow the diagram A 1 A 2 A...

Страница 7: ...an move the hole of seat post to adjust your desired position 7 Insert the Saddle Post 3 into the Base 1 Align one of the holes in the Saddle Post with the hole in the Base and insert the Seat Knob 44...

Страница 8: ...f the monitor 60 10 Insert the Right Pedal 26 into the right arm of the Crank Assembly 27 and finger tighten in a clockwise direction until the thread is fully inserted in the crank Insert the Left Pe...

Страница 9: ...Set keys from 0 00 to 99 00 If you continue exercising once the time has reached 0 00 the computer will begin beeping and count up from 0 00 3 SPEED Displays your workout speed value in KM MILE per h...

Страница 10: ...ries 2 RESET key During the STOP mode press the key to clear the exercising value or setting value to zero 3 MODE key a Press the key can accept these setting values of TIME DISTANCE and CALORIE b Dur...

Отзывы: