


AG 5000
System Administration
97
3.
Enter your user name and password, then click on the
OK
button.
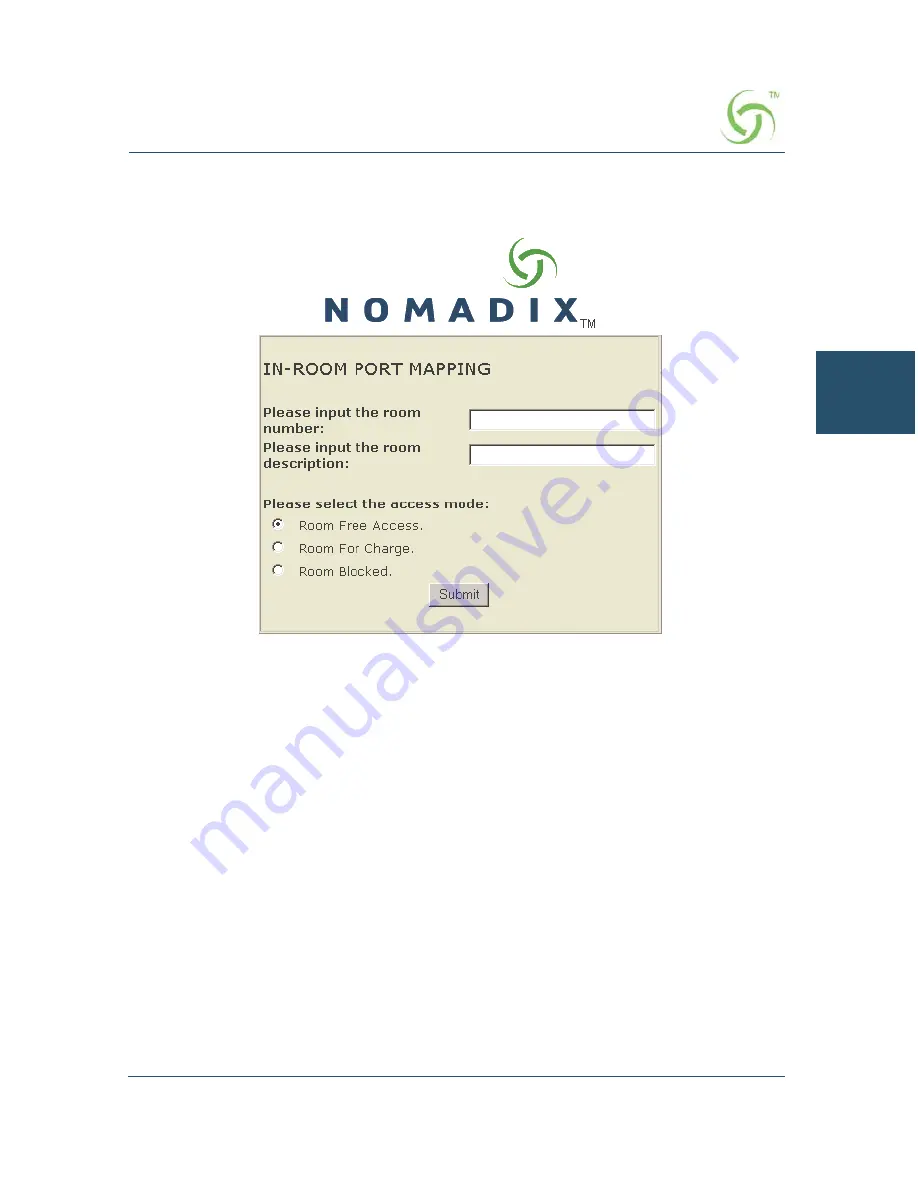
The
In Room Port Mapping
screen appears:
4.
Enter the room number and a description for this room.
5.
Select the access mode you want to assign to this room:
Room Free Access
Room For Charge
Room Blocked
6.
Click on the
Submit
button to save your changes.
7.
Repeat Steps 4 through 6 for each room (see note).
If you leave your browser open, the “cookie” that is placed on your
system will allow you to go from room to room during the mapping
process. However, if you close your browser, the cookie is deleted and
you will need to login again.
ag5000_userguide.book Page 97 Friday, March 4, 2005 3:05 PM
Содержание AG 5000
Страница 1: ...Nomadix AG 5000 User s Guide...
Страница 6: ...This page intentionally blank...
Страница 158: ...AG 5000 154 System Administration Sample of Internal Billing Options XoverY Plan Setup Screen...
Страница 174: ...AG 5000 170 System Administration Subscriber Login Screen Sample The following sample shows a subscriber login screen...
Страница 185: ...AG 5000 System Administration 181 5 Repeat Steps 1 3 for page 3 of 3 see following screen...
Страница 206: ...AG 5000 202 System Administration Notes Use this page for your notes...
Страница 262: ...AG 5000 258 Troubleshooting Notes Use this page for your notes...
Страница 264: ...AG 5000 260 Technical Support Notes Use this page for your notes...
Страница 280: ...AG 5000 276 Glossary of Terms Notes Use this page for your notes...
Страница 286: ...AG 5000 282 Index This page intentionally blank...


