ENGLISH
USER MANUAL
10
SC351 - 9099864000
USE
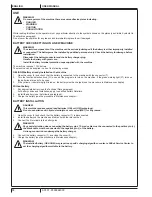
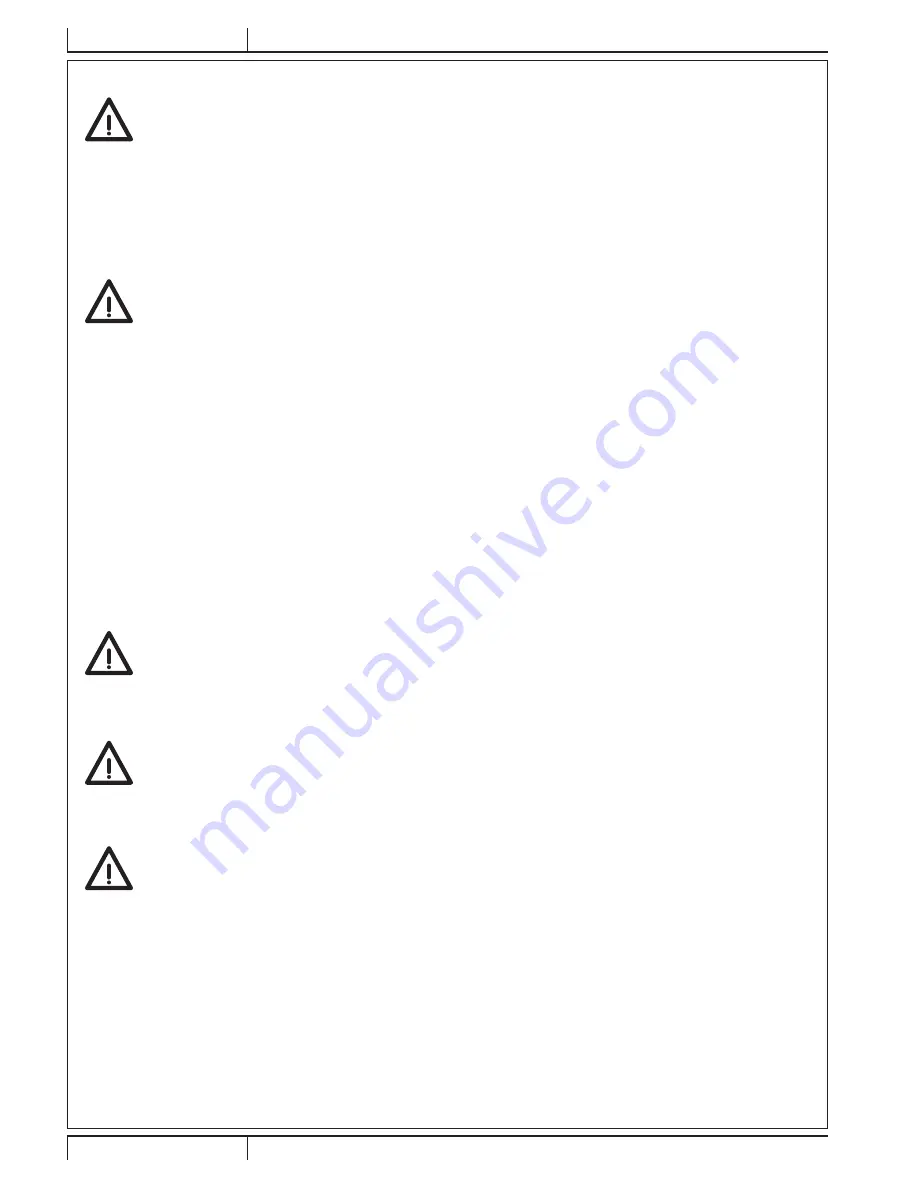
WARNING!
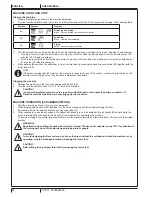
On some points of the machine there are some adhesive plates indicating:
–
DANGER
–
WARNING
–
CAUTION
–
CONSULTATION
While reading this Manual, the operator must pay particular attention to the symbols shown on the plates (see Visible Symbols On
The Machine paragraph).
Do not cover these plates for any reason and immediately replace them if damaged.
BATTERY CHECK/SETTING ON A NEW MACHINE
WARNING!
The electric components of the machine can be seriously damaged if the battery is either improperly installed
or connected. The battery must be installed by qualified personnel only. Check the battery for damage before
installation.
Disconnect the battery connector and the battery charger plug.
Handle the battery with great care.
Install the battery terminal protection caps supplied with the machine.
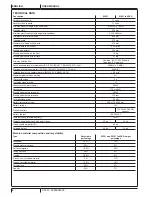
The machine requires 1 12V battery.
The machine can be supplied in one of the following modes:
GEL/AGM battery already installed on the machine
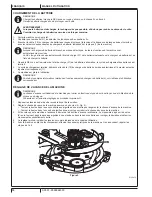
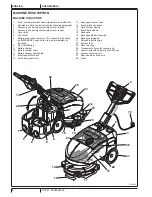
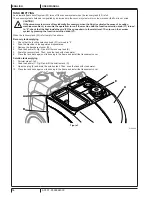
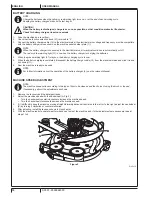
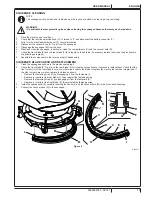
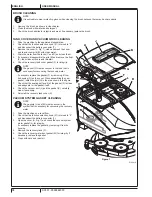
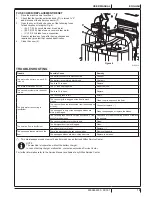
1. Open the cover (4) and check that the battery is connected to the machine with the connector (7).
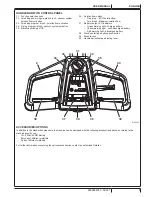
2. Turn the function selection knob (31) on one of the programs to turn on the machine. If the green warning light (37) turns on,
the batteries are ready to be used.
3. If the yellow or red warning light turns on, the battery must be charged (see the procedure in Maintenance chapter).
Without battery
1. Buy appropriate battery (see the Technical Data paragraph).
For battery choice and installation, apply to qualified battery Retailers.
2. Install the battery (see the following paragraph).
3. Charge the battery (see the procedure in Maintenance chapter).
BATTERY INSTALLATION
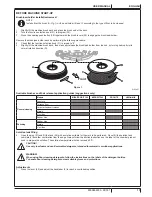
DANGER!
This machine requires sealed lead batteries (GEL or AGM technology).
Do not use batteries with liquid electrolyte or not sealed (WET) for any reason.
1. Open the cover (4) and check that the battery connector (7) is disconnected.
2. Install the battery on the machine and fasten it with the relevant belt.
3. Connect the 2 terminals to the battery pins.
WARNING!
Pay special attention when connecting the battery pins. The red cable must be connected to the positive pin (+),
the black cable must be connected to the negative pin (-) of the battery.
A wrong connection can damage the battery charger.
4. Connect the battery connector (7) and close the cover (4).
5. Charge the battery (see the procedure in Maintenance chapter).
WARNING!
The installed battery (GEL/AGM) may require a specific charging algorithm: contact a Nilfisk Service Center to
set the charging algorithm suitable to the battery.
Содержание SC351
Страница 83: ......

