107
106
Chapter
4
Flash Exposure Compensation — To Make Flash-Illuminated Subject Lighter or Darker
The SB-25 allows you to manually adjust the amount of
flash light in a range from –3 to +1 EV. This feature is partic-
ularly useful for “balanced” fill-flash where flash illumination
is sufficient to brighten the subject to almost the brightness
of the background.
Sometimes, you may want to use a little more or less
flash to make the subject a little brighter or not quite so
bright. Your choice may be based on desired aesthetic
qualities, or may be forced by extremes in lighting.
Generally speaking, you don’t want to make the subject
too bright; you just want to brighten shadows. To achieve a
subtle fill-flash effect, you may want to use some manually
selected “minus” compensation.
However, when the background is extremely bright, and
the subject is in deep shadows, you will probably want to
use some “plus” compensation.
Although the SB-25 is quite powerful, when using it for
fill-flash, it is competing with the sun’s brightness — very
strong competition.
With Standard TTL Flash you can manually compensate
exposure by adjusting the flash output level.
You can also adjust flash output level for Matrix Balanced
Fill-Flash, Center-Weighted Fill-Flash or Spot Fill-Flash, in
combination with the computer’s automatic compensation.
Before proceeding:
✗
ATTACH SPEEDLIGHT TO CAMERA.
✗
TURN ON BOTH SPEEDLIGHT AND CAMERA.
✗
USE SINGLE-SERVO AUTOFOCUS (S or A) OR MANU-
AL FOCUS (M).
✗
USE SINGLE-FRAME SHOOTING (S) FILM ADVANCE
MODE.
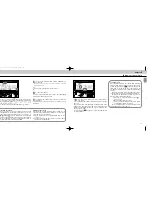
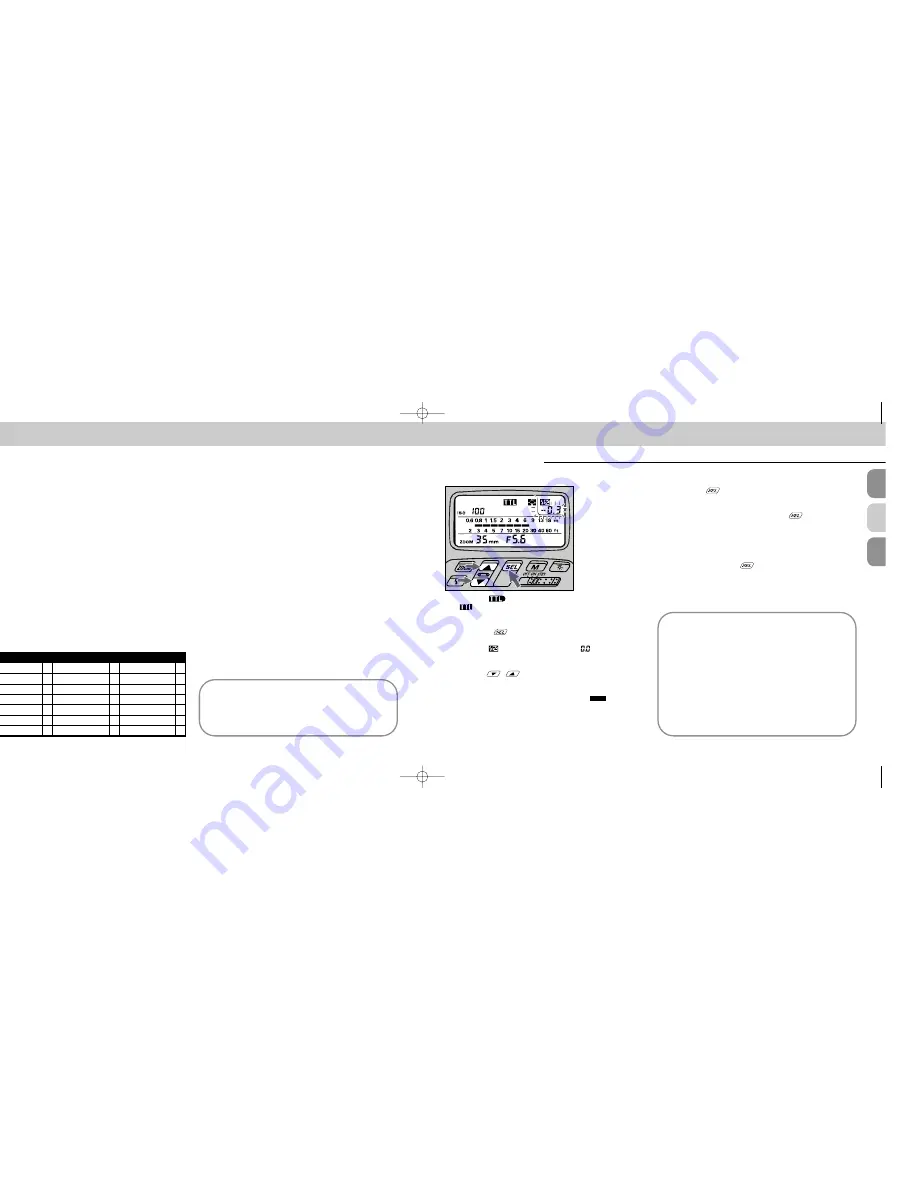
Set Up and Practice
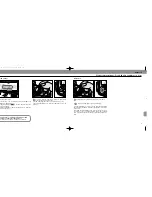
1
Choose
position (flash mode selector). Confirm
in the LCD panel.
This feature is available only in TTL Auto Flash mode.
2
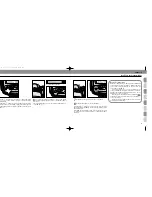
Press the
button.
Confirm the
indicator appears and
(zero exposure
compensation value) blinks in the LCD panel.
3
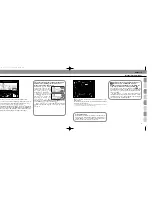
Press
buttons for value adjustment.
Adjustment can be made while the value indicator is
blinking.
Simultaneously, the shooting indicator bars
change.
4
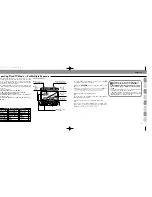
Press the
button again to complete setting.
The the value indicator will automatically stop blinking in
eight seconds unless you press the
button. In this
case, the last figure indicated will be set in the SB-25.
The exposure compensation value remains in the LCD
panel.
5
To cancel, readjust compensation value to 0 (steps 1
and 2), then press
button or leave it more than
eight seconds so the indication disappears.
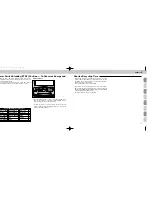
Exposure compensation on the camera
You can make additional compensation for back-
ground by using the camera’s exposure compensation
dial.
For example, with compensation of –2 on the SB-25
and –1 on the camera body, the total compensated
value for flash output level is –3, and the compensated
value for the background will be –1.
Note that the SB-25’ s LCD panel shows only the
compensated value of the SB-25.
For further information, see “Exposure
Compensation with Camera’s Dial — To Make
Background Lighter or Darker,” pages 108 and 109.
For F-601/N6006 and F-601
M
/N6000 users
Make settings on the camera to control the SB-25’s
flash exposure compensation; the SB-25 will works as
set on the camera. The SB-25’s control buttons and
LCD panel cannot be used for setting.
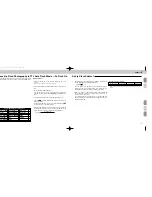
F90-Series/N90
✗
F-501/N2020
Nikonos V
F4-Series
✗
F-301/N2000
F3-Series
F-801/N8008
✗
F-401/N4004
F2-Series
F-801s/N8008s
✗
F-401s/N4004s
FM2
F-601
M
/N6000
✗
FE2
F-401x/N5005
FG
F-601/N6006
✗
FA
FG-20
APPLICABLE NIKON SLR MODELS
SB-25_En 03.1.14 8:18 PM Page 106
Содержание SB-25
Страница 1: ...Instruction Manual E Autofocus Speedlight 25_En 03 1 14 8 18 PM Page 1 ...
Страница 4: ...Chapter 1 Introducing the SB 25 Autofocus Speedlight 25_En 03 1 14 8 18 PM Page 6 ...
Страница 10: ...Chapter 2 Before Flash Shooting 25_En 03 1 14 8 18 PM Page 18 ...
Страница 49: ...Chapter 4 Flash Shooting Applications 25_En 03 1 14 8 18 PM Page 96 ...

