23
22
Chapter
2
Getting Started
4
Close the battery chamber lid,
then slide cover to close.
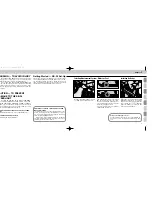
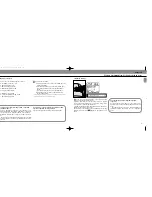
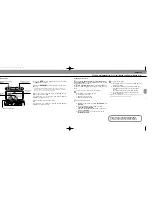
Attaching Flash Unit to Camera Accessory Shoe
5
Turn the SB-25’s mounting foot
locking wheel to the loosened
position as far as it goes, without forc-
ing.
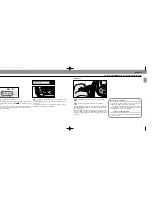
6
Slide the mounting foot forward
onto the camera’s accessory
shoe as far as it goes.
7
Tighten the locking wheel, taking
care not to over-tighten.
For Nikon F3 Series users
The SB-25 can only be mounted on an F3 Series cam-
era that uses a DE-2 or DE-3 finder. Be sure to attach
Flash Unit Coupler AS-4 or AS-7 to the camera’s
accessory shoe before mounting the SB-25 on the
camera.
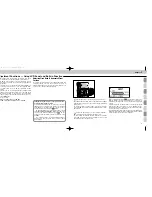
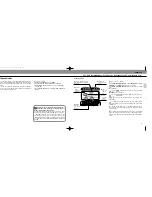
Checking Battery Power
8
Set power switch to STBY (stand-
by position) or ON to turn on the
speedlight.
If batteries are properly installed/
power is sufficient, ready-light will
come on, and LCD indications will
appear.
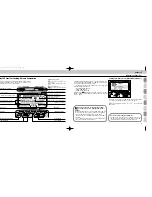
LCD figures and symbols for meters
(m) and feet (ft) do not appear simulta-
neously, as shown above. They are
shown together throughout this manu-
al for ease of explanation.
Replace batteries with a fresh set:
With alkaline-manganese batteries — replace if ready-
light takes more than 30 sec. to light up.
With NiCd batteries — remove if ready-light takes
more than 10 sec. to light up.
Precaution for Nikon F90-Series/N90 users
As the locking wheel is tightened, the SB-25 is firmly
attached to the accessory shoe with the mount pin. Be
extra careful that the locking wheel is completely loos-
ened before removing the flash unit from the camera
or it may cause damage to both units.
SB-25_En 03.1.14 8:18 PM Page 22
Содержание SB-25
Страница 1: ...Instruction Manual E Autofocus Speedlight 25_En 03 1 14 8 18 PM Page 1 ...
Страница 4: ...Chapter 1 Introducing the SB 25 Autofocus Speedlight 25_En 03 1 14 8 18 PM Page 6 ...
Страница 10: ...Chapter 2 Before Flash Shooting 25_En 03 1 14 8 18 PM Page 18 ...
Страница 49: ...Chapter 4 Flash Shooting Applications 25_En 03 1 14 8 18 PM Page 96 ...


