4
1. First steps
1.1.
Insert the Battery:
This is the first step to be done by the customer. Take the battery and insert it in the place just
next to the memory card slot. If the battery gets into it in a correct way you would hear a
cluck sound which. For instance see the picture below which shows the memory card slot and
also the place for putting the battery in.
1.2.
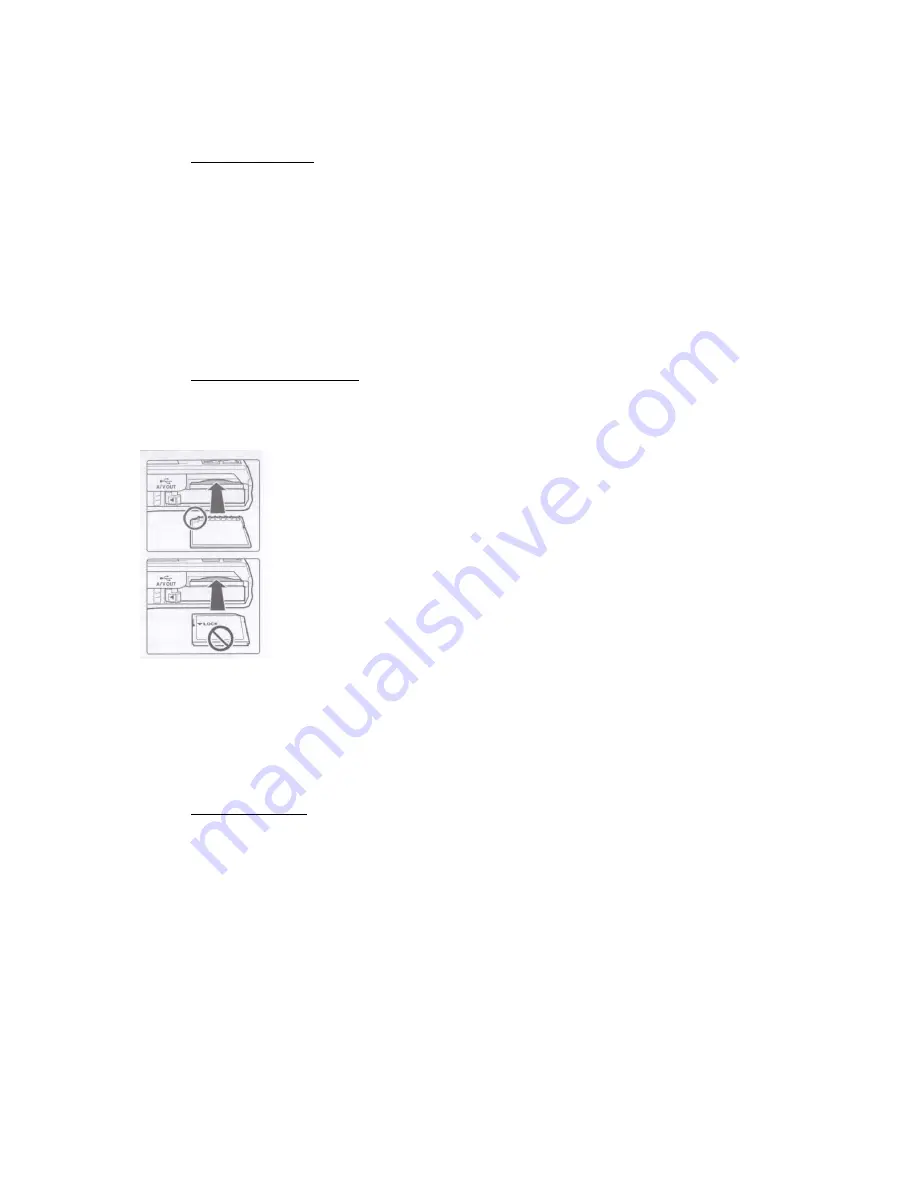
Insert the Memory Card:
Inserting the memory card is the next step. Hold the memory card in
your hand in such a way that the golden strips appear on top of the card.
Slid the card in and wait to hear the cluck sound which means that the
memory card is correctly inserted.
1.3.
Turn on Camera:
This is the first time you are going to switch on your camera after ensuring that you have
placed the battery and the memory card properly. Press the power button on top of the
camera for two seconds, the power on lamp (green) will light for a second and the
monitor will turn on and wait for the lens to pop out. The start button is shown in the
picture1 (see that if doubt persists in your mind). The start button is technically called the
power button.


