background image

Installation

5

5. Installation: 

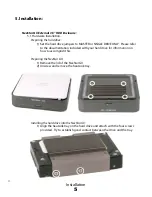
NexStar GX External 3.5” HDD Enclosure:

5.1. Hardware Installation:

Preparing the hard drive:

1) Set the hard drive jumpers to MASTER or SINGLE DRIVE ONLY.  Please refer 

to the documentation included with your hard drive for information on 
how to accomplish this.

Preparing the NexStar GX:

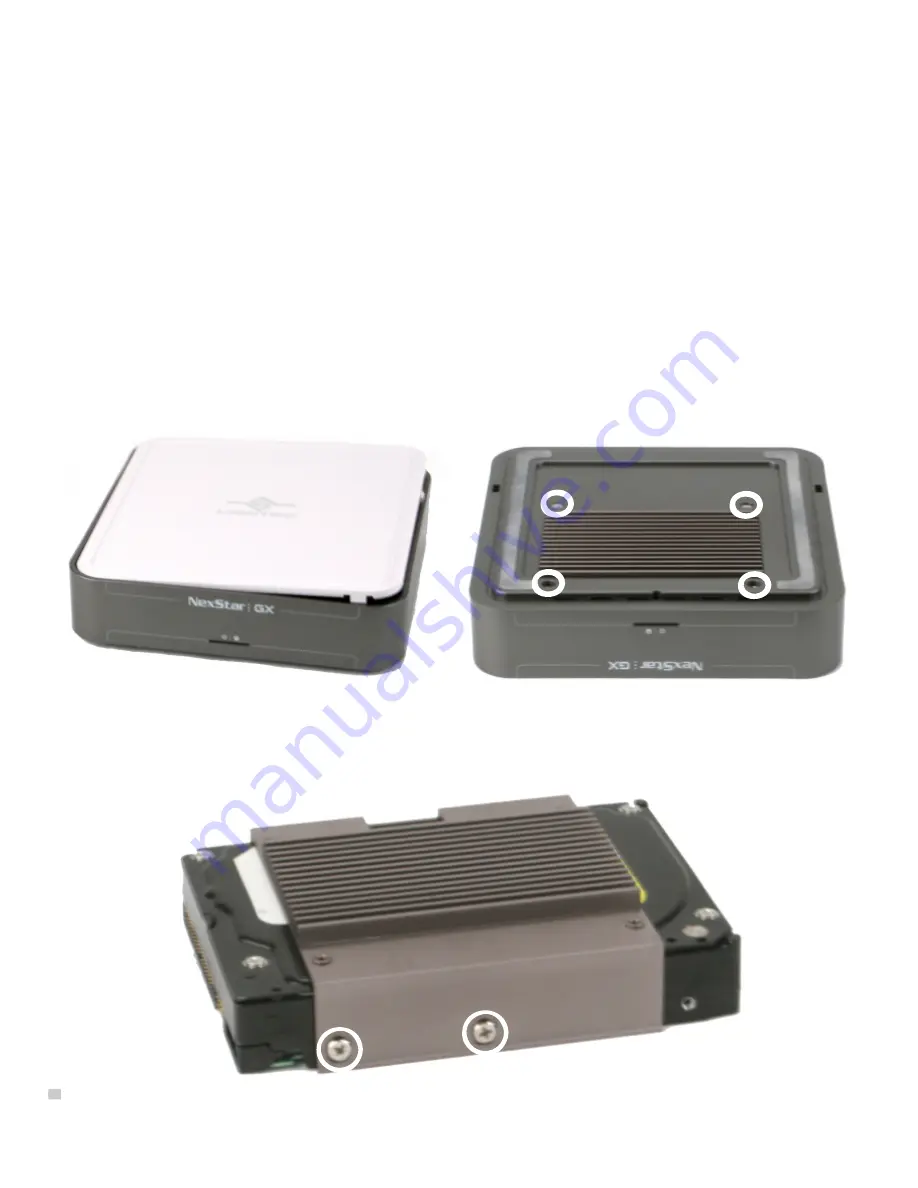
1) Remove the lid of the NexStar GX 
2) Unscrew and remove the heatsink tray.

Installing the hard drive into the NexStar GX:

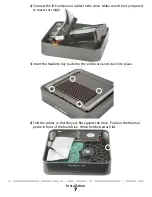
1) Align the heatsink tray on the hard drive and attach with the four screws 

provided.  Try to establish good contact between the drive and the tray.

Содержание NST-370GX

Страница 1: ......

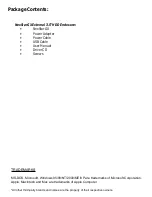
Страница 2: ...er Cable USB Cable User Manual Driver CD Screws TRADEMARKS MS DOS Microsoft Windows 95 98 NT 2000 ME XP are trademarks of Microsoft Corporation Apple Macintosh and Mac are trademarks of Apple Computer...

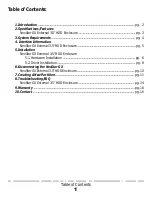
Страница 3: ...mation NexStar GX External 3 5 HDD Enclosure pg 5 5 Installation NexStar GX External 3 5 HDD Enclosure 5 1 Hardware Installation pg 6 5 2 Driver Installation pg 8 6 Disconnecting the NexStar GX NexSta...

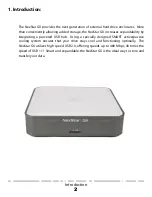
Страница 4: ...increases expandability by integrating a powered USB hub Using a specially designed SMART active passive cooling system ensures that your drive stays cool and functioning optimally The NexStar GX util...

Страница 5: ...y Universal auto switching external power adapter Input AC 100 240V 1 2A 50 60Hz Output DC 5 1 5A 12V 1 5A Enclosure Dimensions 16 51 x 16 51 x 5 08cm FEATURES Smart Power NexStar GX will automaticall...

Страница 6: ...I 350MHz compatible or Apple G3 processor and greater Microsoft Windows 98SE ME 2000 XP or Mac OS 9 1 and greater USB equipped system with available USB port For USB 2 0 speeds the system must support...

Страница 7: ...ched to your computer Fan Settings There are 3 modes available for you to select the desired cooling Automatic A Manual Low M L Manual High M H We recommend you leave your unit on the Auto setting Whe...

Страница 8: ...fer to the documentation included with your hard drive for information on how to accomplish this Preparing the NexStar GX 1 Remove the lid of the NexStar GX 2 Unscrew and remove the heatsink tray Inst...

Страница 9: ...ve Make sure drive is jumpered to master or single 3 Insert the heatsink tray back into the enclosure and screw into place 4 Fold the cables so that they are flat against the drive Position the therma...

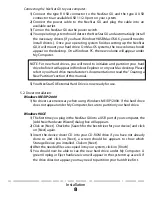
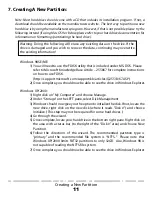
Страница 10: ...o your hard drive manufacturer s documentation or read the Creating a New Partition section of this manual 5 Your NexStar GX External Hard Drive is now ready for use 5 2 Driver Installation Windows ME...

Страница 11: ...exStar GX if you currently have it connected 2 USB Mass Storage Support 1 3 5 must be installed on your system If it is not you can download the USB Mass Storage Support 1 3 5 from the Apple Software...

Страница 12: ...p The system should prompt It is now safe to remove the USB device If not wait for any programs still using the device to finish and try again 4 Turn off the NexStar GX 5 Unplug the USB cable from the...

Страница 13: ...XP 2000 1 Right click on My Computer and choose Manage 2 Under Storage on the LEFT pane select Disk Management 3 Windows should now give you the option to initialize the disk If not locate the new dr...

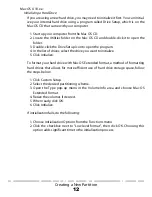
Страница 14: ...select the drive you want to initialize 5 Click Initialize To format your hard drive with Mac OS Extended format a method of formatting hard drives that allows for more efficient use of hard drive sto...

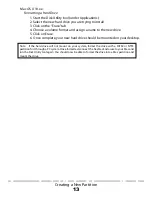
Страница 15: ...d assign a name to the new drive 5 Click on Erase 6 Once complete your new hard drive should be mounted on your desktop Note If the hard drive will not mount on your system format the drive with a FAT...

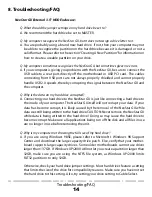
Страница 16: ...the NexStar GX is just like connecting a hard drive to the inside of your computer The NexStar GX itself will not corrupt your data If your data has become corrupt it is likely caused by the removal...

Страница 17: ...le system If you wish to use the device with Windows XP 2000 and Windows 98SE you need to format the drive as FAT32 Q Why can t I copy files larger than 4GB onto my NexStar GX A You have probably form...

Страница 18: ...defects and missing parts are not covered under this warranty Please check the contents of the unit to make sure you received all parts Also check for any cosmetic flaws If any parts are missing or i...

Отзывы: