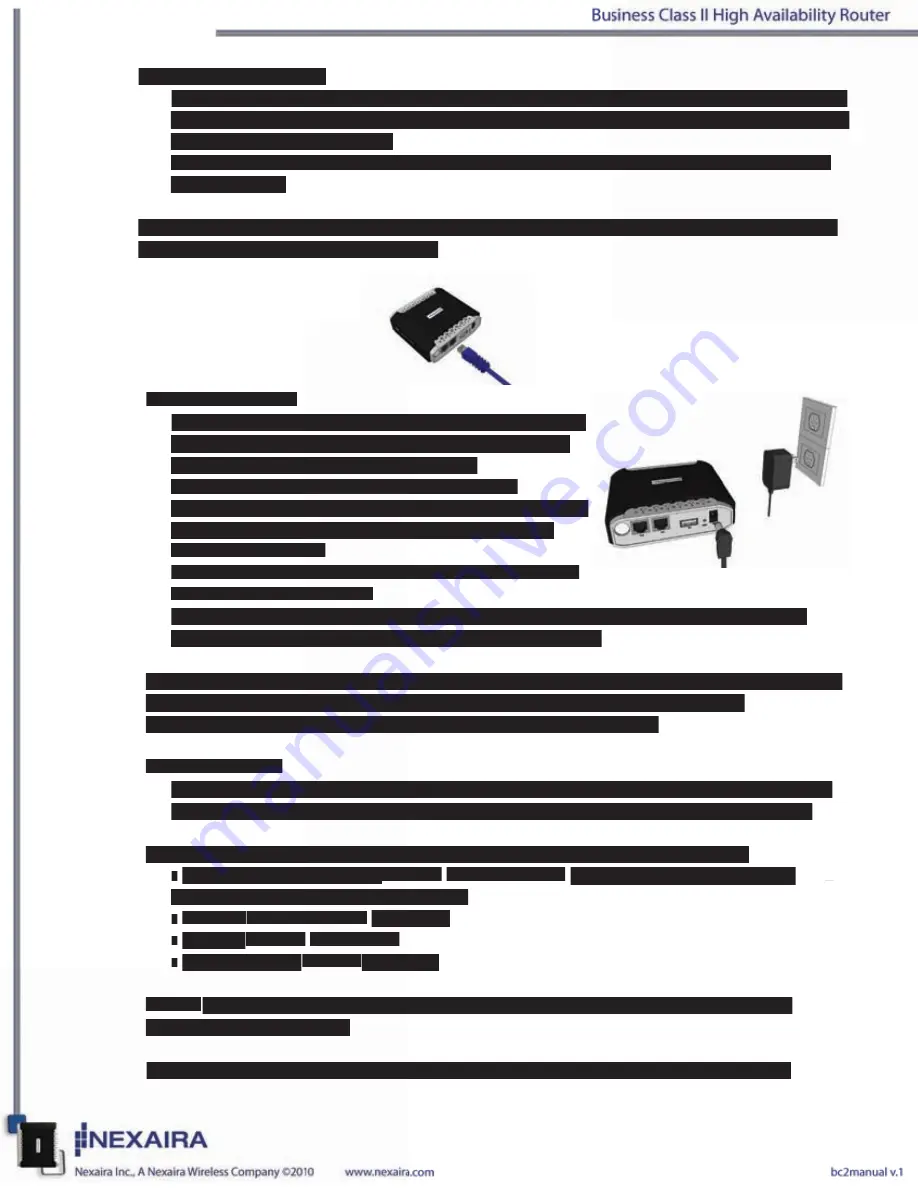
2(ii). Ethernet connection:
a. Insert one end of an Ethernet cable into the LAN Port on the back panel of the router. Insert
the other end into an available Ethernet port of the network adapter in the computer that will
be used to configure the unit.
b. LAN LED should be on when connected. If not, check the connection between the router
and computer.
NOTE: The Business Class II High Availability Router LAN Port is “Auto-MDI/MDIX”, so
any standard Ethernet cable will work.
3. Power connection.
a. Connect the power adapter to the receptor on the back
panel of the router. Plug the other end of the power
adapter into a wall outlet or power strip.
b. The 3G & Wi-Fi LED will turn ON and flash,
indicating that the unit is powered on. Also performing
the boot-up cycle. The LAN and WAN lights will
be on if connected.
c. The 3G/4G LED will flash and stabilize once a 3G/4G
connection is established.
d. Upon completion of the boot-up cycle, the 3G light, LAN and Wi-Fi lights will be on.
Occational flashing may occur indicating normal activity.
NOTES: An uninterruptable power supply (UPS) is recommended for power surges and/or
outages. At a minimum, a surge protector should always be used to protect the
equipment from being damaged by electrical spikes and transients.
Wi-Fi Connection
If you are connecting wirelessly to the Business Class II High Availability Router, you must
ensure that the security settings on the connecting PC are the same as those on the router.
By default, the router broadcasts a secure Wi-Fi signal with WPA-PSK* encryption:
• SSID / Wi-Fi Signal Name
is set to
NEXWARE### (where ### equal the last three
characters of the router’s MAC address)
• Channel
is set to channel
5(2.4GHz)
• Security
is set to
WPA-PSK*
• Key (password)
is set to
password
NOTE:
It is recommended, for security reasons, that the security settings on the router be
changed during initial setup.
*Please refer to your computer’s Wi-Fi adapter documentation for additional information.


