3
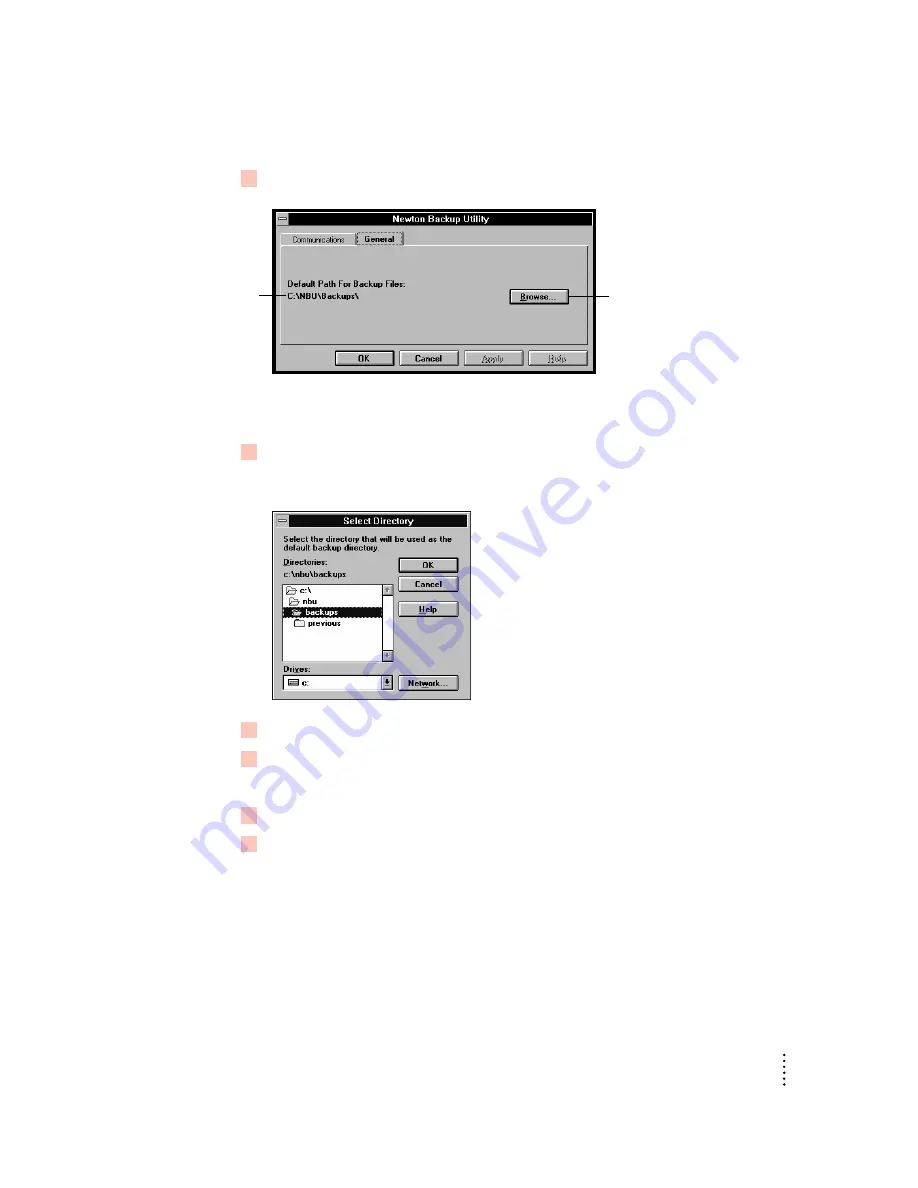
Click the General tab.
This window now shows the directory path set for backing up your Newton PDA
information.
4
To change the directory, click Browse.
A window appears.
5
Select a new location for your BACKUPS directory.
6
Click OK.
The new location you specified is saved and the window disappears.
7
Establish a connection from your Newton PDA.
8
Click the Backup button and back up all information and packages on your Newton PDA.
For more information, see “Backing Up All Information and Packages” earlier in
this chapter.
A new BACKUPS directory with backup files appears in the location you specified.
Note: To avoid confusion with previous backups, you may want to remove older
backup files you’ve created in other locations.
17
Backing Up and Restoring Information
Shows the current
location of the
BACKUPS directory.
Click to change the location
of the BACKUPS directory.


