background image

GETTING STARTED

SETTINGS

INITIAL SETUP

1. Connect the monitor to a power outlet.
2. Press the POWER button on the monitor or to turn it on(the indicator will be lit blue)
3. Connect the relevant cable to the corresponding source on the monitor. The input should be 

automatically detected.

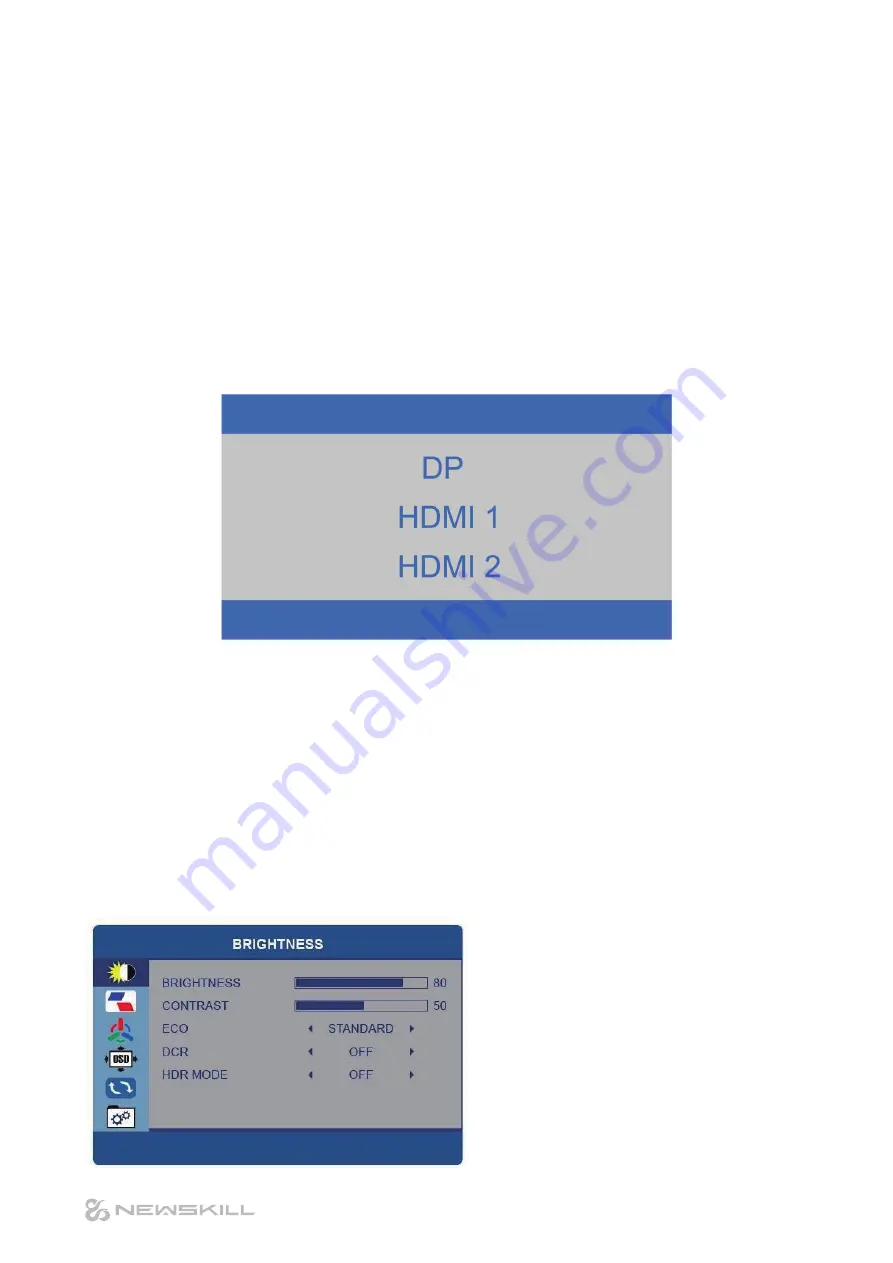
4. If isn’t press the “SOURCE” button to bring up the source menu. Use the up/down arrows to choose the 

preferred input source.

MAIN MENU

Press MENU button to enter the main menu.
Use the 

◀ / ▶


buttons to select the menu you require and press the 

 button to enter the desired menu.

Use the 

◀ / ▶

 buttons to make the desired changes to the settings.

When the preferred settings are complete, press EXIT button to confirm and return to the previous menu 
page.

BRIGHTNESS MENU
Alter the Brightness, Contrast, Eco Mode and DCR.

Adjust the Brightness between 0-100
Adjust the Contrast between 0-100
Eco-Select from “Standard”, “Text”, “Movie” and 
“Game”
DCR-Select from On and Off

Select from: DP1, DP2, HDMI1, HDMI2

7

Содержание ICARUS 27

Страница 1: ...NS MN ICARUS27 4K INSTRUCTION MANUAL Please read this manual thoroughly before use and keep it handy for future reference www newskillgaming com...

Страница 2: ......

Страница 3: ...Saftey Information 1 What s included 2 Fitting the table stand 3 INPUT OUTPUT Ports 4 Angle adjustment 5 Control buttons 6 Wall mounting 6 Getting Started 7 Troubleshotting 10 Dimensions 10 Specifica...

Страница 4: ...ll servicing to qualified personnel Servicing is required when the apparatus has been damaged in any way such as power supply cord or plug is damaged liquid has been spilled or objects have fallen int...

Страница 5: ...not be exposed to excessive heat such as direct sunlight or fire User Manual Power Supply Power cable HDMI cable Warranty is comes with one It has attached to the manual depending on the version This...

Страница 6: ...FITTING THE TABLE STAND 3 4pcs M4 10mm...

Страница 7: ...g make sure the power supply of this product and the PC Please make sure you have turned off NOTICE 1 DC IN Connect the power supply and power socket with adpator includes 2 HDMI Port Connect the moni...

Страница 8: ...comfortable use It is recommended to reduce eye fatigue that the monitor should be a little lower than the height of the eye and at a distance of about 50 70cm While adjusting the angle of the monitor...

Страница 9: ...M E The monitor is provided with mounting holes for a VESA approved wall mounting bracket not supplied The VESA mounting pattern is 100x100mm and the size of the screws is 4xM6x10 not supplied Do not...

Страница 10: ...the preferred input source MAIN MENU Press MENU button to enter the main menu Use the buttons to select the menu you require and press the button to enter the desired menu Use the buttons to make the...

Страница 11: ...e Clock Speed between 0 100 Adjust the Phase between 0 100 Aspect Select from Wide or 4 3 Color Temp select from Warm Cool or User Adjust the red element of colour between 0 100 Adjust the green eleme...

Страница 12: ...factory settings Auto adjust image Auto adjust colour Reset to factory settings MISC MENU Adjust miscellaneous settings including input source volume and Freesync setting Select from DP1 DP2 HDMI1 HD...

Страница 13: ...ted properly Ensure the correct input is selected Buttons on the monitor don t do anything Disconnect the power plug and then reconnect it The unit may not be operating properly due to lightning stati...

Страница 14: ...2G Viewing Angle 178 178 CR 10 Color Support 1 07G Filter 3D Combo Pixel Pitch 0 155 h x0 155 v Active Display Area 596 16 H x335 34 V INPUT Connector HDMI 2 0 2 USB DP1 2 Audio Out Features Plug Play...

Страница 15: ...ich you can deposit your old electrical products Customers will be able to take any old electrical equipment to participating civic amenity sites run by their local councils Please remember that this...

Страница 16: ......

Отзывы: