background image

Volume Setting:

Press the Classic 

(Edit)

button.  Enter the desired volume by pressing the 

Dark

(

+

)

button to increase the volume setting or press the 

Mild

(

-

)

button to decrease the volume setting.  Press

the Classic 

(Done)

button to "set" the volume and move on to the next prompt.

Volume:64oz

(

-

) (EDIT) (

+

)  (X)

Volume Setting: 
Maximum 150 ounces 
Minimum 10 ounces

Brew Time Setting:

Press the Classic 

(Edit)

button.  Enter the desired brew time by pressing the

Dark

(

+

)

button to increase the time setting or press the 

Mild

(

-

)

button to decrease the brew time

setting.  Press the Classic 

(Done)

button to "set" the brew time and move on to the next prompt.

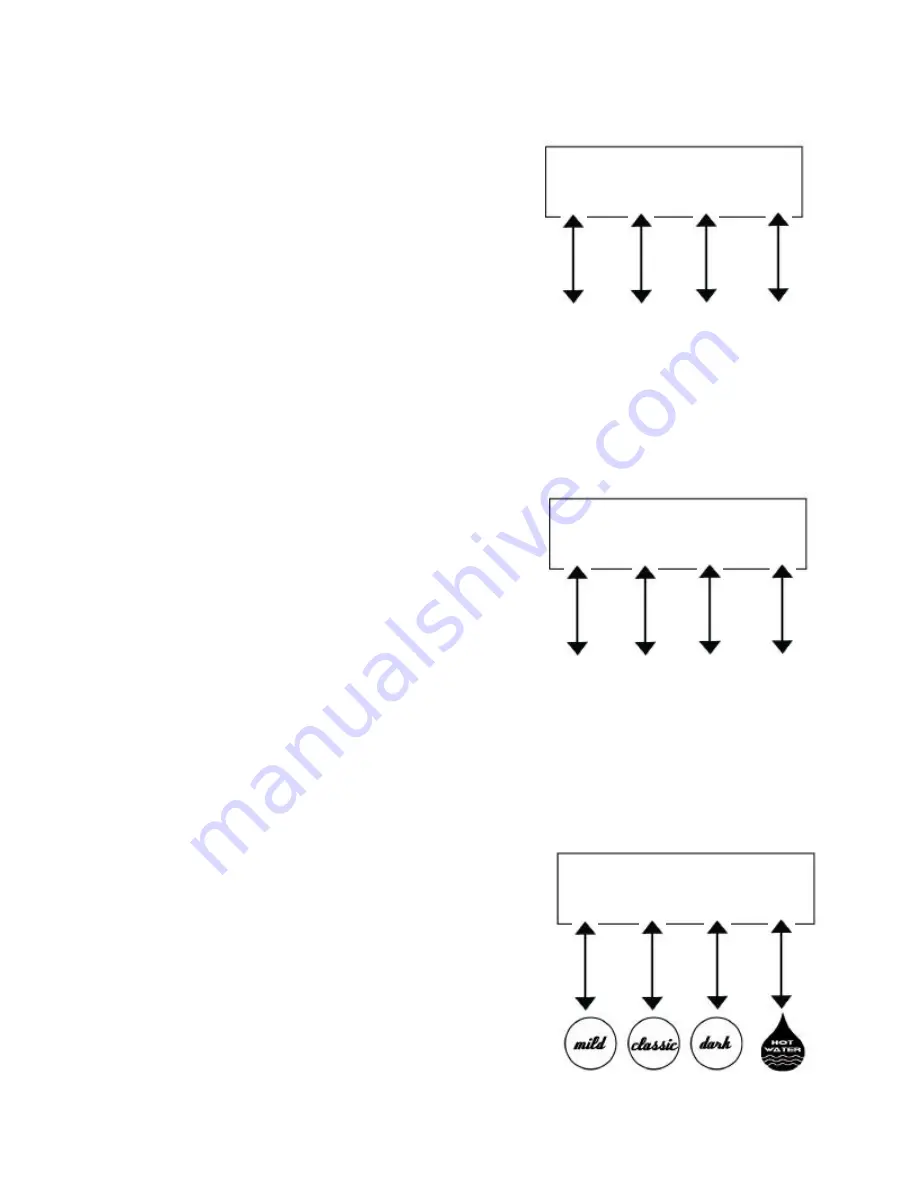
Decrease

or 

Down

Edit

or

Done

Increase

or

Up

Exit

Brew Time:3:30

(

-

) (EDIT) (

+

)  (X)

Brew Time Setting: 
Maximum 15 minutes
Minimum based on Pump Speed, Volume, & Calibration.

Decrease

or 

Down

Edit

or

Done

Increase

or

Up

Exit

Drain Time Setting:

Press the Classic 

(Edit

) button.  Enter the desired drain time by pressing the

Dark 

(

+

)

button to increase the drain time setting or press the

Mild

(

-

)

button to decrease the drain time

setting.  Press the Classic 

(Done)

button to "set" the drain time. Press the 

Hot Water

(X) button to exit

Side Car programming.

Drain Time:30

(

-

) (EDIT) (

+

)  (X)

Decrease

or 

Down

Edit

or

Done

Increase

or

Up

Exit

Drain Time Setting: 
Maximum 4 minutes
Minimum 30 seconds.

Note: The total of the Brew Time and Drain Time
(combined) will be displayed during the Side Car
brewing process. Example: Brew Time: 2 minutes
45 s Drain Time: 30 seconds = 3 minutes
15 seconds total brewing time.

12

Содержание Smart Cup

Страница 1: ...Operating Manual...

Страница 2: ...ewer Power switch on back of brewer Power switch on back of brewer Power switch on back of brewer Power switch on back of brewer Side Car Start switch Pod Holder Programming Page 13 Programming of Sid...

Страница 3: ...25 ft run and 5 16 port hole for over 25 ft run PRE FILL FUNCTIONS Main Water Tank Heat Exchange Reservoir 1 Main Hot Water Tank Pre fill When the brewer is plugged in and the master on off switch is...

Страница 4: ...riginal setting and the process will have to be started over again Please Select Fill Drain X Fill Interpreting The Display The LCD has two lines of information First Line is the programming function...

Страница 5: ...libration D Faucet calibration E Smart Cup Text Editing Calibration Side Car Smart Cup Overview Enter Calibration Mode Power switch on back of brewer Press and Hold Power up Brewer Side Car Brew CAL X...

Страница 6: ...sic Done but ton and the calibration process is finished for the Side Car Next prompt will be the Coffee Pod Holder Press to Calibrate Side Car Brew CAL X Amount 15oz Done X Press to finish 3 Enter pu...

Страница 7: ...or Dark Right Arrow button to the measured volume Push the Classic Done button and the calibration process is finished for the Coffee POD Holder Next prompt will be the Tea POD holder 2 Insert Coffee...

Страница 8: ...ume Push the Classic Done button and the calibration process is finished for the Tea POD Holder Next prompt will be the Faucet Calibration Tea Pod CAL X 7 Press the Classic button and the calibra tion...

Страница 9: ...the flow rate will increase accordingly Press the Classic Done button and the calibration process is finished for the Faucet Next prompt will be the Text Editing Smart Cup Faucet CAL X Decrease Press...

Страница 10: ...ed continue to push the Classic Next button until it exits out to the next parameter which is Temperature setting SMART CUP EDIT 1 Press Classic button to edit text sMART CUP NEXT 2 Upon pressing the...

Страница 11: ...button Decrease z a Next letter Increase a z Change Smart Cup to any text you choose After the number 9 and before the letter a is the blank space selection To make a correction press the classic nex...

Страница 12: ...s the Classic Edit button Enter the desired temperature by pressing the Dark button to increase the temperature setting or press the Mild button to decrease the temperature setting Press the Classic D...

Страница 13: ...Done Increase or Up Exit Brew Time 3 30 EDIT X Brew Time Setting Maximum 15 minutes Minimum based on Pump Speed Volume Calibration Decrease or Down Edit or Done Increase or Up Exit Drain Time Setting...

Страница 14: ...the same time When the two buttons are pressed simultaneously the flashing icon will move to the next letter number position leaving the last letter in upper casing Note There are hidden symbols locat...

Страница 15: ...t button Enter the desired POD Holder description Coffee or Tea by pressing the Dark button or Mild button to toggle between Coffee and Tea Press the Classic Done button to set the POD Holder descript...

Страница 16: ...35 DONE X Decrease or Down Edit or Done Increase or Up Brew Time Setting Maximum 4 minutes Minimum based on Volume and Calibration Note For coffee Pods 8 seconds is added automatically for purging of...

Страница 17: ...function will default back to its original setting The display will read Please Select Fill Drain X press the Classic button to drain the heat exchanger CAUTION Hot Water will drain from the water li...

Страница 18: ...ssic button The LCD display will show the POD Holder name on the first line The second line will dis play Scroll Down is the Mild button Show Reset is the Classic button Scroll Up is the Dark but ton...

Страница 19: ......

Страница 20: ......

Страница 21: ......

Страница 22: ......

Страница 23: ......

Страница 24: ......

Отзывы: