background image

1

Set Up the Access Point

Before you can use the access point you must connect to the 
access point and configure the LAN and wireless access settings.


¾

To connect to the access point:

1.  Configure a computer with a static IP address of 

192.168.0.210 and a subnet mask of 255.255.255.0.
For help configuring a static IP address on your computer, check 
the instructions or online help that came with that computer.

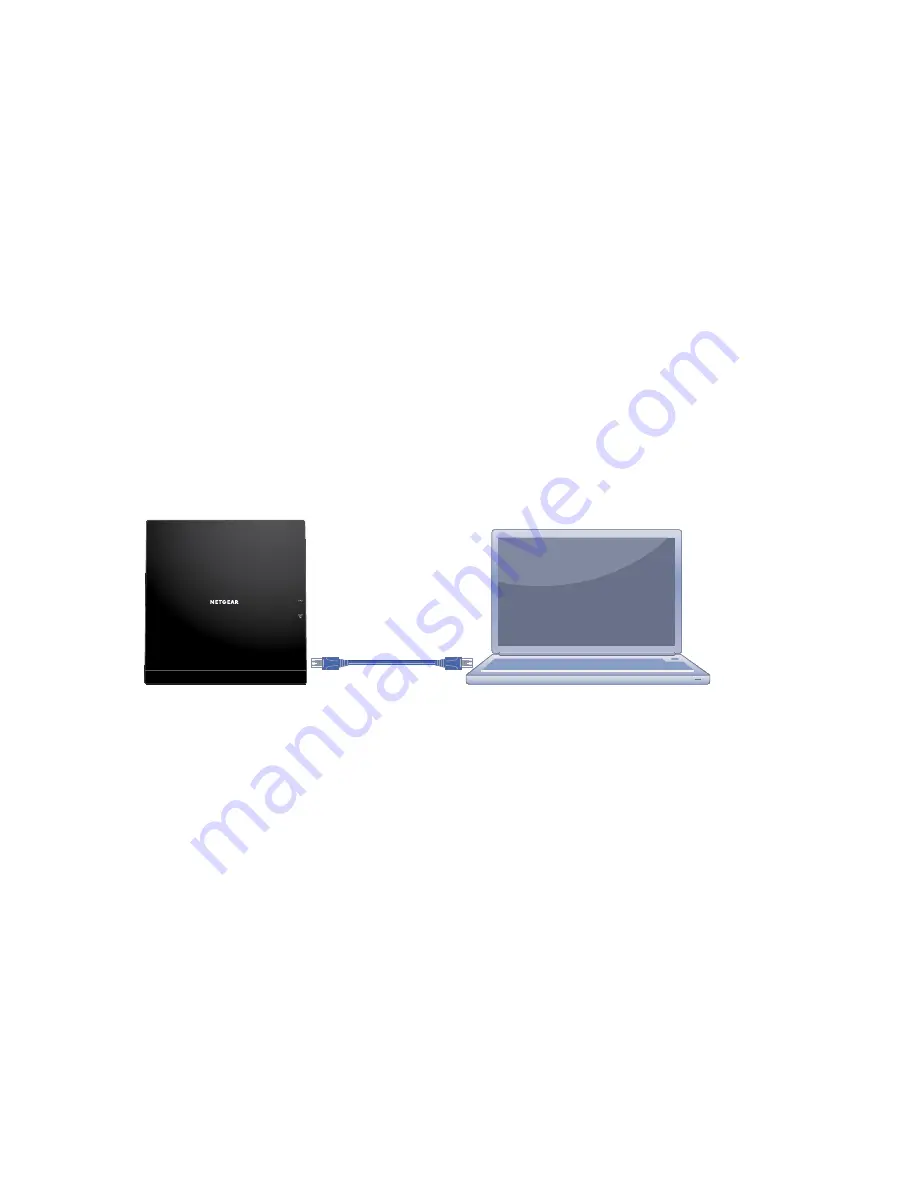
2.  Connect the Ethernet cable to the computer.
3.  Connect the other end of the Ethernet cable to the LAN port on 

the access point.

4.  Connect the power adapter to the access point and plug the 

power adapter into a power outlet.

5.  Press the 

On/Off

 button on the access point.

6.  On the computer that is connected to the access point, enter 

http://192.168.0.100

 in the address field of a browser.

A login screen displays.

7.  Enter 

admin

 for the user name and 

password

 for the 

password.
The web management interface of the access point displays.

Содержание WAC120

Страница 1: ...ent EU Declaration of Conformity visit http support netgear com app answers detail a_id 11621 For regulatory compliance information visit http www netgear com about regulatory See the regulatory compl...

Страница 2: ...ETGEAR support resources You can get the user manual online at http downloadcenter netgear com or through a link in the product s user interface Ethernet cable Access point Ethernet cable Internet Mod...

Страница 3: ...Contents Set Up the Access Point 1 Install Your Access Point 2 LEDs 4 Join the WiFi Network 5 View or Change the Access Point Settings 6 Troubleshooting Tips 8...

Страница 4: ...nline help that came with that computer 2 Connect the Ethernet cable to the computer 3 Connect the other end of the Ethernet cable to the LAN port on the access point 4 Connect the power adapter to th...

Страница 5: ...urity Profile Settings 6 Configure a security profile for your wireless network For more information about security profile settings see the reference manual 7 After configuring a security profile cli...

Страница 6: ...r devices a Plug in then turn on your gateway or modem b With an Ethernet cable connect your gateway or modem to a network switch c With the Ethernet cable that came with the access point connect the...

Страница 7: ...2 3 4 LEDs The LEDs on the wireless access point light to indicate wireless access point activity LED Description Power LED Off Power is off Green Power in on Amber A self test is running During star...

Страница 8: ...structions or online help that came with that computer or device Some older equipment cannot use WPS To join the network using WPS 1 Press the WPS button on the access point for two to three seconds T...

Страница 9: ...g in to the access point to view or change its settings Log In to the Access Point To log in to the access point 1 Connect a computer or WiFi device to the access point You can use an Ethernet cable o...

Страница 10: ...on Your changes are saved Find a Forgotten WiFi Security Password The preset WiFi password is on the product label If you changed your WiFi password and forgot what it is log in to the access point to...

Страница 11: ...ted to the access point and plugged in to a working power outlet Make sure that the On Off button is in the On position Make sure that you are using the NETGEAR power adapter supplied with your access...

Страница 12: ...in You cannot access the Internet or the LAN from a wireless device A configuration problem exists Make sure that the SSID and wireless security settings of the wireless device are the same as those o...

Страница 13: ...10...

Страница 14: ...11...

Отзывы: