


Shares
38
ReadyNAS for Home RAIDiator 5.3
Access Shares Remotely
You can remotely access shares on your ReadyNAS system using other network-connected
devices like a laptop or tablet. The network-connected device must support either the SMB or
the AFP file-sharing protocol.
Access Shares Using a Windows Device
You can access shares on your ReadyNAS system using a network-attached
Windows-based device.
To access a share using a network-attached Windows device:
1.
Ensure that file-sharing protocols are enabled for any share that you want to remotely
access.
For more information, see
Fine-Tune Share Access
on page
34.
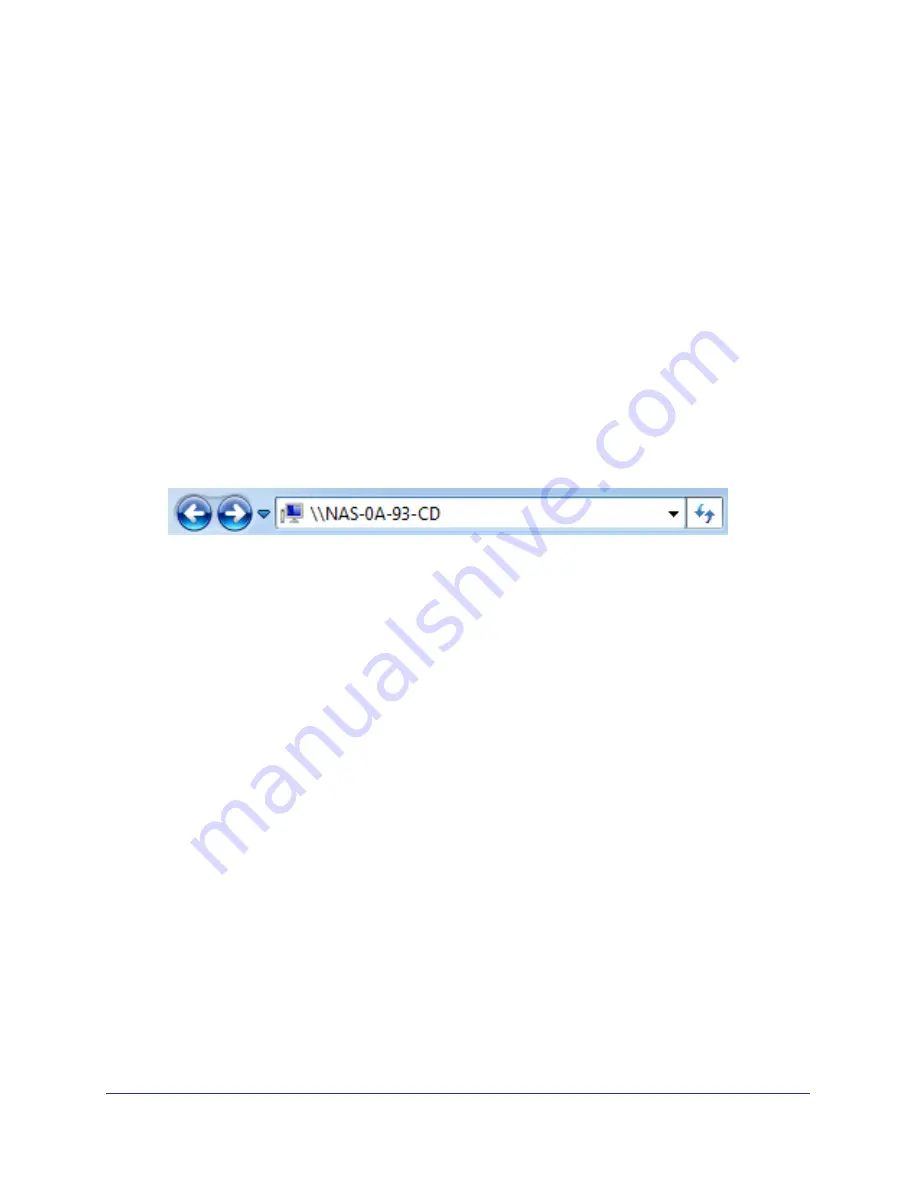
2.
Enter
\\<hostname>
in the Windows Explore My Computer address bar.
<hostname> is the name that you assigned to your ReadyNAS system or the default
hostname if you did not change it.
You are prompted to log in to your ReadyNAS system.
3.
Enter a user ID and password.
You can log in with administrator or user credentials. If you log in as a user, your access is
limited by the settings configured by the ReadyNAS system administrator for that user.
Windows Explorer displays the contents of all available shares on your ReadyNAS
system.
Access Shares Using a Mac OS X Device
You can access shares on your ReadyNAS system using a network-attached OS X device.
To access a share using a network-attached OS X device:
1.
Ensure that file-sharing protocols are enabled for any share that you want to remotely
access.
For more information, see
Fine-Tune Share Access
on page
34.
2.
In Finder,
select
Go > Connect to Server
.
The Connect to Server dialog box displays.


