Security Gateway Manual
Netgate-6100
Warning:
The default IP Address on the LAN subnet on the Netgate firewall is
192.168.1.1/24
. The same
subnet
cannot
be used on both WAN and LAN, so if the default IP address on the ISP-supplied modem is also
192.168.1.1/24
,
disconnect the WAN
interface until the LAN interface on the firewall has been renumbered
to a different subnet (like
192.168.2.1/24
).
1.2 Initial Configuration
Plug the power cable into the power port (shown in the
section) to turn on the Netgate®
Firewall. Allow 4 or 5 minutes to boot up completely.
Warning:
If your DSL or Cable Modem has a default IP Address of 192.168.1.1, please disconnect the Ethernet
cable from the WAN1 port on your Netgate 6100 Security Gateway before proceeding. You will need to change
the default IP Address of the device during a later step in the configuration.
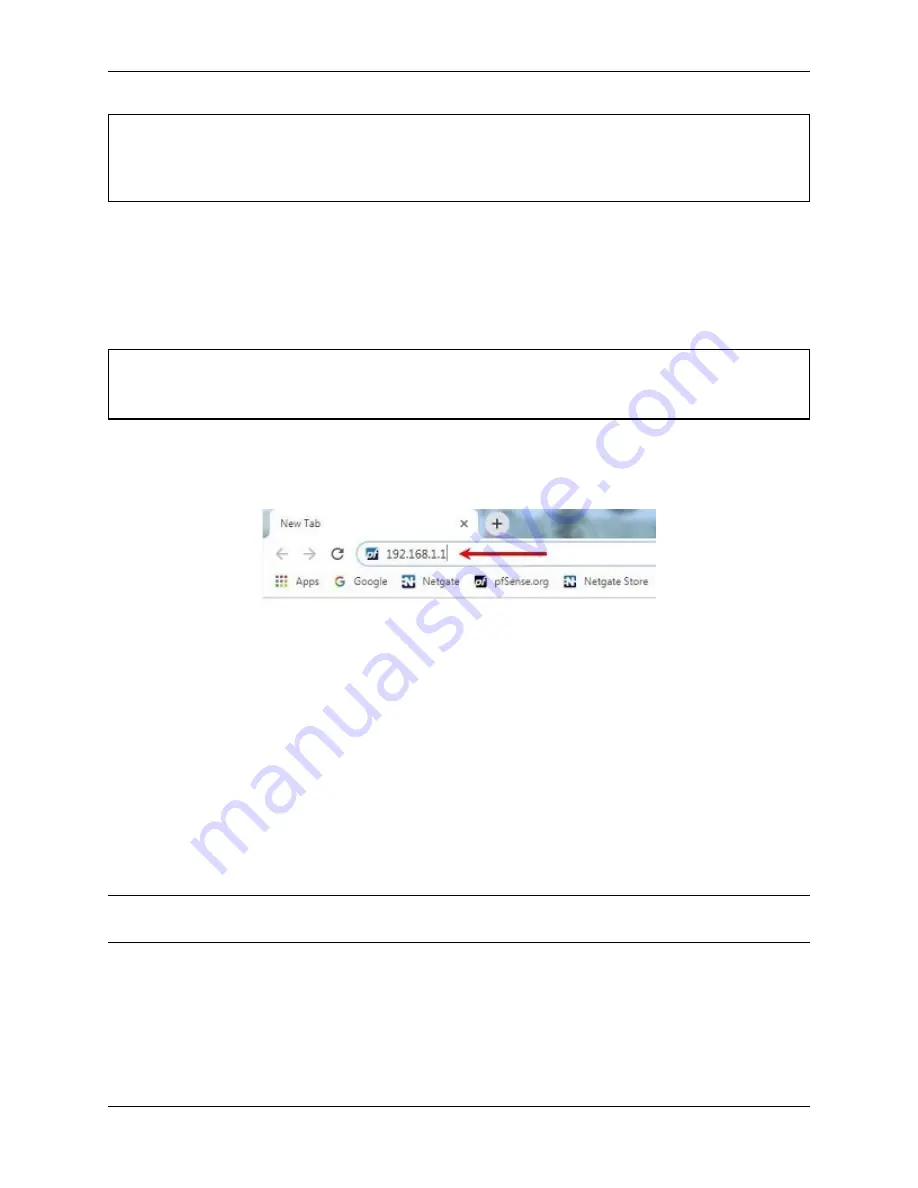
1. From the computer, log into the Web Interface
Open a web browser (Google Chrome in this example) and type in
192.168.1.1
on the address bar. Press
Enter
.
Fig. 1: Enter the Default LAN IP Address
2. A warning message may appear. If this message or similar message is encountered, it is safe to proceed. Click
the
Advanced
Button and then click
Proceed to 192.168.1.1 (unsafe)
to continue.
3. At the
Sign In
page, enter the default pfSense
®
Plus username and password and click
Next
.
• Default Username:
admin
• Default Password:
pfsense
1.2.1 The Setup Wizard
The following steps will step through the Setup Wizard for the initial configuration of the firewall.
Note:
Ignore the warning to reset the ‘admin’ account password. One of the steps in the Setup Wizard is to change
the default password.
1. Click
Next
to start the Setup Wizard.
2. Click
Next
after you have read the information on Netgate Global Support.
3. On the General Information page, use the following as a guide to configure the firewall.
Hostname:
Any desired name can be entered. For the purposes of this guide, the default hostname
pfsense
is used.
© Copyright 2022 Rubicon Communications LLC
3


