Steps
1. If you are not already grounded, properly ground yourself.
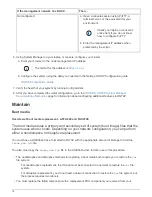
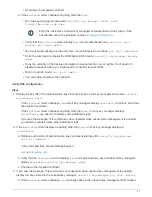
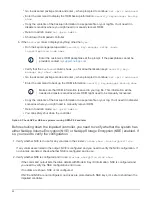
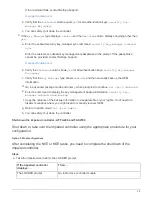
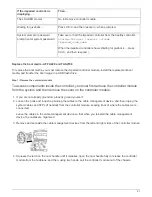
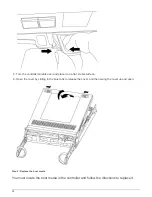
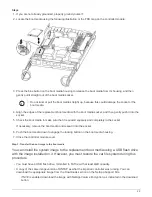
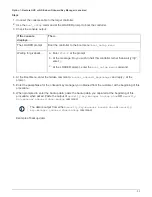
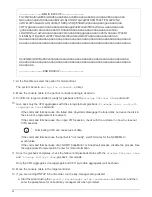
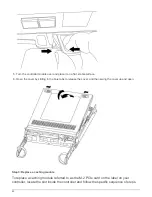
2. Locate the boot media using the following illustration or the FRU map on the controller module:
3. Press the blue button on the boot media housing to release the boot media from its housing, and then
gently pull it straight out of the boot media socket.
Do not twist or pull the boot media straight up, because this could damage the socket or the
boot media.
4. Align the edges of the replacement boot media with the boot media socket, and then gently push it into the
socket.
5. Check the boot media to make sure that it is seated squarely and completely in the socket.
If necessary, remove the boot media and reseat it into the socket.
6. Push the boot media down to engage the locking button on the boot media housing.
7. Close the controller module cover.
Step 3: Transfer the boot image to the boot media
You can install the system image to the replacement boot media using a USB flash drive
with the image installed on it. However, you must restore the var file system during this
procedure.
• You must have a USB flash drive, formatted to FAT32, with at least 4GB capacity.
• A copy of the same image version of ONTAP as what the impaired controller was running. You can
download the appropriate image from the Downloads section on the NetApp Support Site
◦
If NVE is enabled, download the image with NetApp Volume Encryption, as indicated in the download
button.
29

