background image


The panel comes complete with a micro SD card with 14 music tracks. Users can replace this micro 
SD card with another to suit their own personal preferences , making this a truly versatile panel. See 
the notes on the supplied micro SD card for instructions on changing the music tracks.  
From Left to Right:  
Colour change  

changes the colour of the LED lights 

 8 colours: green, blue, dark blue, 

purple, pink, red, orange, yellow.  

Play/Pause  

the current pattern Play or pause  

Direction  

change the rotation/orientation of the pattern  

Pattern  

Change the pattern. 


Modes  

The depth mirror panel consists of different coloured pattern modes, each offering visual stimulation 
and learning cause and effect.  

Mode 1: Patterns with sounds 

 one colour  

Pattern 1: Infinity tunnel  
Pattern 2: Wide horizontal rods traveling up/down or from left to right  
Pattern 3: Wide horizontal rods traveling in a circle 
Pattern 4: Block fading colour traveling in a circle  
Pattern 5: Spiral of colour gradually fills the circle 
Pattern 6: Colour slowly spreads up/down along the side  
Pattern 7: Medium horizontal rods traveling up/down or from left to right  
Pattern 8: Two thin horizontal shoots traveling in a circle  
Pattern 9: Four thin horizontal shoots traveling in a circle and crossing  
Pattern 10: Tapes of colour filling from the center of the sides and out  
 

Mode 2: Patterns with sounds multicoloured


The depth mirror panel patterns are multicoloured in this mode. Use the colour change button to 
change the displayed colours.  
 

Mode 3: Patterns with sounds 

 one colour rainbow autocycle


In this mode, the panel automatically cycles through a rainbow of colours. Simply choose the desired 
pattern and leave to show all colours. While all buttons remain active in this mode, it is ideal for use 
as a passive relaxation aid in a room and for and for those persons who are unable to operate the 
buttons. 
 

8. Maintenance 

These panels are designed for low maintenance. Clean the outside as desired with a soft, damp 
cloth. 
 

9. Technical information 

INPUT: 100-240V 50/60Hz, 1.5A 
OUTPUT: 12V 5A 
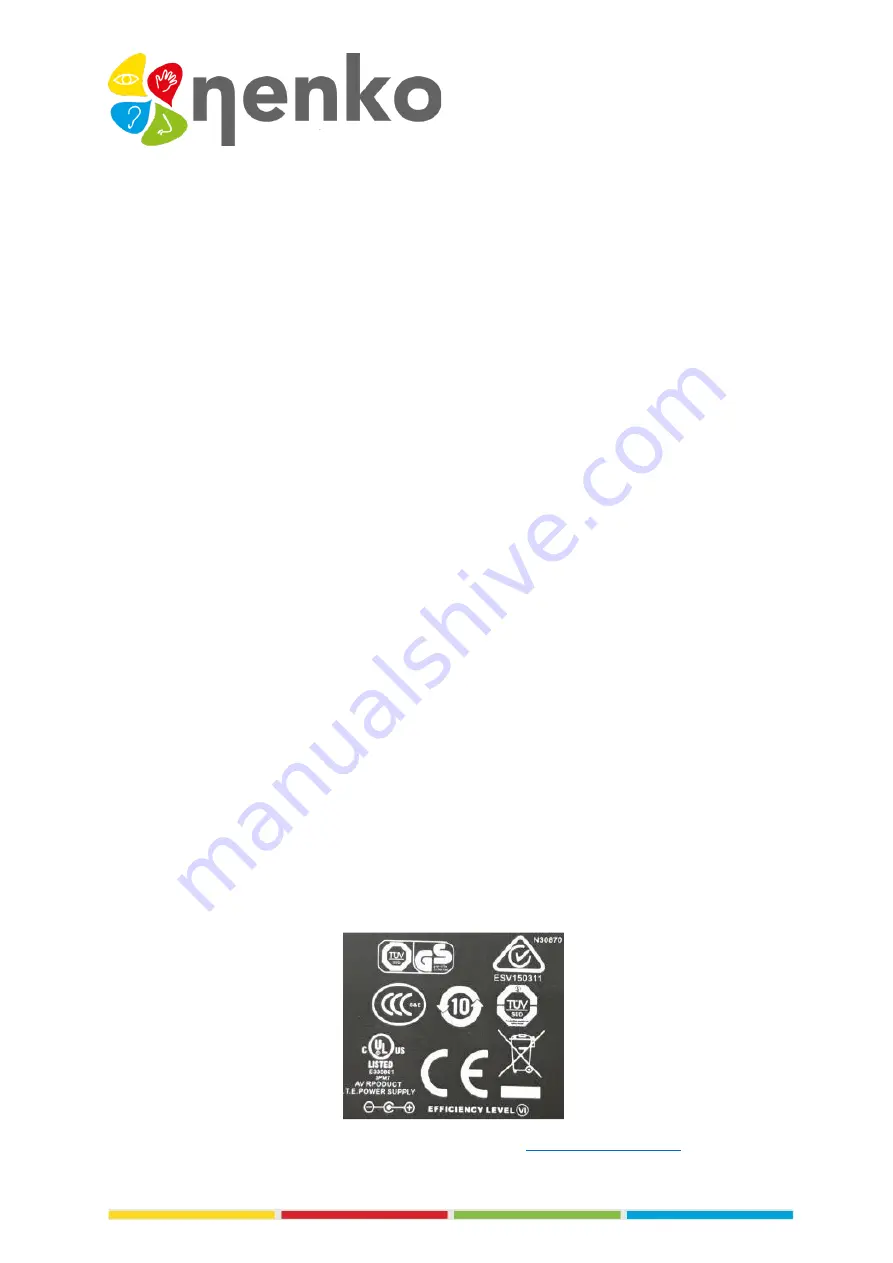
Power approvals: 


For more information, please visit our website 

www.nenko.com.


Содержание 29010085

Страница 1: ...kwise or counterclockwise patterns to do L R tracking exercises Press the pattern button to see a series of enchanting seemingly infinite patterns Sound effects accompany each pattern with which this panel provides both visual and auditory sensory stimulation Panel is Nenko Interactive compatible and therefore also responds to controllers such as microphone 6 button switch cube and the Nenko Sense...

Страница 2: ...panel starts in the last used mode To unlock the panel press and hold the up and down arrow keys for 3 seconds The menu is now accessible Settings are as follows Volume Brightness Speed Micro sensibility Wireless connection Pairing Use the arrow buttons to select the setting you want to change e g starting from the volume screen press down to reach the brightness settings and down again to access ...

Страница 3: ...K The brightness can then be changed using the up and down arrow keys Select the desired brightness level and then press OK again to save this setting Speed To change the speed select speed from the menu and then press OK The speed can then be changed using the up and down arrow keys Select the desired speed level and then press OK again to save this setting The panel responds more quickly to soun...

Страница 4: ...wing for individual requirements Wireless connection Wireless connectivity can be customized with this setting Connectivity can be turned on or off When connectivity is enabled the panel responds to other interactive products in the room such as a Nenko Interactive Cube Turn connectivity on or off using the up and down arrow buttons Select the desired setting and then press OK again to save it Mod...

Страница 5: ...on Channel 5 is the yellow button Example If you want to link the panel with the green button on the switch panel select Channel 1 on the button panel Then press and hold the pairing button on the control panel and then press the green button Now release the clutch button The control panel now operates the panel on Channel 1 Use the same procedure to pair the panel with the blue button on the oval...

Страница 6: ...ur gradually fills the circle Pattern 6 Colour slowly spreads up down along the side Pattern 7 Medium horizontal rods traveling up down or from left to right Pattern 8 Two thin horizontal shoots traveling in a circle Pattern 9 Four thin horizontal shoots traveling in a circle and crossing Pattern 10 Tapes of colour filling from the center of the sides and out Mode 2 Patterns with sounds multicolou...

Отзывы: