Environmental protection and saving energy
en
5
3 Environmental protection and saving energy
3.1 Disposing of packaging
The packaging materials are environmentally compat-
ible and can be recycled.
▶
Sort the individual components by type and dispose
of them separately.
3.2 Saving energy
If you follow these instructions, your appliance will use
less power.
Only preheat the appliance if the recipe or the recom-
mended settings tell you to do so.
¡
Not preheating the appliance can reduce the en-
ergy used by up to 20%.
Use dark-coloured, black-coated or enamelled baking
tins.
¡
These types of baking tin absorb the heat particu-
larly well.
Open the appliance door as little as possible during
operation.
¡
This maintains the temperature in the cooking com-
partment and eliminates the need for the appliance
to reheat.
When baking multiple dishes, do so in succession or
in parallel.
¡
The cooking compartment is heated after baking
the first dish. This reduces the baking time for the
second cake.
If the cooking time is relatively long, you can switch
the appliance off 10 minutes before the cooking time
ends.
¡
There will be enough residual heat to finish cooking
the dish.
Remove any accessories that are not being used from
the cooking compartment.
¡
Accessories that are not being used do not need to
be heated.
Allow frozen food to defrost before cooking.
¡
This saves the energy that would otherwise be re-
quired to defrost it.
Switch off the display in the basic settings.
¡
Energy is saved when the display is switched off.
Note:
The appliance requires:
¡
A maximum of 2 W in networked standby mode
¡
A maximum of 0.5 W in non-networked standby
mode with the display switched off
4 Familiarising yourself with your appliance
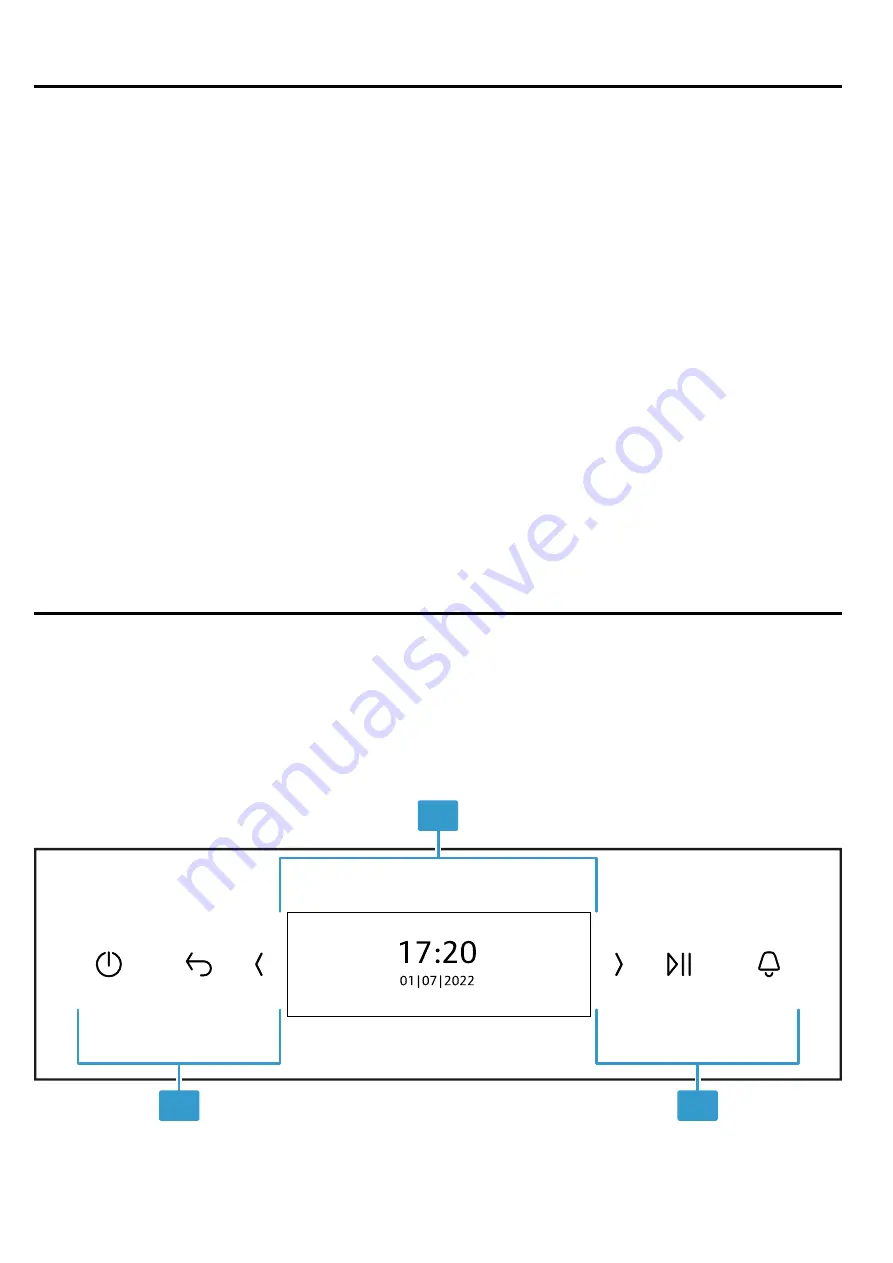
4.1 Control panel
You can use the control panel to configure all functions of your appliance and to obtain information about the operat-
ing status.
On certain models, specific details such as colour and shape may differ from those pictured.
1
2
2
Содержание B59CR3A 0 Series
Страница 1: ...Oven User manual and installation instructions B59CR3A 0...
Страница 42: ......
Страница 43: ......


