


63
7. Appendix
In the space below please describe your problem in detail.
Information on application and environment where your projector is used
Projector
Model number:
Serial No.:
Date of purchase:
Lamp operating time (hours):
Lamp Mode:
Normal
Eco
Information on input signal:
Horizontal synch frequency [ ] kHz
Vertical synch frequency
[ ] Hz
Synch polarity
H
(+)
(–)
V
(+)
(–)
Synch type
Separate
Composite
Sync on Green
STATUS Indicator:
Steady light
Orange
Green
Flashing light
[ ] cycles
Remote control model number:
Signal cable
NEC standard or other manufacturer’s cable?
Model number: Length: inch/m
Distribution amplifier
Model number:
Switcher
Model number:
Adapter
Model number:
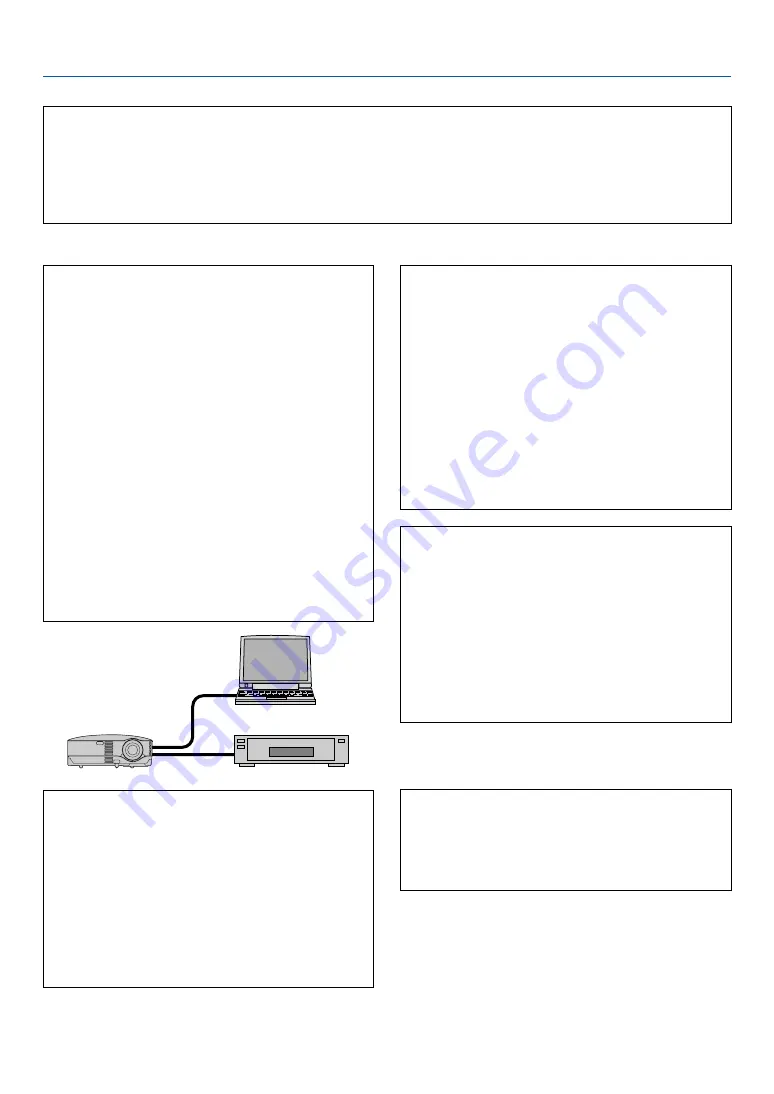
Projector
PC
DVD player
Installation environment
Screen size:
inch
Screen type:
White matte
Beads
Polarization
Wide angle
High contrast
Throw distance:
feet/inch/m
Orientation:
Ceiling mount
Desktop
Power outlet connection:
Connected directly to wall outlet
Connected to power cord extender or other (the num-
ber of connected equipment______________)
Connected to a power cord reel or other (the number
of connected equipment______________)
Computer
Manufacturer:
Model number:
Notebook PC
/ Desktop
Native resolution:
Refresh rate:
Video adapter:
Other:
Video equipment
VCR, DVD player, Video camera, Video game or other
Manufacturer:
Model number:


