38
3. Convenient Features
❾
Projecting 3D videos
This projector supports DLP-Link glasses and 3D emitter.
CAUTION
Health precautions
Before use, please make sure to read any health precautions that may be stated in the operating manuals enclosed
with the 3D eyewear and 3D video software (Blu-ray player, games, computer animation files, etc.).
Please take note of the following in order to avoid adverse health effects.
• Please do not use the 3D eyewear for purposes other than to watch 3D videos.
• Please keep a distance of at least 2 m away from the screen when watching videos. Watching a video too close
to the screen will increase eye fatigue.
• Please do not watch videos continuously for a long period of time. Please take a 15 minutes’ break after every
hour of watching.
• Please consult a doctor before watching if you or any of your family members have a history of suffering from
seizures caused by light sensitivity.
• Please stop watching immediately and take a rest when you feel physically unwell while watching (vomiting, gid-
diness, nausea, headaches, sore eyes, blurred vision, cramps and dumbness in the limbs, etc.). Please consult
a doctor if the symptoms persist.
• Please watch a 3D video directly in front of the screen. If you watch a 3D video obliquely from the sides, this may
result in physical and eye fatigue.
Procedure to watch 3D videos using this projector
The description here are for DLP
®
Link. [DLP® Link] is default setting for [3D GLASSES] at the factory.
3D eyewear and 3D emitter preparations
Use DLP
®
Link glasses or other compatible commercially-available liquid crystal shutter spectacles.
1. Connect the video device to the projector.
2. Switch on the projector.
3. Run the 3D video software.
The 3D video will be projected.
The default factory setting is [AUTO]. When 3D image is not projected, it may cause input signal does not contain
3D detection signal or it can not be detected by this projector. In this case, please set up the format manually.
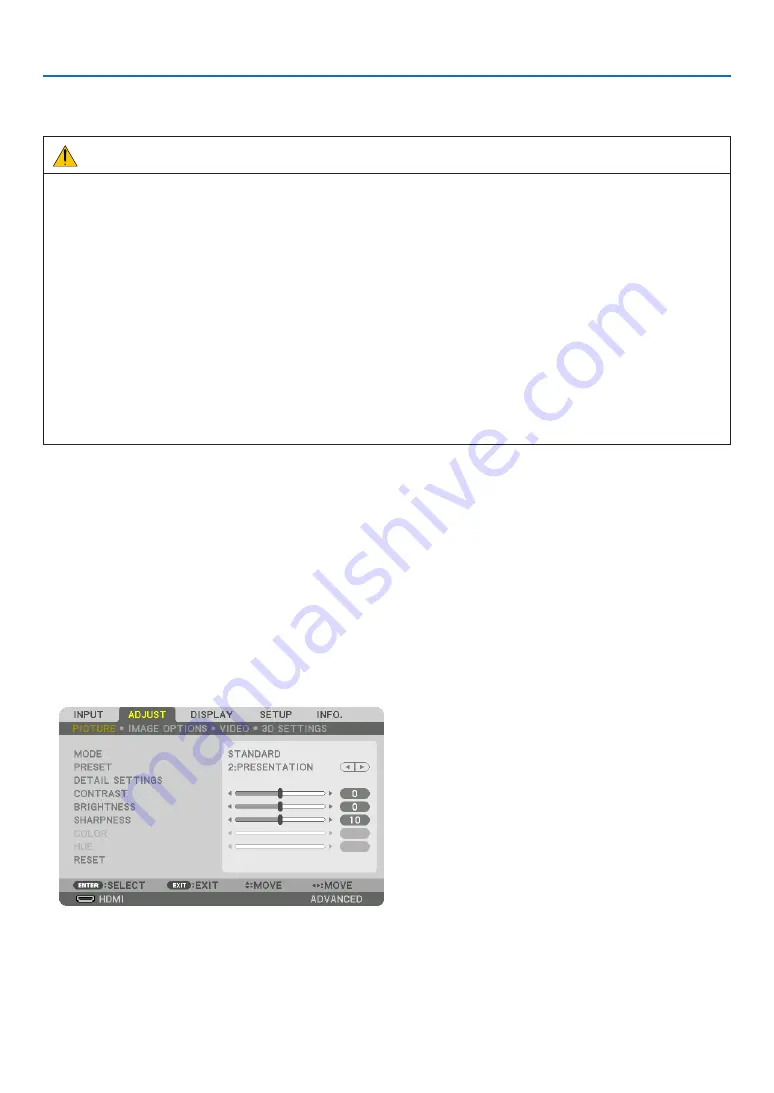
(1) Press the MENU button.
The MENU will be displayed.
(2) Press the
▶
button, select [ADJUST], then press ENTER.
[PICTURE] will be highlighted.
(3) Use the
▶
button to select [3D SETTINGS].


