Option Installation 3-29
Replacing the 3 1/2-Inch Drive Bracket
When replacing the 3 1/2-inch drive bracket, take care to prevent pulling and loosening the
cable connections.
1.
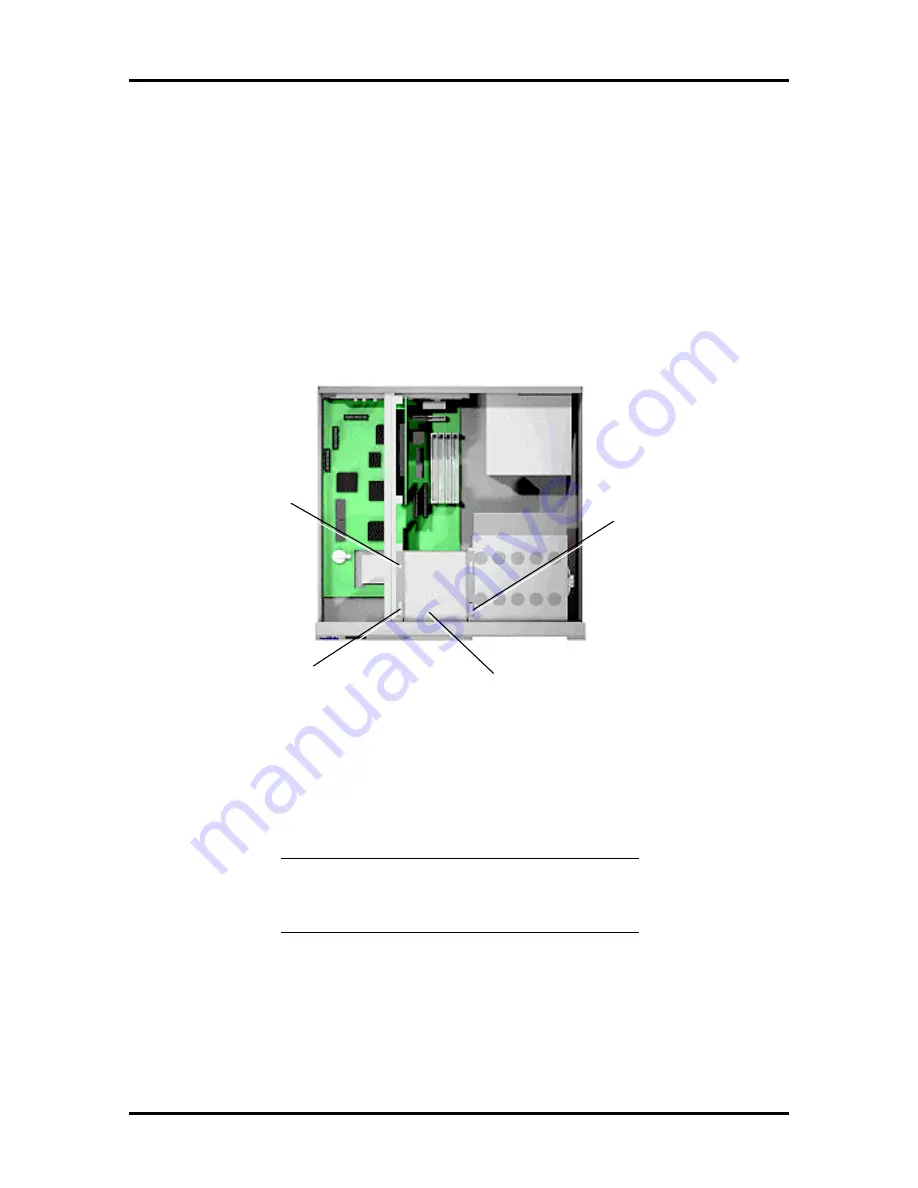
Place the 3 1/2-inch drive bracket in the 3 1/2-inch device slot.
2.
Slide the 3 1/2-inch drive bracket toward the front of the chassis so that the tabs
secure the bracket.
3.
Use the previously removed bracket screw to secure the bracket in place (see
Figure Section 3-39).
3 1/2-Inch
Drive Bracket
Tabs
Tab
Screw
Figure Section 3-39 Securing the 3 1/2-Inch Drive Bracket
4.
Replace the front panel (see “Replacing the Front Panel”).
5.
Replace the system unit cover.
NOTE:
If a 1.2-MB diskette drive was installed,
remove the protective cardboard insert from the
drive.
6.
Run the Setup program to set the new configuration.
Содержание POWERMATE VE - SERVICE 05-1996
Страница 103: ...Maintenance and Troubleshooting 4 11...
Страница 117: ...5 14 System Unit Repair Figure Section 5 27 System Board Connectors and Screws...
Страница 153: ...Index 4...


