61
5. Using On-Screen Menu
Adjusting Horizontal/Vertical Position [HORIZONTAL/VERTICAL]
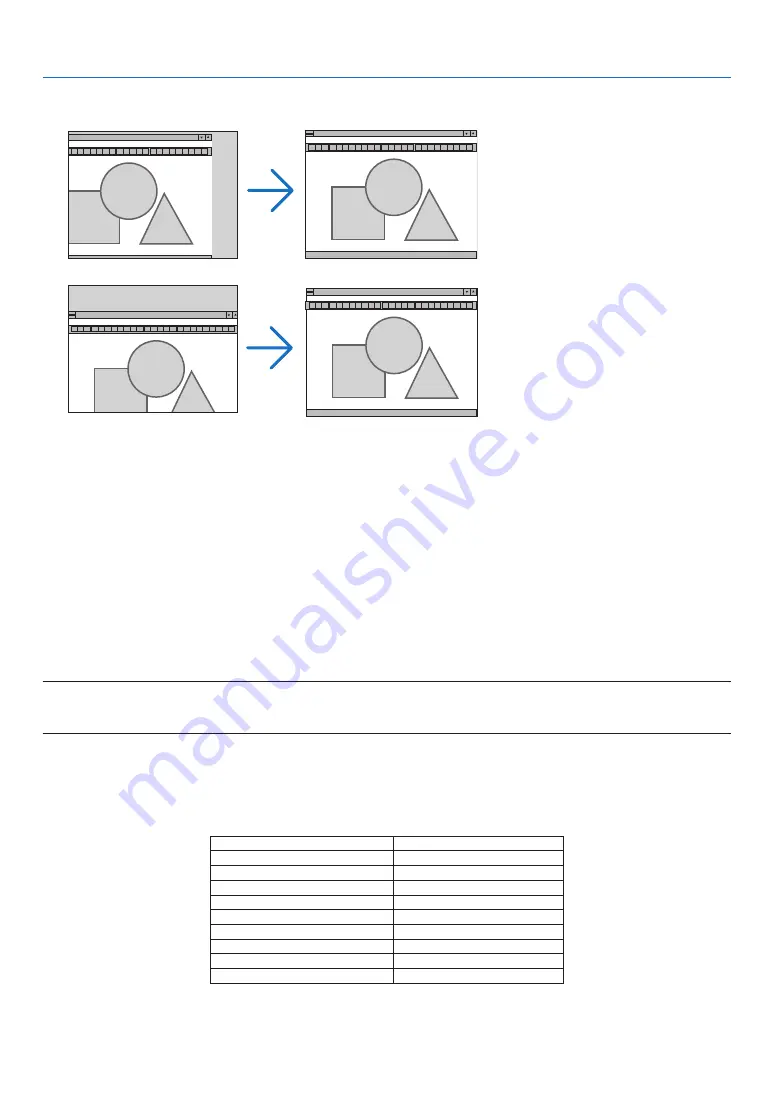
Adjusts the image location horizontally and vertically.
• An image can be distorted during the adjustment of [CLOCK] and [PHASE]. This is not a malfunction.
• Your manual adjustments for [CLOCK], [PHASE], [HORIZONTAL], and [VERTICAL] will be stored in memory
for the current signal. The next time you project the signal with the same resolution, horizontal and vertical
frequency, its adjustments will be called up and applied.
To delete adjustments stored in memory, from the menu, you select [RESET]
→
[CURRENT SIGNAL] or [ALL
DATA] and reset the adjustments.
Selecting Overscan Percentage [OVERSCAN]
This allows you to set the appropriate overscan for an incoming signal.
AUTO ..................... Display an appropriately overscanned image ( factory setting).
OFF ........................ Does not overscan the image.
ON ......................... Overscans the image.
NOTE:
• The [OVERSCAN] cannot be selected when VIDEO and S-VIDEO signals are used.
• The [OVERSCAN] item is not available when [NATIVE] is selected for [ASPECT RATIO].
Selecting Aspect Ratio [ASPECT RATIO]
The term “aspect ratio” refers to the ratio of width to height of a projected image.
The projector automatically determines the incoming signal and displays it in its appropriate aspect ratio.
• This table shows typical resolutions and aspect ratios that most computers support.
Resolution
Aspect Ratio
VGA
640 x 480
4:3
SVGA
800 x 600
4:3
XGA
1024 x 768
4:3
WXGA
1280 x 768
15:9
WXGA
1280 x 800
16:10
WXGA+
1440 x 900
16:10
SXGA
1280 x 1024
5:4
SXGA+
1400 x 1050
4:3
UXGA
1600 x 1200
4:3


